

This article will help you to install the G DATA Security Client on your Windows operating system.
The Security Client of G DATA Business can be installed on various Windows operating systems (including Windows Server).
Click here to get a detailed overview of the supported operating systems
There are 3 different methods to install the Security Client application:
A. Remotely via the G DATA Administrator
B. Locally via a pre-configured setup package created from the Administrator
C. Locally via the generic setup package of the software
The easiest way to install the client is remotely, however some additional prerequisites need to be checked (see below).
The pre-configured setup package has the name of the ManagementServer pre-entered and also contains the latest virus signatures at the time of its creation. It can also be assigned to an existing group of clients, which will allow the installed client to automatically receive the settings of the said group.
The generic setup package is the same which is used to install the ManagementServer. If you choose to use this option, the name of the server to contact will have to be manually entered during the installation of the client.
Prerequisites:
The Security Client contacts the ManagementServer on port 7161 (TCP) and the Management Server contacts the client on port 7169 (TCP).
For most of the regular operations (updates, reporting, …) it is enough to have the port 7161 (inbound) open on the ManagementServer side.
7169 is needed for a limited amount of optional features such as the ability to browse the client’s local disk to set up exceptions, or the possibility to inform a client immediately if its settings has been changes. It is also used for P2P update distribution if this option has been enabled.
Furthermore, for the remote installation only, a couple of additional prerequisites need to be met on the client side:
– A user account with administrative permissions on the client must be entered during the installation process. The account does not necessarily need to have a password. In that case, however, the target machine must be explicitly configured to allow network logons for accounts without a password. To do so, open the Group Policy Editor (START > RUN > gpedit.msc) and disable the option COMPUTER CONFIGURATION > WINDOWS SETTINGS > SECURITY SETTINGS > LOCAL POLICIES > SECURITY OPTIONS > ACCOUNTS: LIMIT LOCAL ACCOUNT USE OF BLANK PASSWORDS TO CONSOLE LOGIN ONLY. To remotely install a subnet server, an account password must be set: an empty password field is not permitted.
– Service Control Manager on the client must be remotely accessible using the specified user account.
– The specified user account must have write permissions for at least one network share on the client, such as C$, Admin$ or a custom share. Access can be enabled by opening the NETWORK AND SHARING CENTER and enabling FILE AND PRINTER SHARING under ADVANCED SHARING SETTINGS (Windows Vista and newer). On Windows XP, enable FILE AND PRINTER SHARING on the EXCEPTIONS tab of WINDOWS FIREWALL.
– When the client is not in a domain, additional settings must be configured:
o SIMPLE FILE SHARING (Windows XP) or the USE SHARING WIZARD option (Windows Vista/Windows Server 2008 or newer) must be disabled. It is enabled by default in all Windows installations and can be disabled by opening any folder in Windows Explorer, clicking ORGANIZE > FOLDER AND SEARCH OPTIONS > VIEW, and unchecking the respective option.
o When the client is using Windows Vista or newer: Open Registry Editor on the client and navigate to the key HKEY_LOCAL_MACHINE\SOFTWARE\Microsoft\Windows\CurrentVersion\Policies\System. Add a DWORD value named LocalAccountTokenFilterPolicy with value 1. More information about this setting can be found on the Microsoft website5.
A. How to install the Security Client remotely via G DATA Administrator
Step 1. Open G DATA Administrator
Step 2. Right click on any group of clients in the list on the left hand side, then select Enable client.
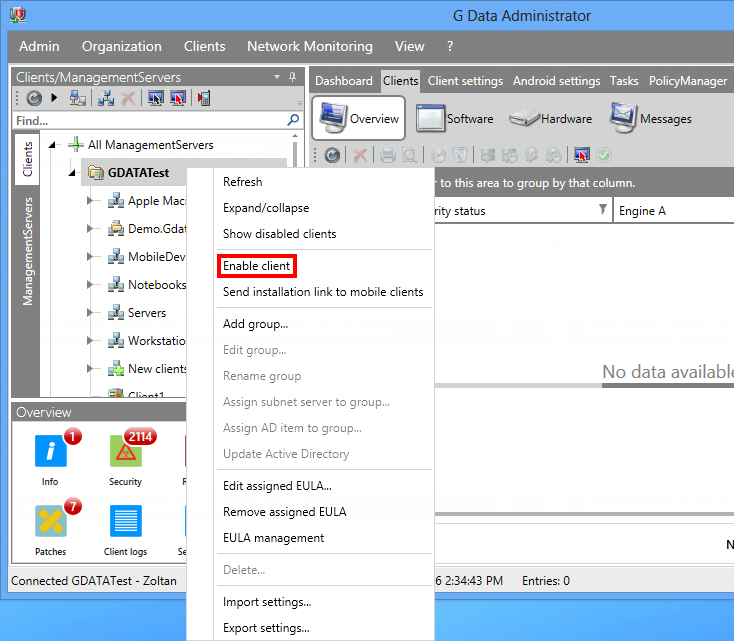
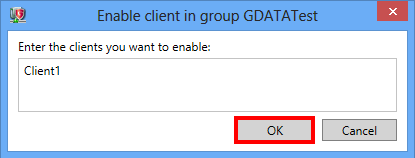
Step 3. Enter the hostname of the client you wish to enable then click OK. You can enter a list of several clients as well, separated by either spaces or line breaks.
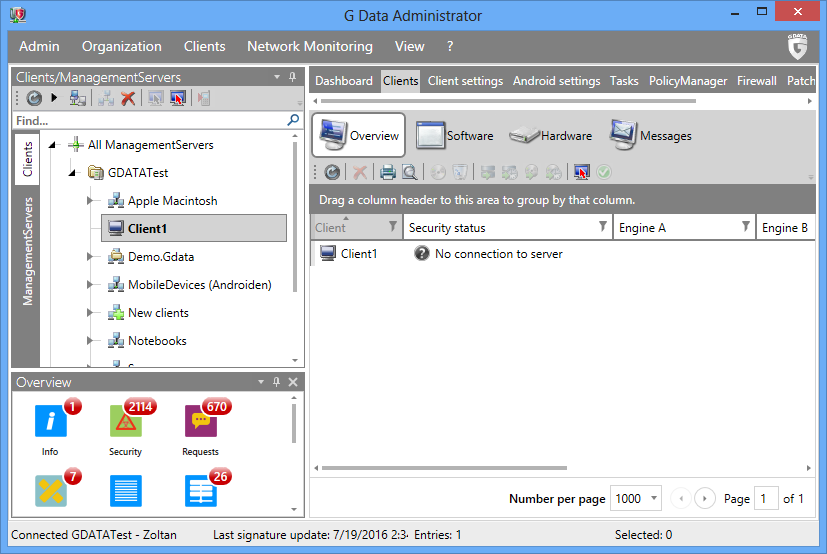
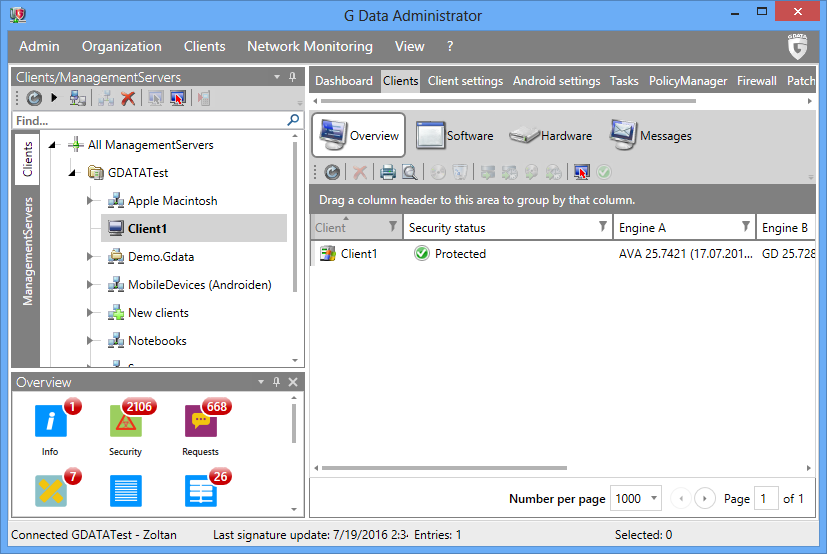
Step 4. Click on the client which now has appeared in the list on the left hand side.
Now go to Clients > Overview.
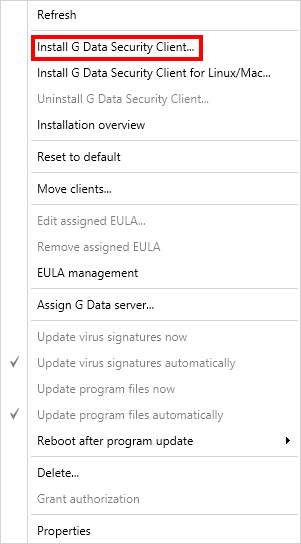
Step 5. In the Overview tab, right click on the name of the client and select Install G DATA Security Client…
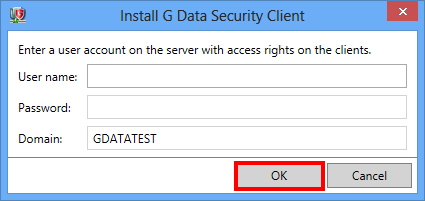
Step 6. Enter an account which has administrator access on the client computer.
This can be a domain administrator account, or a local administrator account of the client computer.
This account will be used to connect to the client and enable the installation.
Now click OK.
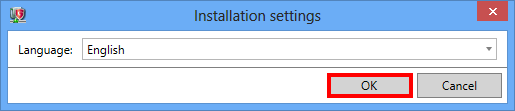
Step 7. Choose a language and click OK.
Step 9. The installation process will now start. You will be able to check its progress in the Installation overview tab.
If you have closed the tab, re-open it by right clicking on any client in the Clients > Overview panel and selecting Installation overview.

Step 10. Once the installation is done, it is recommended to reboot the client computer as soon as possible.
The client will appear shortly on the Administrator console, but it can take up to 10-15 min before it’s fully operational and displays the “Protected” status.
B. How to create a pre-configured setup package to install the Security Client
Step 1. Open G DATA Administrator
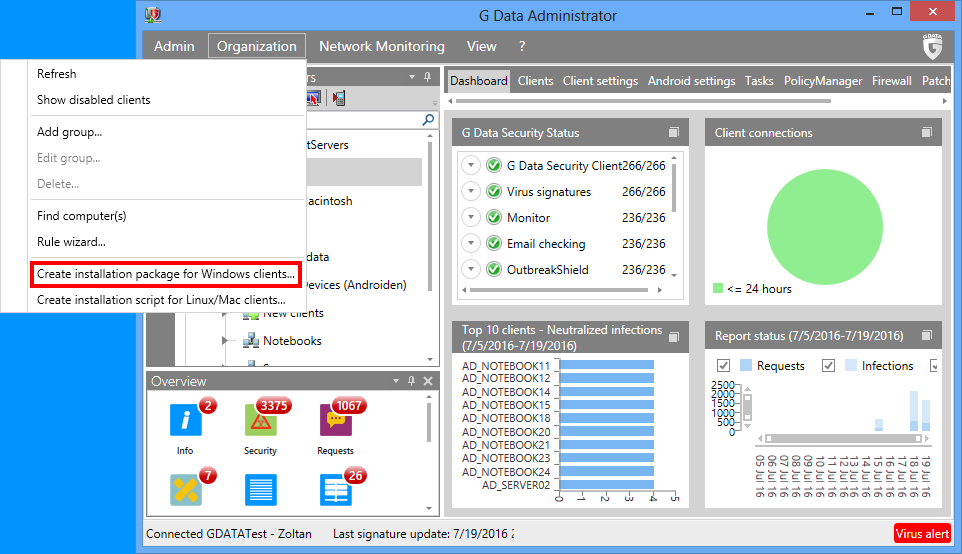
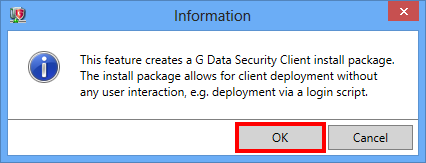
Step 2. Open the menu Organization and click Create installation package for Windows clients…
Step 3. Click OK.
Step 4. The following window allows to specify a couple of settings for any client installed with the package.
You can choose the language of the client and assign it to a group which will allow the client to automatically get the settings of the said group upon installation. Eventually, you can limit the validity of the package. Once the package isn’t valid anymore it can still be used to install new clients, however those clients will have to be manually authorized from the G DATA Administrator before they can communicate with the server.
To manually authorize any client, go to Clients > Overview, right click on the client and choose “Grant authorization”.
Now click OK.

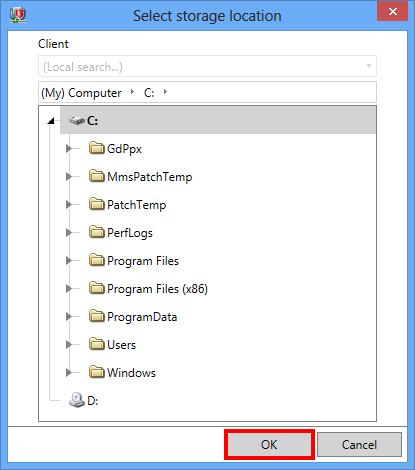
Step 5. Choose a storage path for the package and click OK.
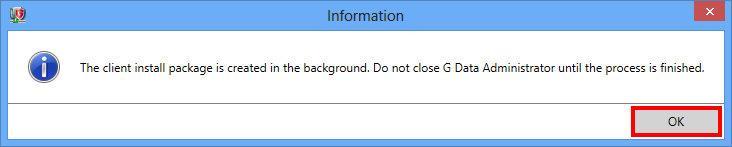
Step 6. Click OK to close the information window then wait until the package is created in the background. Do not close G DATA Administrator until the process is over.
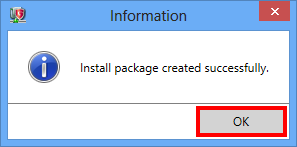
Step 7. Once the package has been successfully created, you will be informed by the window pictured below. Click OK to close it.
The setup package is named GDClientPck.exe.
Step 8. Now that you have the setup package, you can use it to install the Security Client on any of your computers.
If you wish to have more details about the process, check section C. of this tutorial.
C. How to install the Security Client locally via a setup package
The Security Client can be installed locally either with a pre-configured setup package created via G DATA Administrator (see section B. of this tutorial) or with the generic setup package of the software downloaded from our website.
If you wish to use the generic setup package, click here to download it
You don’t need the full content of the generic setup package to install the client.
You can simply open it and go to the sub folder Setup > SecurityClient and extract the file named Setup.exe in that folder.
It is approximately 170 MB of size.

Step 1. Once you have the setup file of the client, place it on the computer you wish to install the client on.
Step 2. Run the setup file and wait until it is initialized.
By default the client is installed using a graphical user interface allowing you to manually configure the different options.
If instead you wish to run it in the background, check the section Alternative installation method at the end of this tutorial.
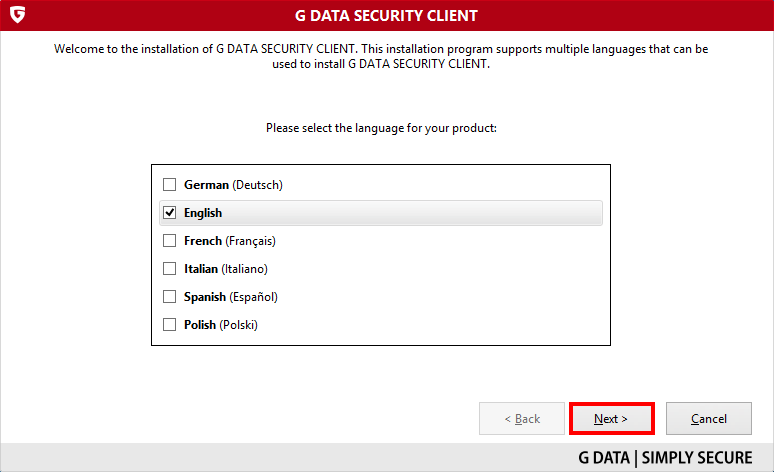
Step 3. Choose the language of the client and click Next.
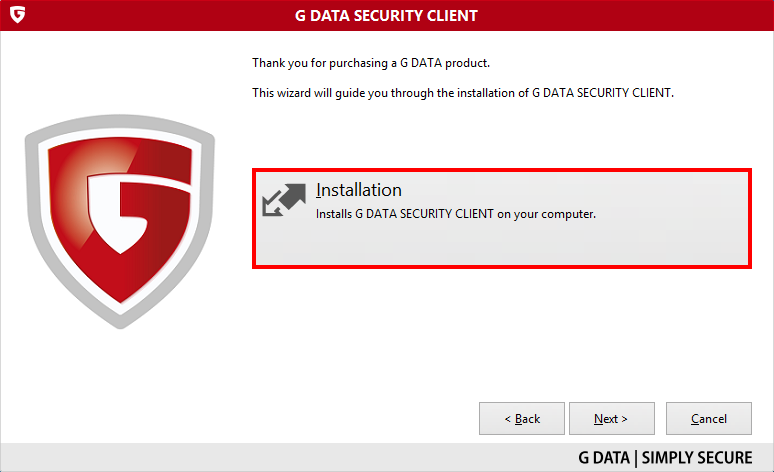
Step 2. Click Installation.
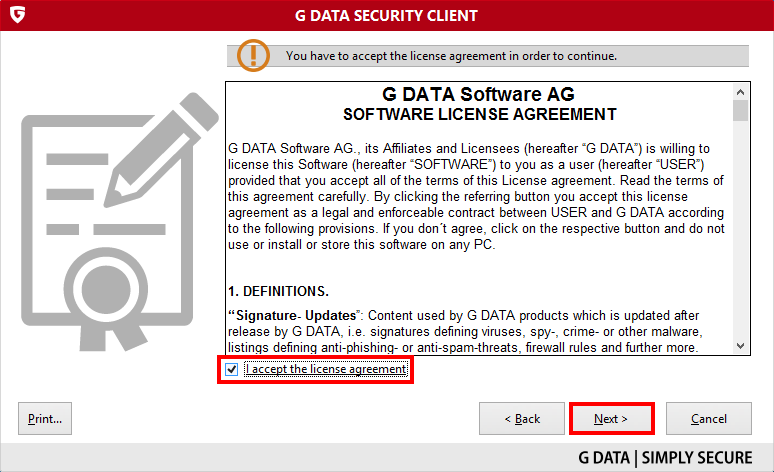
Step 3. Accept the License Agreement and click Next.
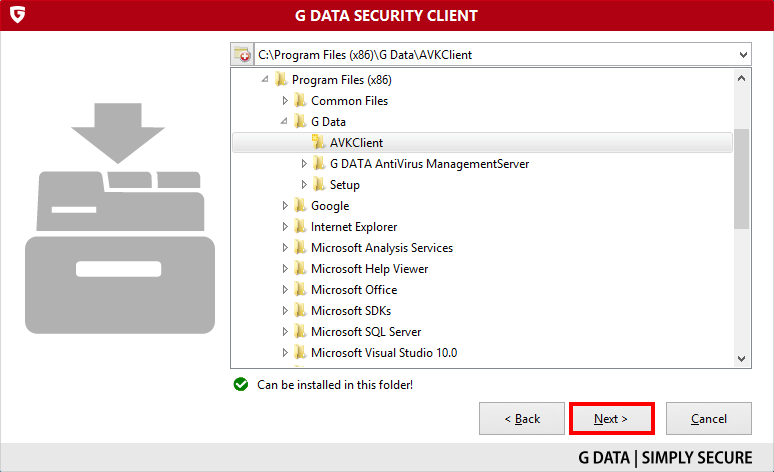
Step 4. You can change the installation folder of the client if needed. Now click Next.
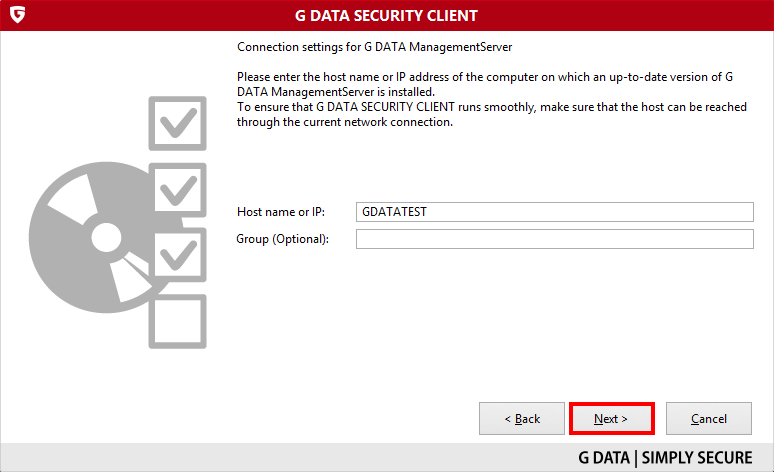
Step 5. If you are using the generic setup package to install the client, you will have to manually enter the hostname or IP address of the ManagementServer to contact. Now click Next.
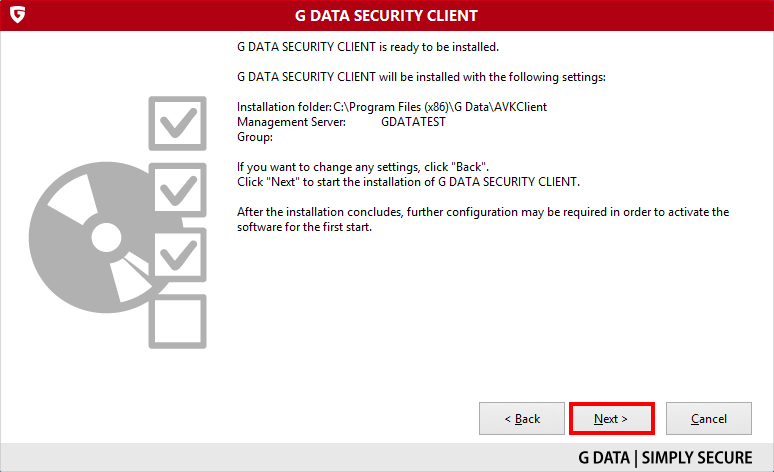
Step 6. Click Next to start the installation process.
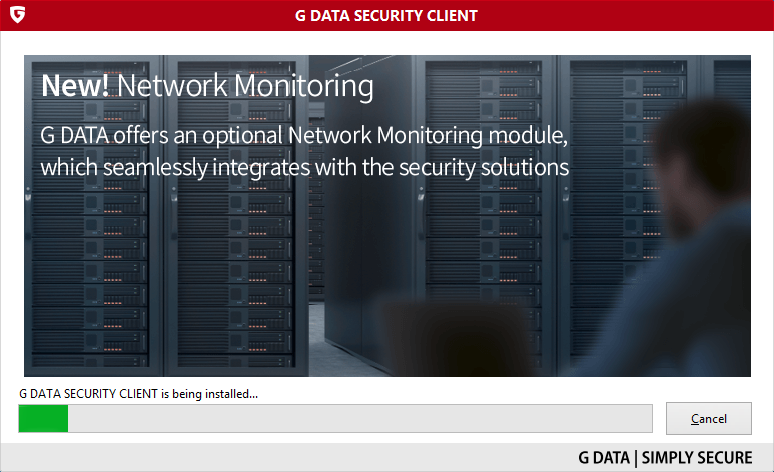
Step 7. Wait until the client is installed.
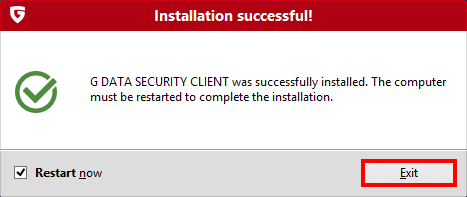
Step 8. Click Exit, the computer will then be restarted.
If you wish to restart later on, uncheck Restart now before clicking Exit. It is advised to reboot the PC as soon as possible to ensure the proper functioning of the client.
Step 9. The client will appear shortly on the Administrator console.
It can take up to 10-15 min before it’s fully operational and displays the “Protected” status.
Alternative installation method:
The setup package runs by default with a graphical user interface allowing you to manually adjust the different settings.
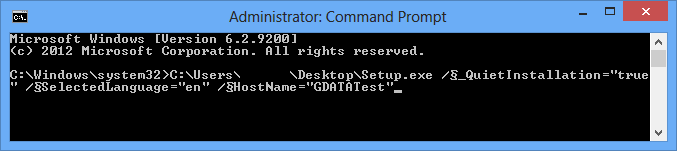
However, you can also choose to run the setup file in the background. For this, you will have to launch it via command line and add the following parameter: /_QuietInstallation=”true“
Furthermore, if you are using the generic setup package, you can add the following parameters to the command line:
/SelectedLanguage=”X“ : this will specify the language of the installed client. X can have the following values:
de for German
en for English
fr for French
it for Italian
es for Spanish
/HostName=”X“ : this will specify the ManagementServer to contact. X can have as value the hostname or IP address of the ManagementServer.
/GroupName=”X“ : this will specify the group the client will be added to on the ManagementServer. X will have as value the name of the group.
e.g.: C:\Users\X\Desktop\Setup.exe /_QuietInstallation=”true” /SelectedLanguage=”en” /HostName=”GDATATest“
To get more detailed information about the different installation scenarios of the G DATA Security Client, check our Reference Guide at section 4.8. Client deployment.