This article well help you to install the G DATA ManagementServer for the first time and activate it with your new Registration Number.
Step 1. Download the installation file from the following link:
Click here to start the download
The size of the file is 1.2 GB.
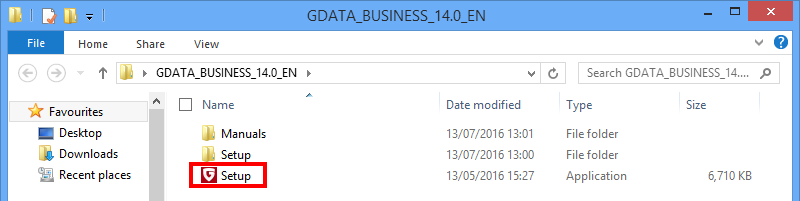
Step 2. Open the installation file and run Setup.exe.
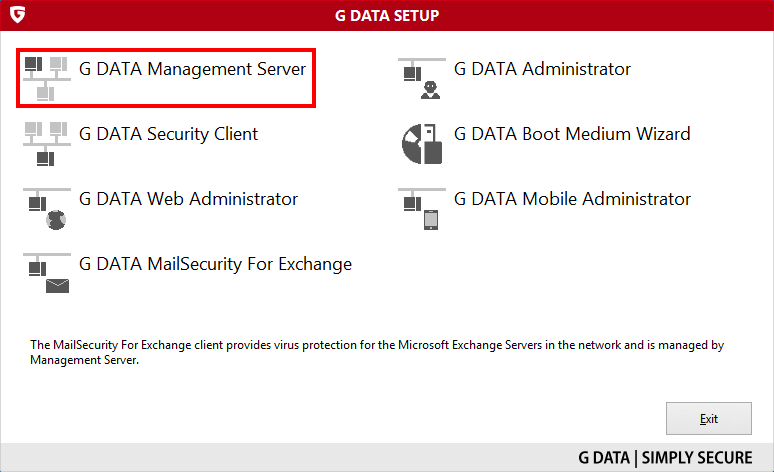
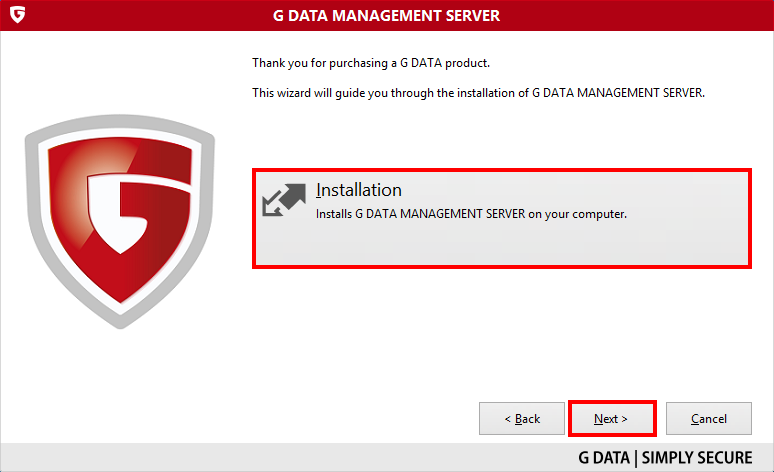
Step 3. Click G DATA Management Server.
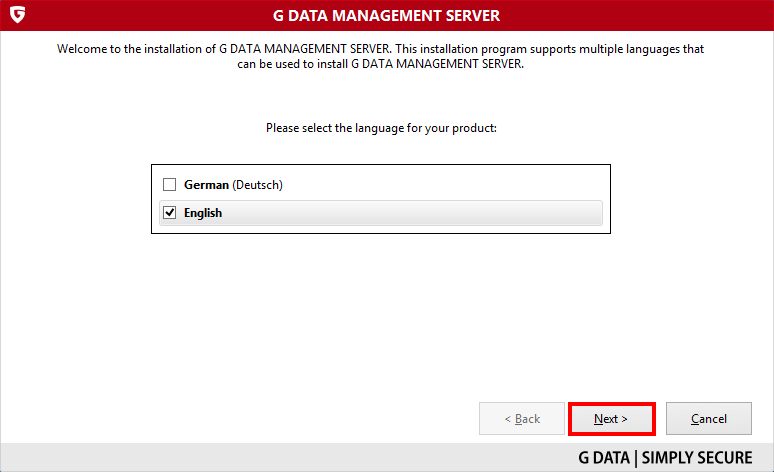
Step 4. Select the language and click Next.
Step 5. Select Installation and click Next.
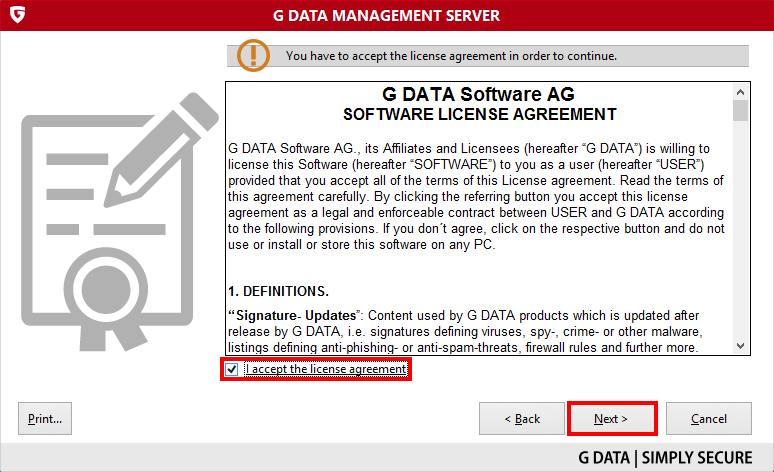
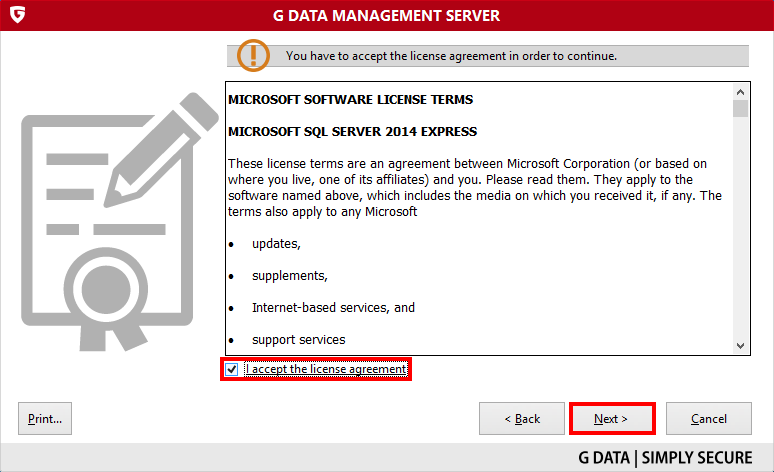
Step 6. Accept the license terms and agreements and click Next.
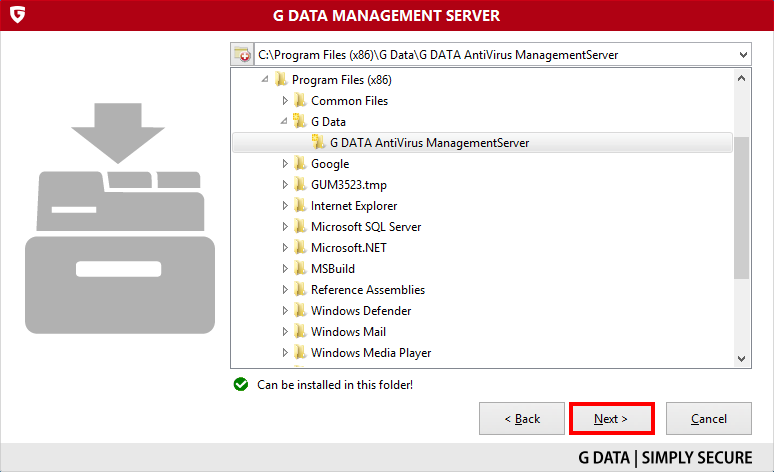
Step 7. Choose the destination folder and click Next.
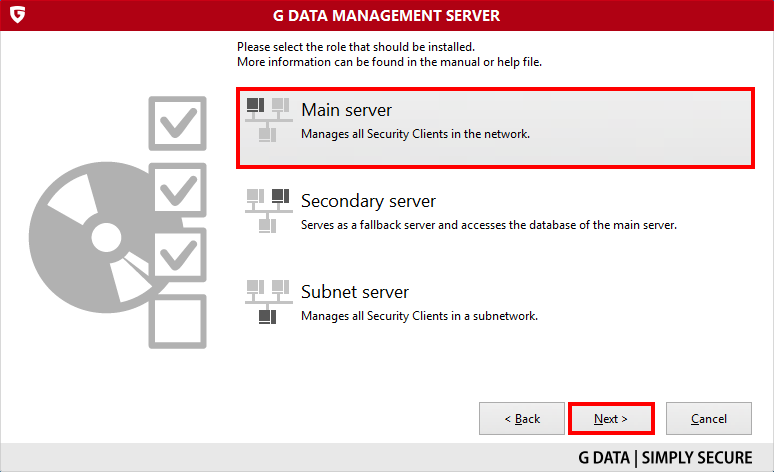
Step 8. Select Main server and click Next.
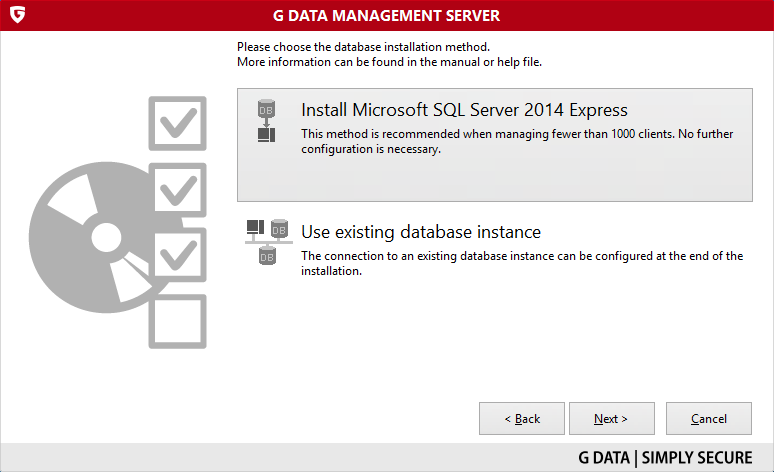
Step 9. If you do not have a SQL server installed and have under 1000 clients, select InstallMicrosoft SQL Server 2014 Express and click Next.
If you already have a SQL server installed, select Use existing database instance and click Next.
If you have more than a 1000 clients or are using Patch Management, then SQL Express 2014 which is the default version installed by G DATA is not enough to provide a stable performance.
If it’s the case, use either one of your existing SQL servers or install a new one.
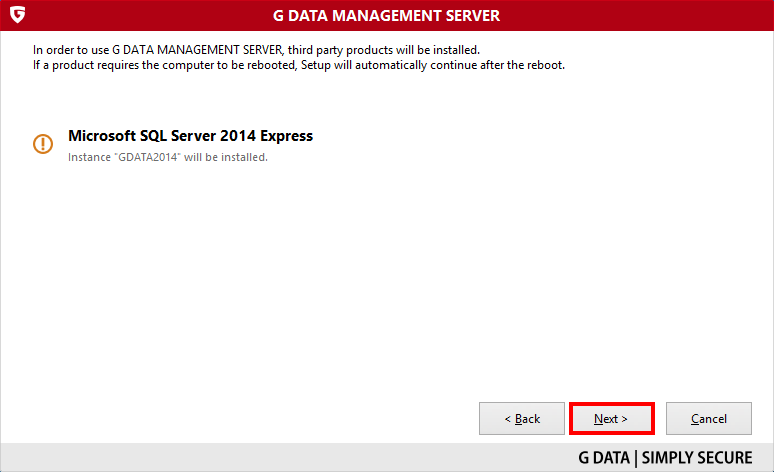
Step 11.(Applies only if you have selected “InstallMicrosoft SQL Server 2014 Express” at step 9)
Click Next.
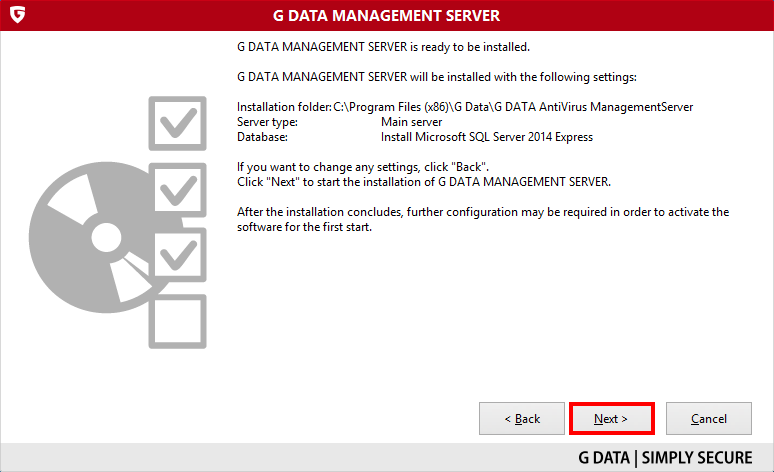
Step 12. Click Next to start the installation of the G DATA ManagementServer.
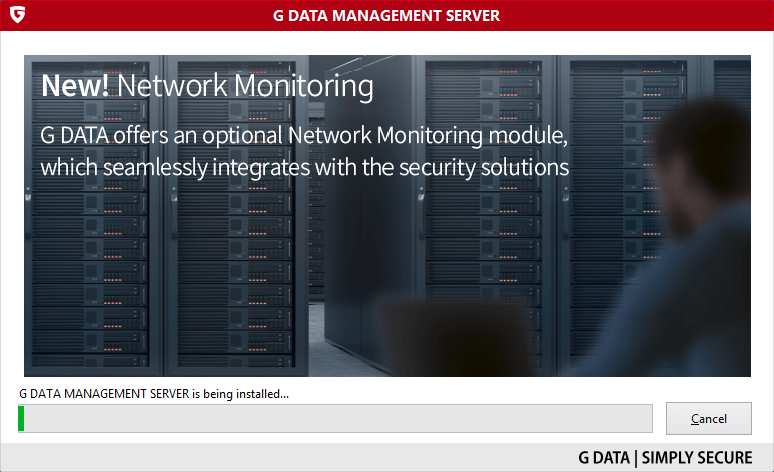
Step 13. Sit back while the G DATA ManagementServer is installed.
Step 14.(Applies only if you have selected “Use existing database instance” at step 9)
Enter the path to your existing SQL server instance, as well as an account with sufficient access rights to it.
You can use the button Check to see if the server is accessible with the entered details.
Now click Next.
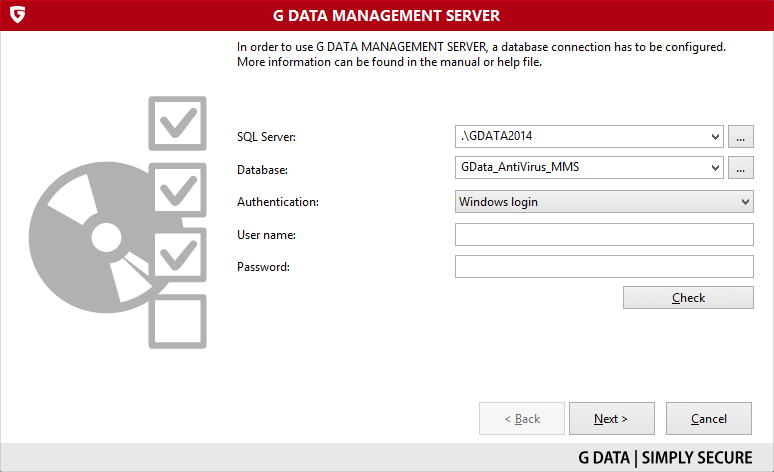
If you wish to change these settings later on, launch the executable “GdmmsConfig.exe” located in the installation folder of the ManagementServer (by default: “C:\Program Files (x86)\G DATA\G DATA AntiVirus ManagementServer”)
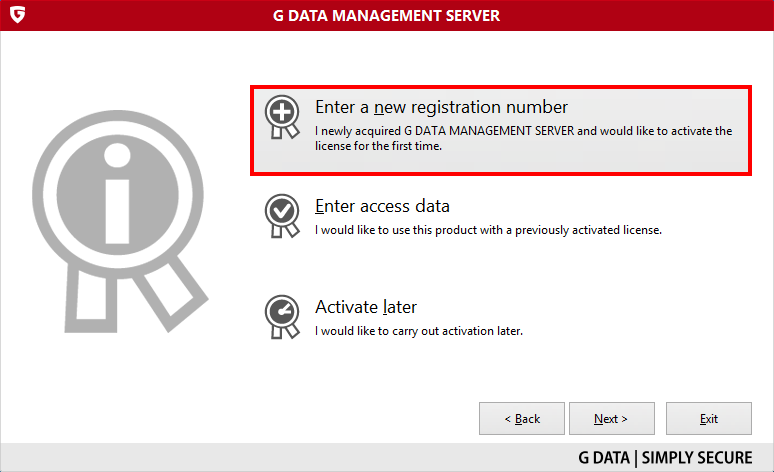
Step 15. At the end of the installation, choose Enter new license key to activate the software.
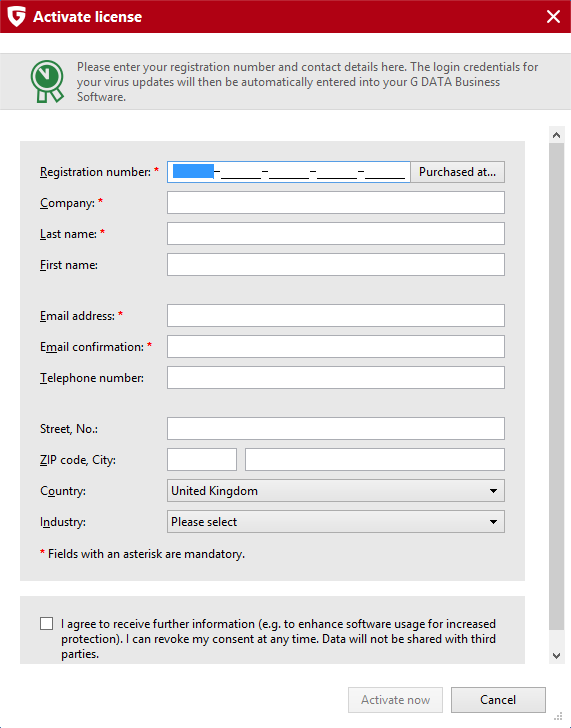
Step 16. Enter the Registration number you received upon purchase and fill in your information. Click Activate now.
Step 17. The activation is now complete.
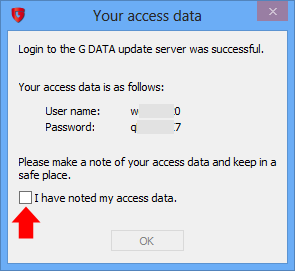
Note down your Access Data.
Check the box next to “I have noted my access data” and press Ok.
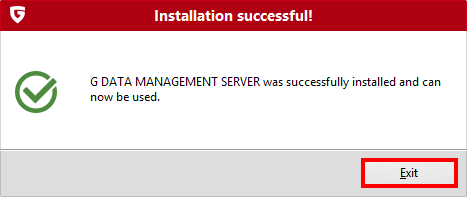
Step 18. Your G DATA ManagementServer is now installed and operational.