This article provides a summary of the steps to take to start using Systems Management.
Creating your Panda Account
Systems Management delegate credential management to an identity provider (IDP), a centralized application responsible for managing user identity. This means that with a single Panda account, the network administrator will have secure and simple access to all contracted Panda products.
Follow the steps below to create and activate your Panda Account:
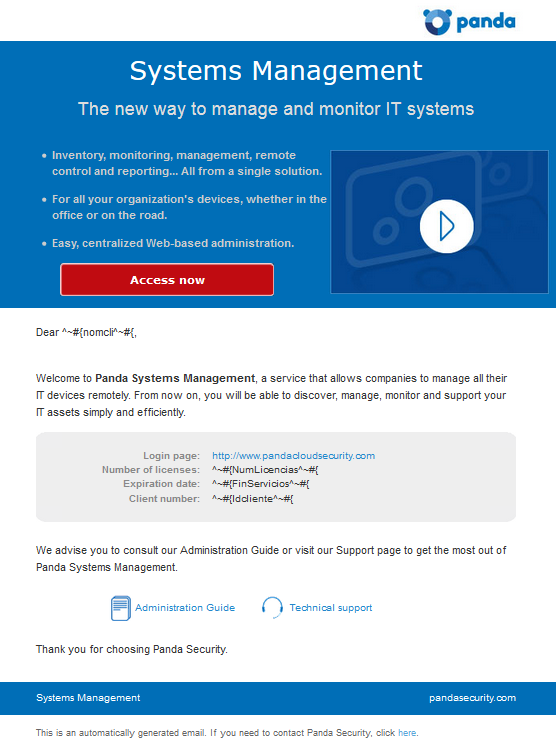
- After you purchase or renew your Systems Management licenses, you will receive an email message from Panda Security. Open it and click the link included in it.

- You will access a Web page to create your Panda Account or, if you had already an account, to login.
- To create it, all you need to do is enter your email address and click Create.
Activating your Panda Account – IMPORTANT – DO NOT SKIP THIS STEP!!
Once you have created your Panda Account, it is essential to activate it. Follow the steps below to do so:
- Go to your inbox, find the activation message and click the Activation button. By doing that, you will validate the email address that you provided when creating your Panda Account. If the button doesn’t work, copy and paste the URL included in the message into your browser.
- The first time that you access your Panda Account you will be asked to set a password. Click Activate Account.
- Enter the required data and click Save data. If you prefer to enter your data later, click Not now.
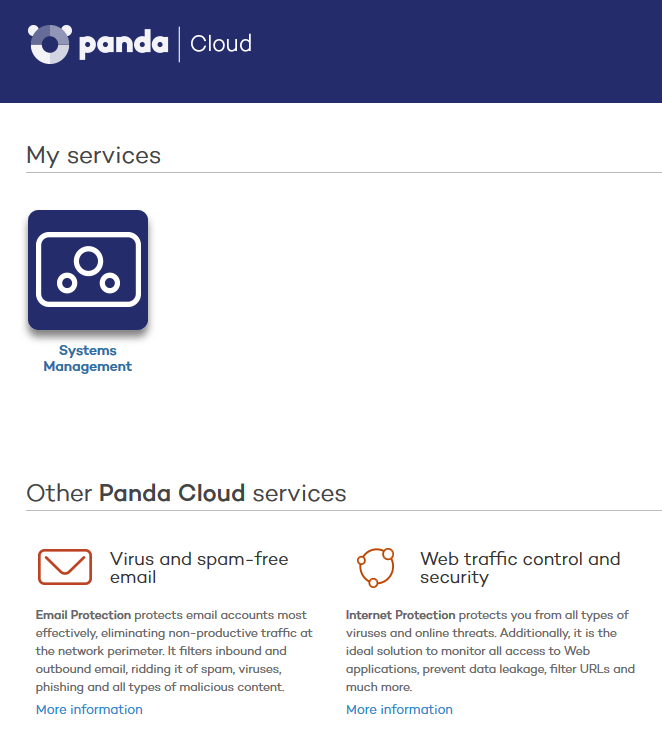
- Accept the license agreement and click OK. You will have successfully activated your Panda Account. You will then find yourself in the Panda Cloud site.
- From there, you will be able to access the web console of Systems Management. To do that, simply click the solution icon in My services section.

Create and configure the first profile
Once in the console, first you must determine whether to create a new profile or reuse one already in use, depending on the management criteria you are using. A new customer account will generally correspond to a new profile. Fill in the necessary information and keep in mind that the Description field may be used by the filters you add and that refer to the content of this field.
If the devices in the profile require additional information about the HTTP proxy used to access the Internet, this information can be provided here or can be added later. After creating the profile, it is advisable to configure it through the Settings tab. This configuration will be incorporated in the Agent installed on each managed device.
Deploy the Systems Management Agent
The instructions to deploy the Systems Management agent will depend on the operating system of the device to manage:
Windows
The Agent installed on the customer’s devices requires certain basic information in order to operate:
- The profile to which it will belong.
- Minimum information required to connect to the Internet and connect to the Server.
The profile to which the Agent belongs is set automatically if the downloading or sending of the download link is done through the profile.
The Internet connection data can be specified in the Tab bar, Settings, so that the Agent downloaded will already contain this information.
The Agent can be downloaded in three ways:
- Sending the Agent via email
- Sending the download URL via email
- Direct download
Mac OS X
Please refer to article How to install or uninstall the Mac OS X agent from Systems Management console
iOS
Please refer to article How to install/uninstall Mobile Device Management for iOS devices with PCSM
Linux
Please refer to article How to install/uninstall the Systems Management Linux agent
Android
Please refer to article How to install/uninstall Mobile Device Management for Android devices with PCSM
And you are ready to use the product!
Video tutorial
Watch a quick video with the basic set up instructions.

