NOTICE – On May 4 2020, Malwarebytes for Mac version 3.9.32 reached its End of Life. For more information, see Malwarebytes for Mac version 3 End of Life notice. For the latest version of this support article, see Download and install Malwarebytes for Mac.
To use Malwarebytes for Mac on your Mac running macOS or OS X, download and install Malwarebytes for Mac using these instructions. You can use this article to guide you through the Malwarebytes for Mac installation process. These steps also apply to re-installation, or how to reclaim the application in case of an accidental uninstall.
Download and Install Malwarebytes
- If you are on macOS 10.10 Yosemite, download version 3 of Malwarebytes for Mac. If you have a newer version of macOS, instead see Download and install Malwarebytes for Mac.
- Locate the downloaded file Malwarebytes-Mac-3.x.y.zzz.pkg.
3.x.y.zzz represents the version number.
In most cases, downloaded files are saved in the Downloads folder. - Double-click the file Malwarebytes-Mac-3.x.y.zzz.pkg to start the setup wizard.
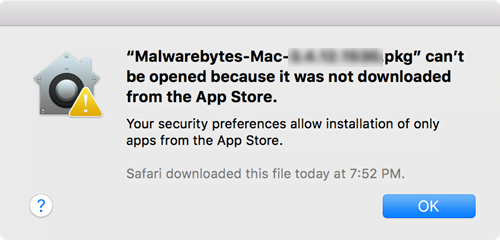
Malwarebytes is an identified Apple developer. However, if your macOS settings only allow apps from the App Store to be opened, you may receive a security warning dialog. Refer to Apple’s article MacOS Sierra: Open an app from an unidentified developer for more information.
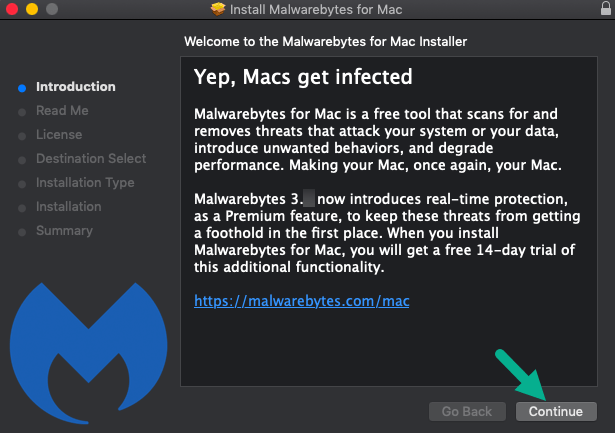
- The next screen shows the improvements and features available in this version of Malwarebytes for Mac. Click Continue.
- Read the Malwarebytes Software License Agreement, then click Continue.
- To confirm you agree to the Software License Agreement, click Agree.
- On the next screen, click Install.
- You are asked to confirm new software installation. Enter your Mac User Name and Password, then click Install Software.
- After Malwarebytes for Mac has finished installing, click Close to exit the setup wizard.
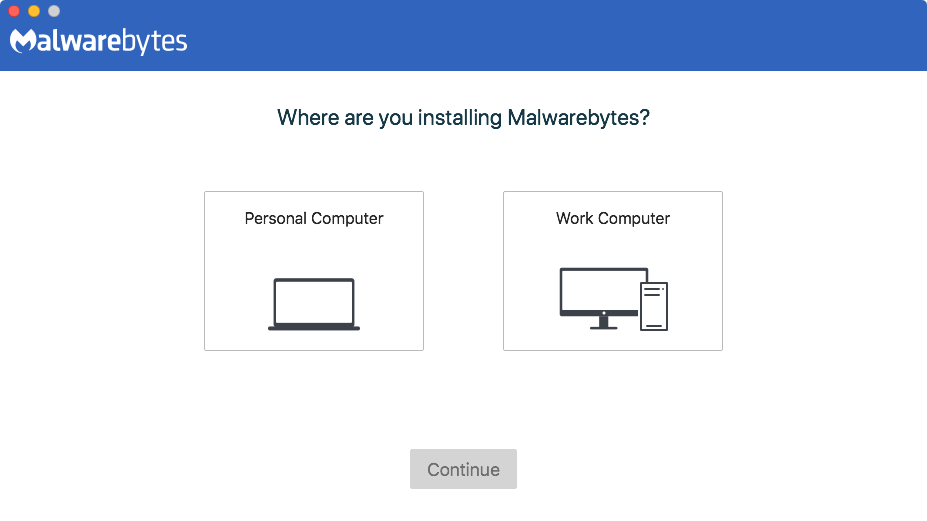
- A screen asks what kind of computer you are installing Malwarebytes on. This choice determines the kinds of Malwarebytes product notifications you will receive periodically. Click either Personal Computer or Work Computer, then click Continue. See bullets below for a description of each option.
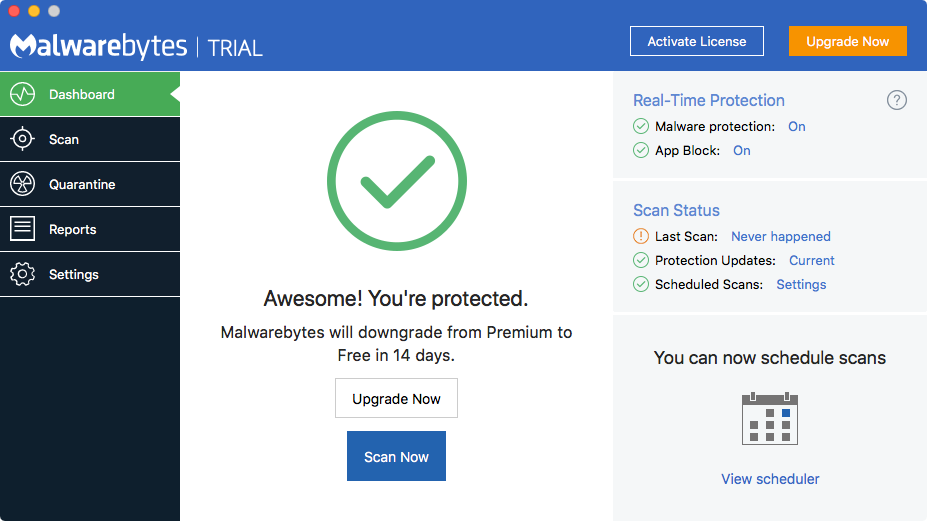
- Personal Computer: is a device owned by you or your family for home and personal use. Dashboard notifications after choosing Personal Computer may look like the following:
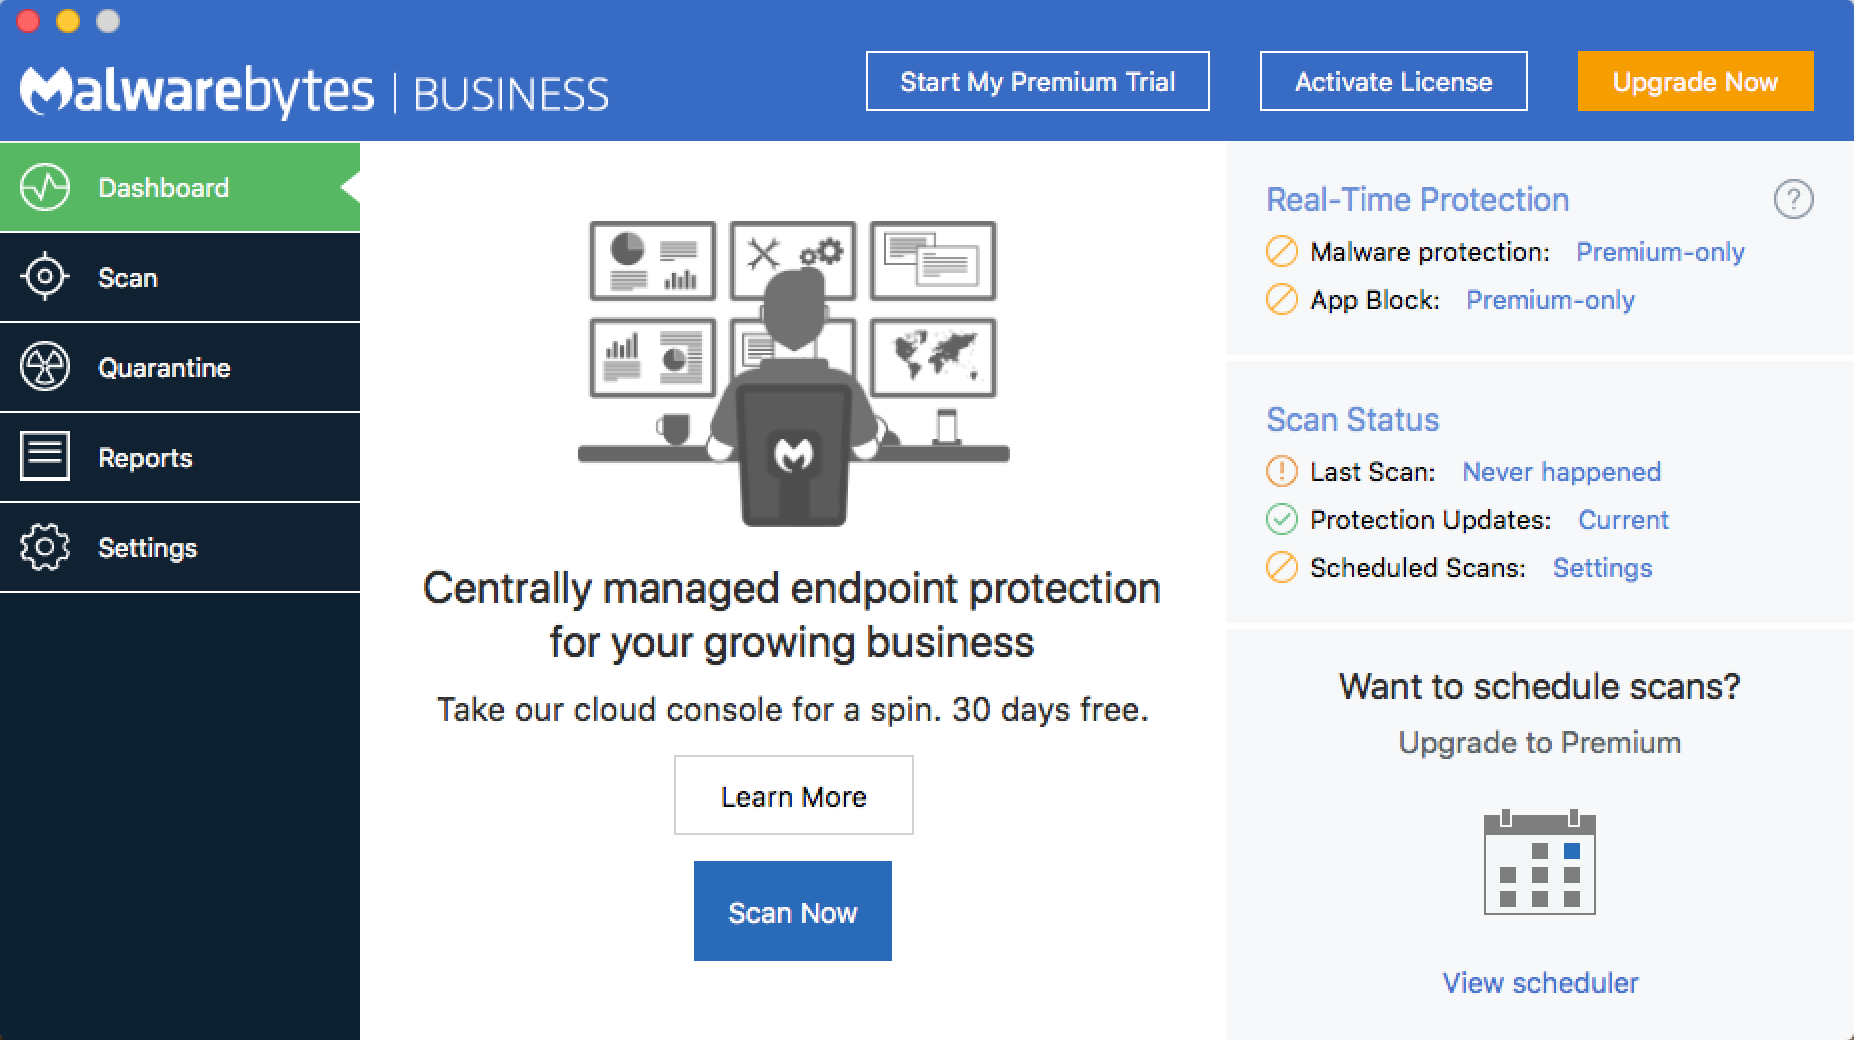
- Work Computer: is a device owned by your company or place of employment. This option is intended for Malwarebytes for Teams customers or Macs used primarily in a work or business environment. Dashboard notifications after choosing Work Computer may look like the following:
- Personal Computer: is a device owned by you or your family for home and personal use. Dashboard notifications after choosing Personal Computer may look like the following:
- If the Malwarebytes for Mac installer is located in the Downloads folder, you will see a prompt with options to Keep or Move to Trash.

- After you’ve completed the steps above, you will see the following screen.
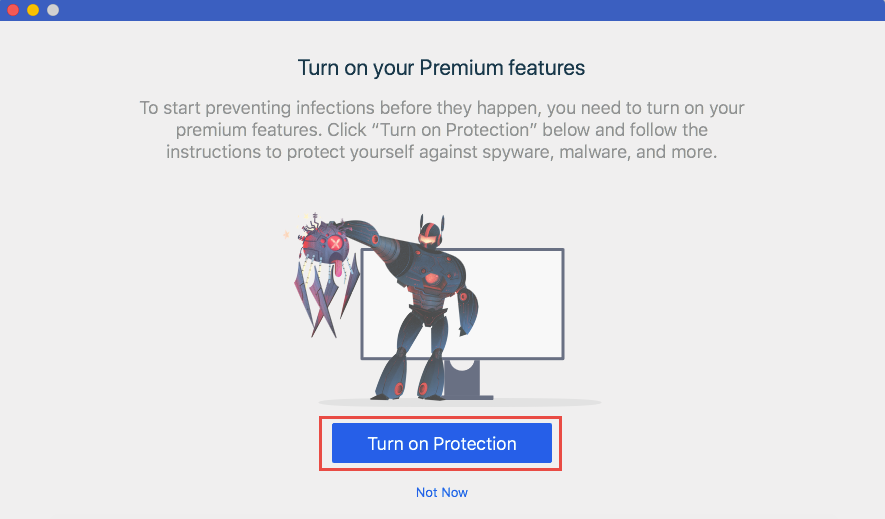
If you have installed Malwarebytes before, you may not see this screen or the following steps. Skip to the end of the article if this is the case. - If you click Not Now, you will be directed to the Dashboard.
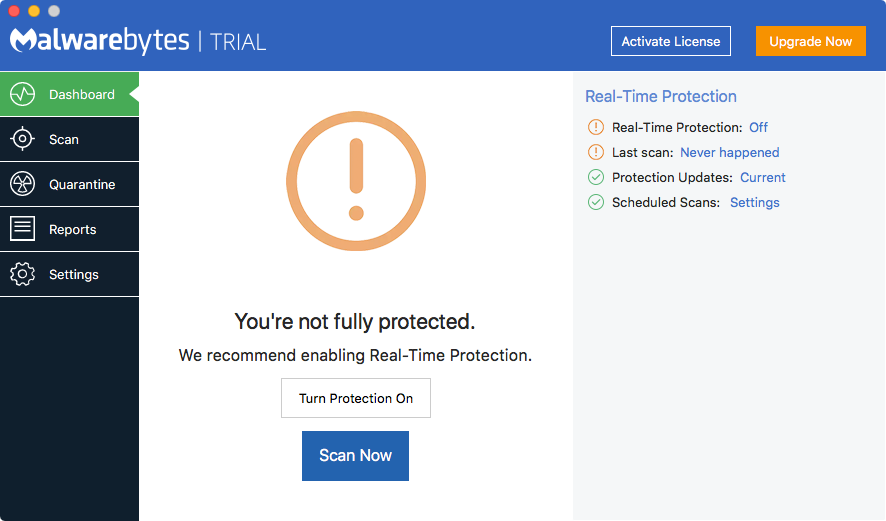
- Click Turn Protection On and the following screen is displayed. Click OK.
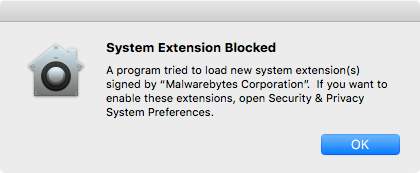
- Click Open Privacy Settings. The System Preferences window opens.
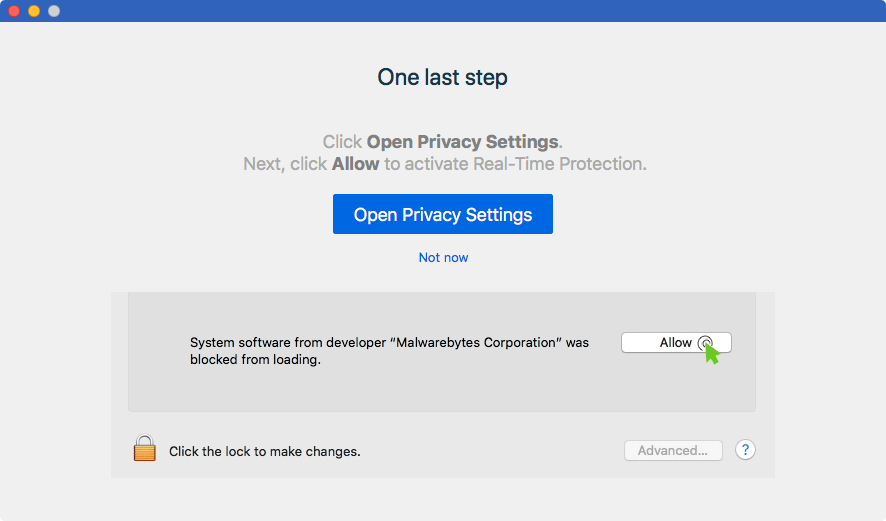
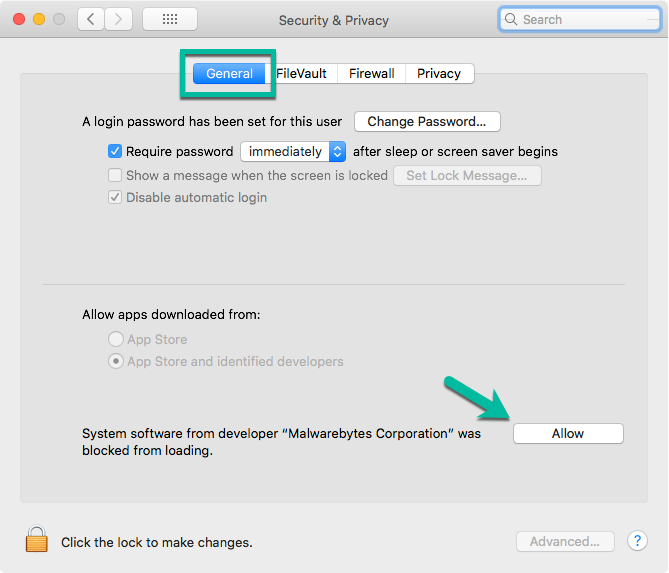
- Go to Security & Privacy > General tab, if necessary, click the Allow button. This is required to enable real-time protection. For a video walk-through, see Download and install Malwarebytes for Mac v3.
If you purchased a Premium subscription, Activate Malwarebytes Premium on Mac device v3 to access features such as Real-Time Protection.
If you installed Malwarebytes on a Mac running macOS Catalina 10.15, you must Give Full Disk Access for Malwarebytes on Mac.
Source : Official Malwarebytes Brand
Editor by : BEST Antivirus KBS Team

