Kaspersky Internet Security 2018 offers the following scanning options:
- Full Scan, which covers all available objects, including system memory, startup objects, system backup, hard drives, removable drives, and network drives.
- Quick Scan, which covers only startup objects, system memory, and boot sectors of hard drives.
- Selective Scan, which covers only the objects of your choice.
- External Devices Scan.
After you install Kaspersky Internet Security 2018, we recommend that you update antivirus databases and run a full scan.
Watch the video about how to run a scan task in Kaspersky Internet Security 2018 at the end of article.
How to run a full or quick scan
Before starting a full scan, it is recommended that you close all other applications to free up system resources.
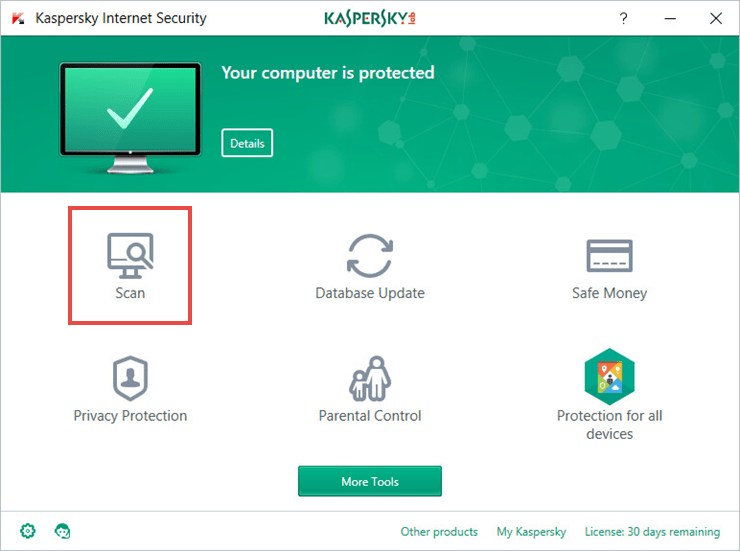
- Open Kaspersky Internet Security 2018. For guide on how to open the application interface, see this article.
- Click Scan.
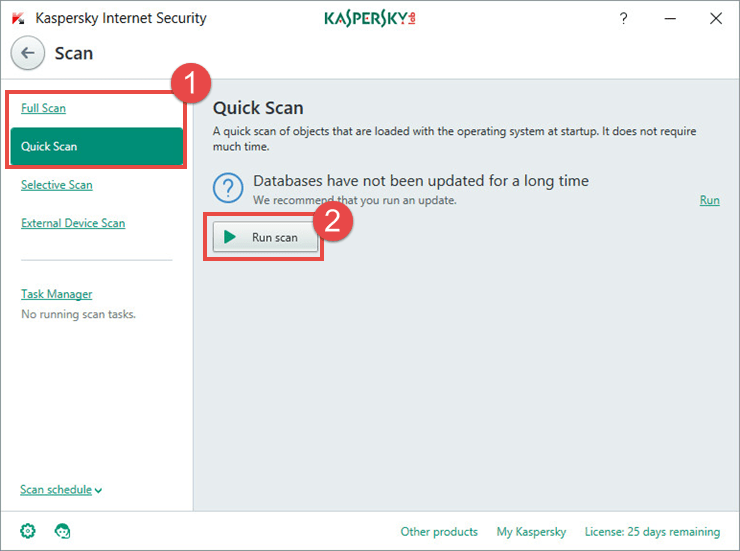
- Select Quick Scan or Full Scan.
- In the right frame, click Run scan.
How to scan a specific file or folder
- Open Kaspersky Internet Security 2018. For guide on how to open the application interface, see this article.
- Click Scan.
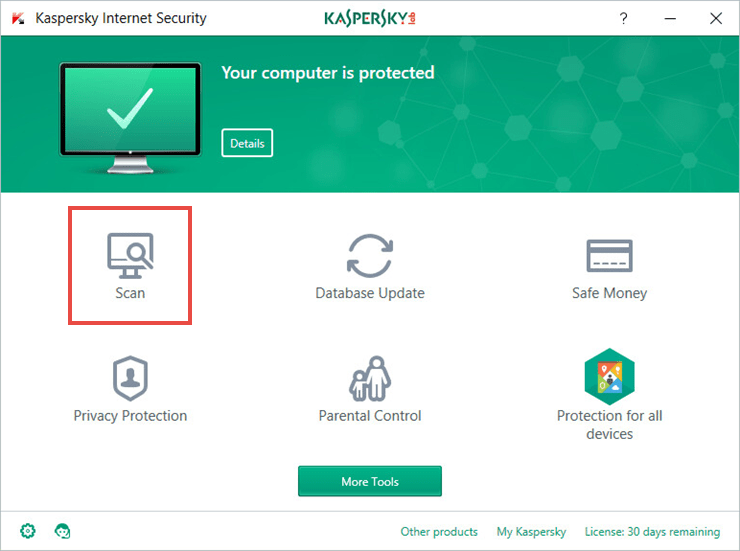
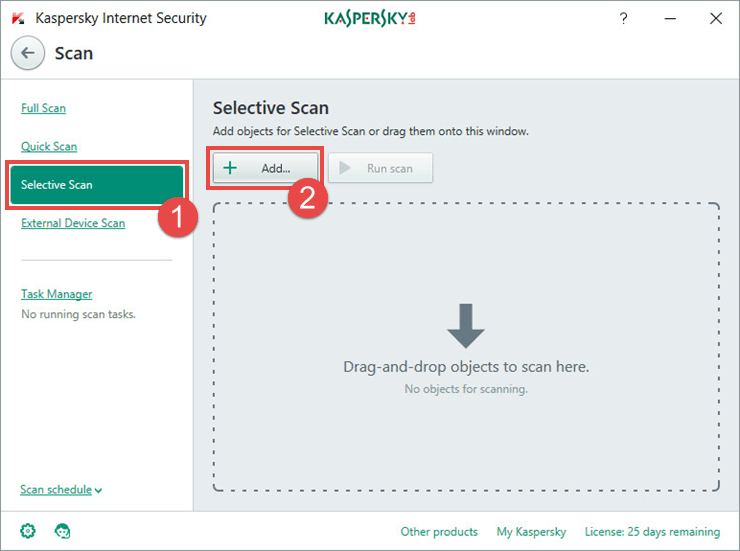
- Click Selective Scan.
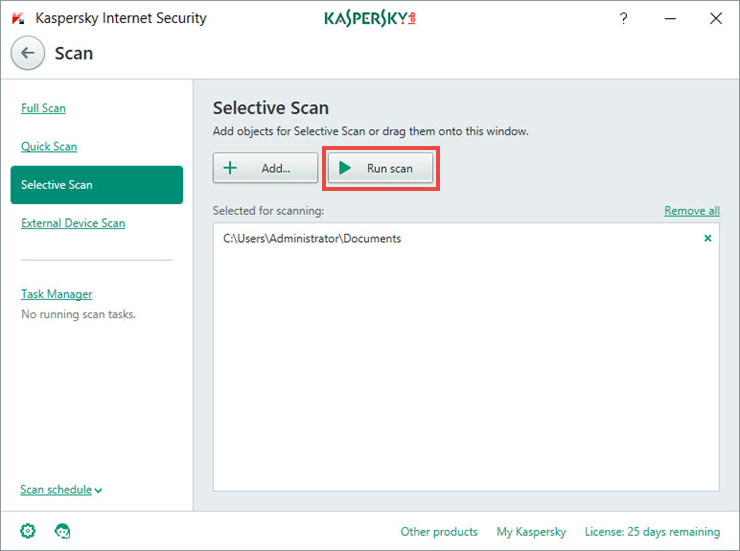
- Select a file to scan: click Add and select an object or drag-and-drop the object into the window. You can select multiple files.
- Click Run scan.
How to run External Device Scan
Normally, when you connect a removable drive, the application will show you the notification “Removable drive detected“. To scan the device for viruses, click Scan.
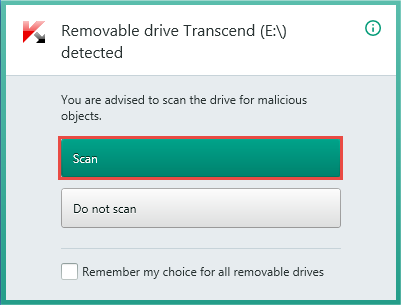
If you skipped this scan earlier or the notification did not appear:
- Open Kaspersky Internet Security 2018. For guide on how to open the application interface, see this article.
- Click Scan.
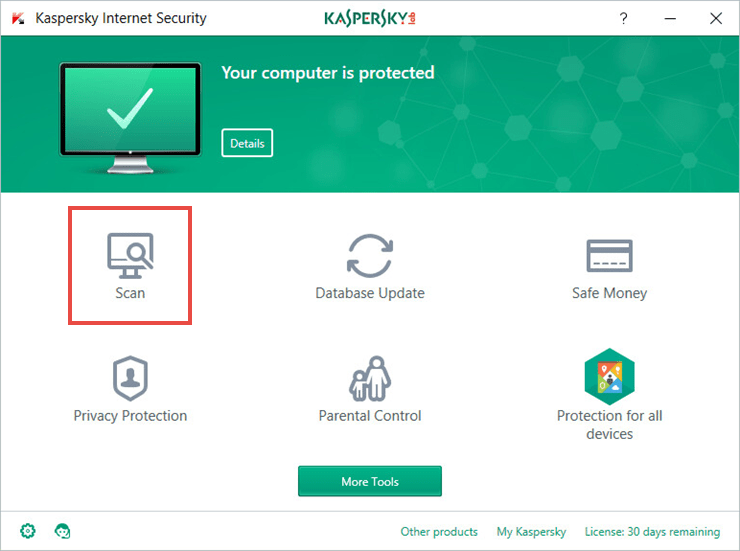
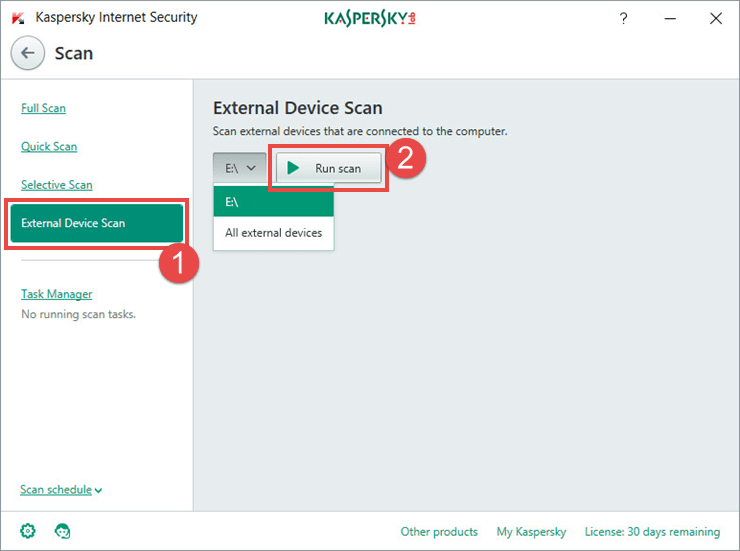
- Click External Device Scan.
- In the drop-down list, select the device to scan. You can scan all connected devices at once.
- Click Run scan.
How to run a scan task remotely
How to view scan results
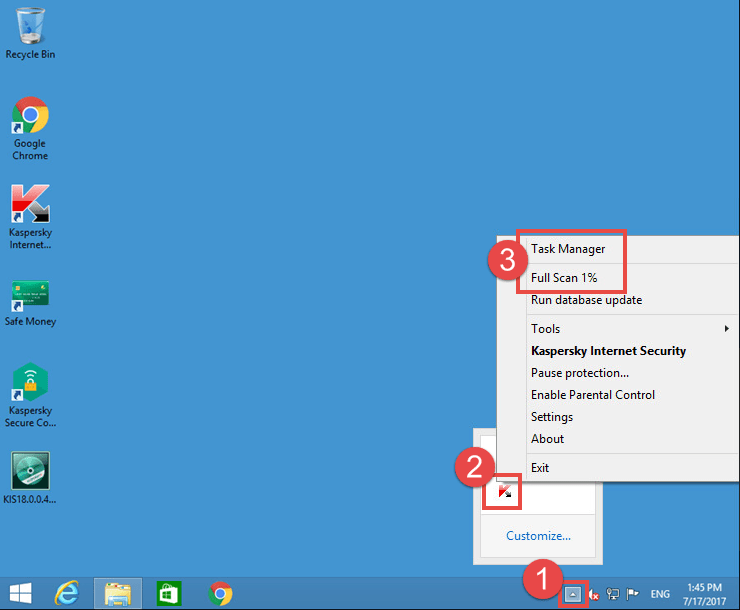
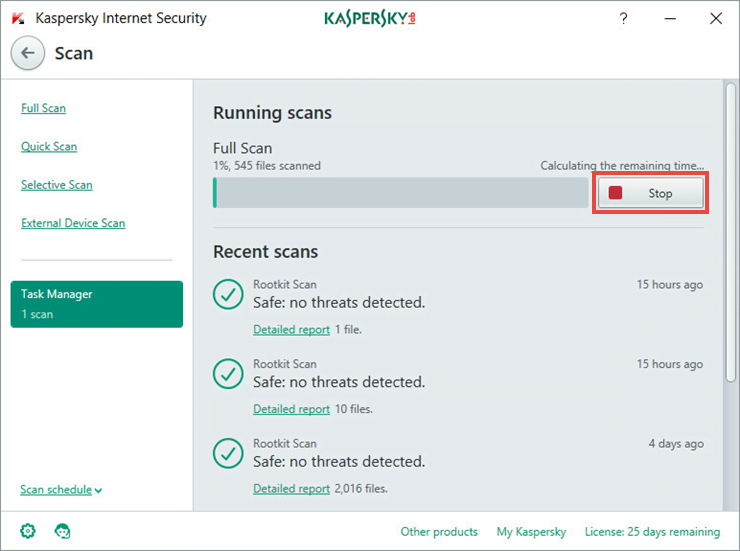
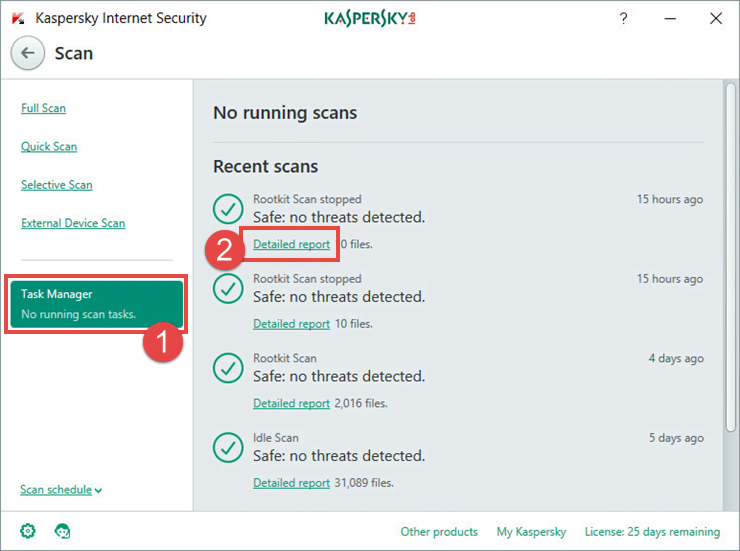
- In the Scan window, select Task Manager. In this section, you can observe the scanning process and see when the scan was started or stopped.
- Click Detailed report to view detailed information on recent scans.
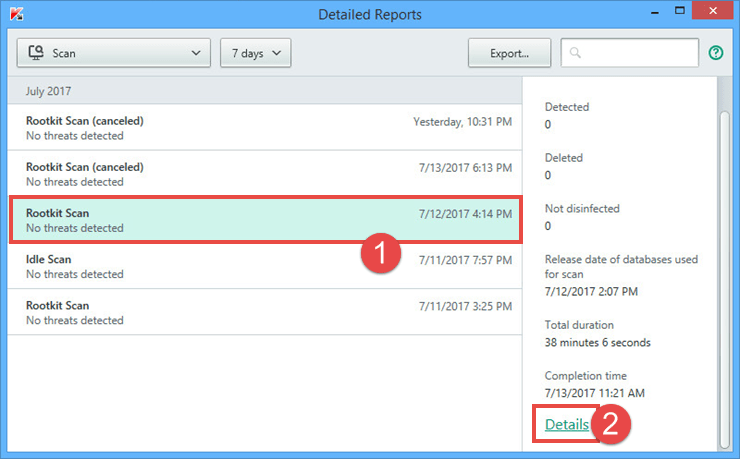
- In the Detailed reports window, select a scan task to open the information about it in the right frame. For further information about scanned objects, click Details.
Editor by : BEST Antivirus KBS Team


