

Servers may encounter performance or network related issues when using a policy with Real-Time Protection features enabled. As an example, DNS/DHCP/DC servers may be unable to resolve hostnames when Web Protection is enabled. This article explains how to disable Real-Time Protection features during installation to avoid these server issues.
There are two ways to resolve this:
- Disable conflicting features in the default policy, or
- Use the command line to deploy agents into a new group and policy.
Disable conflicting features in the policy
Important: By disabling Real-Time Protection features in your default policy, you are turning them off for all endpoints that use the default policy.
- In the Malwarebytes Nebula platform, navigate to Settings > Policies > Default Policy or select a policy.
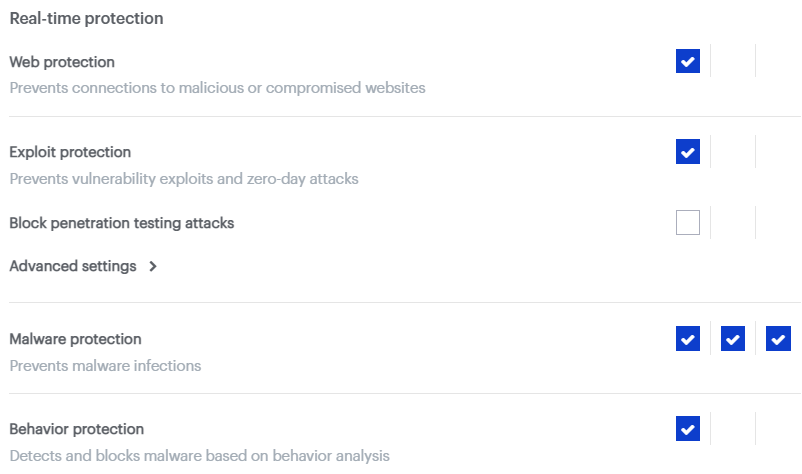
- In the policy go to Protection settings section then disable any Real-Time Protection settings that you do not wish to use on your server(s).
- Click Save.
- Install the server endpoint using the updated default policy. For details on installing an endpoint, see the Malwarebytes Nebula platform Administrator Guide.
- The endpoint might require a reboot after installation in order for the changes to take effect.
Important
- Double-check the Group ID before installing. If you specify a group name that does not exist, the endpoint will be assigned to the default group instead.
- The Windows setup filename may differ from the example, depending on the installer type.
Source : Official Malwarebytes Brand
Editor by : BEST Antivirus KBS Team
(Visited 9 times, 1 visits today)