

Issue
- Configure a dynamic group that identifies client computers not protected by ESET endpoint products
- Configure an automated task to deploy ESET endpoint products to unprotected computers
Solution
- Create New Dynamic Group
- Create a new Client Task to deploy ESET endpoint products to unprotected clients
I. Create New Dynamic Group
- Open ESET Security Management Center Web Console (ESMC Web Console) in your web browser and log in.
- Click Computers
 .
. - Select the static group that will be the parent of the new group, click the gear icon and then select New Dynamic Group from the context menu.

Figure 1-1
Click the image to view larger in new window
- Type a name for the group in the Name field. If necessary, configure the Description and Parent Group settings to your preferences.

Figure 1-2
Click the image to view larger in new window
- Click Template → New.
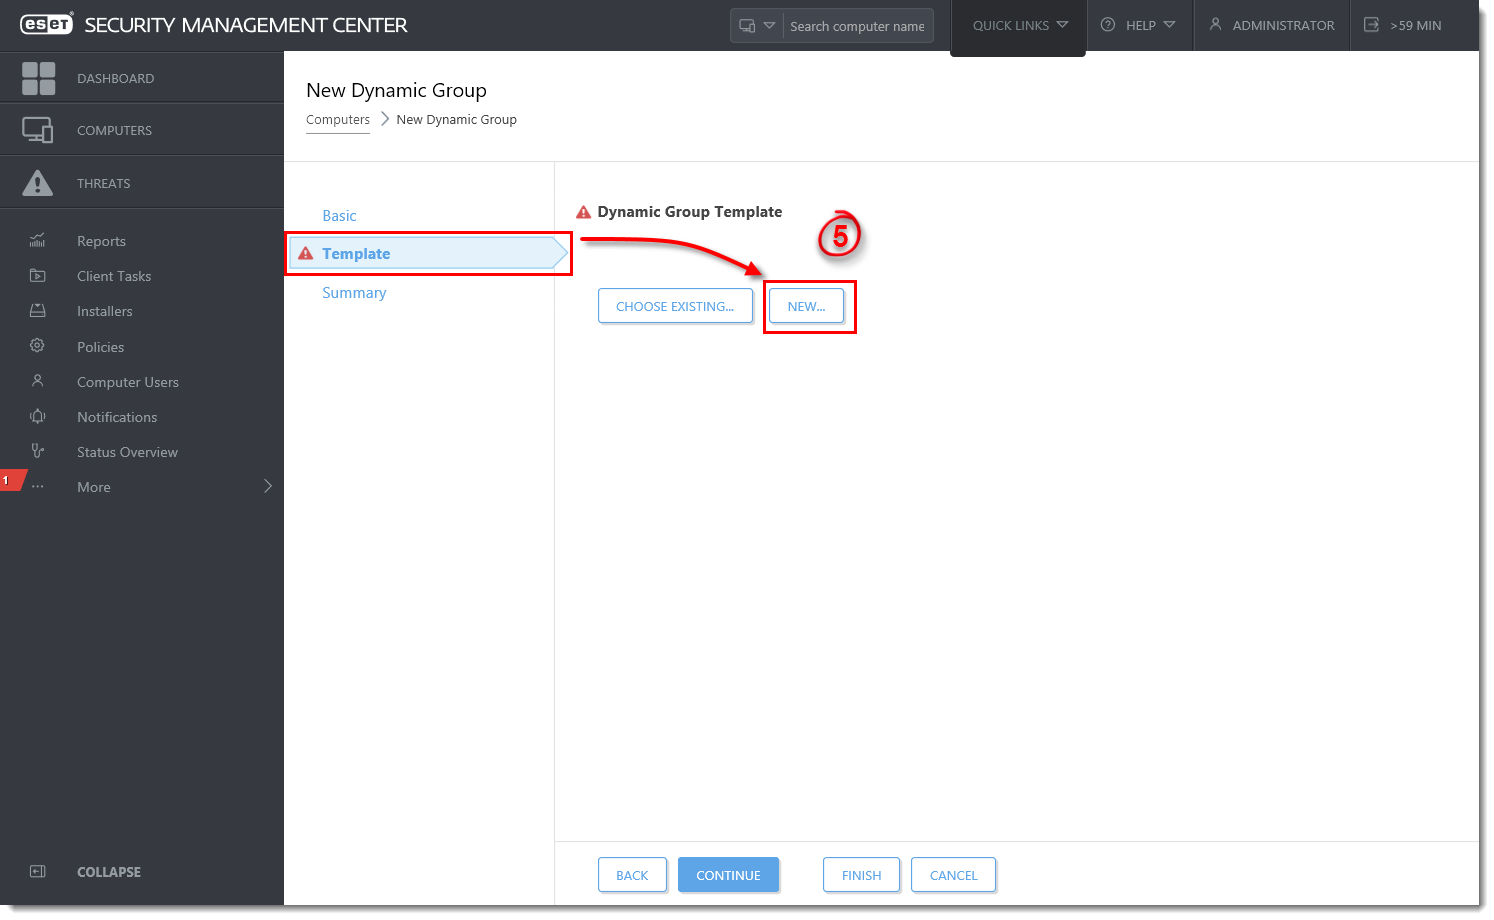
Figure 1-3
Click the image to view larger in new window
- Type a name in the Name field.

Figure 1-4
- Click Expression, select NOR (All conditions have to be false) from the Operation drop-down menu and then click Add Rule.
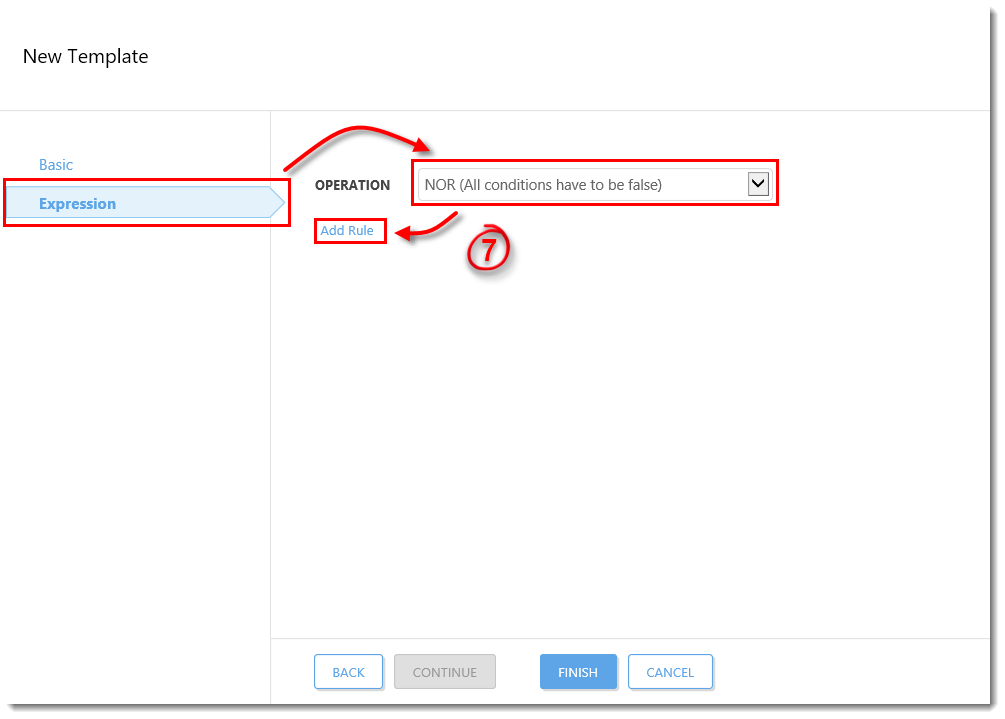
Figure 1-5
- Expand Installed software, select Application name and then click OK.
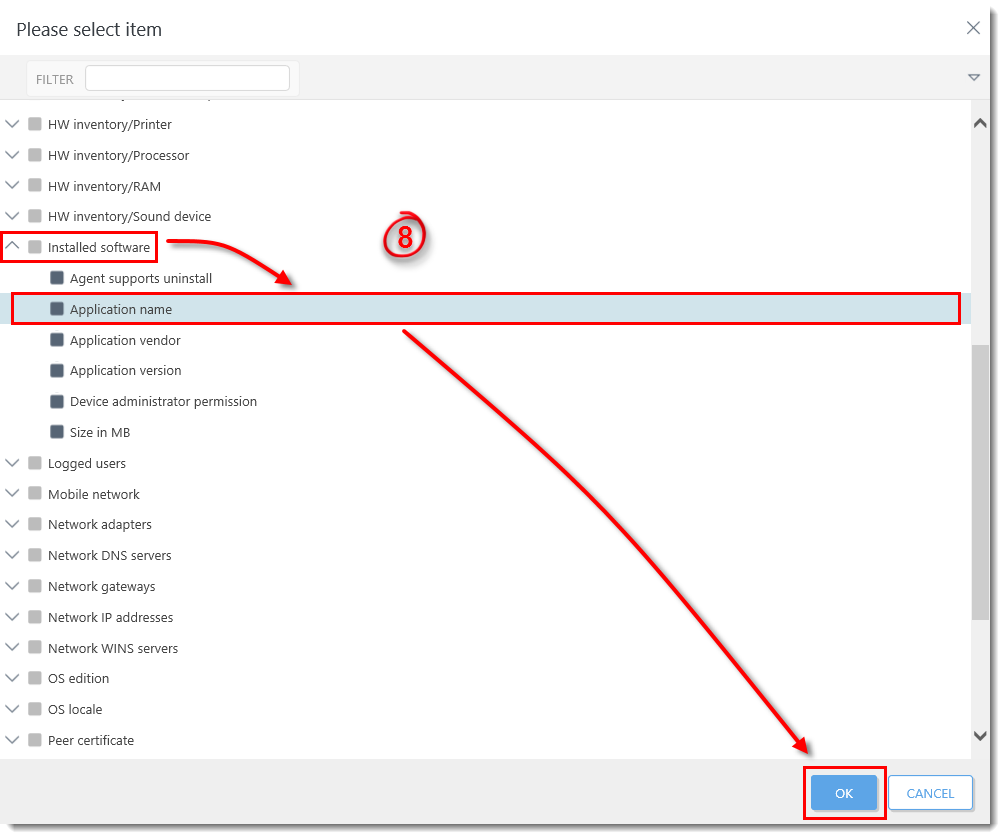
Figure 1-6
- Select has prefix from the drop-down menu, enter ESET Endpoint or ESET File depending on which product will be automatically deployed to client workstations in this dynamic group and then click Finish.

Figure 1-7
Click the image to view larger in new window
- Click Finish and proceed to part II.
II. Create a new Client Task to deploy ESET endpoint products to unprotected clients
- Click Client Tasks.
- Expand ESET Security Product, select Software Install and then click New.

Figure 2-1
Click the image to view larger in new window
- Type a name for the task in the Name field (configure the other settings in the Basic section as necessary).
- Click Settings, click Choose ESET License. Please note that you will add Targets after the task is created.

Figure 2-2
Click the image to view larger in new window - Select a valid license and click OK.
- Click Choose package.
- Select the product you want to deploy and click OK.
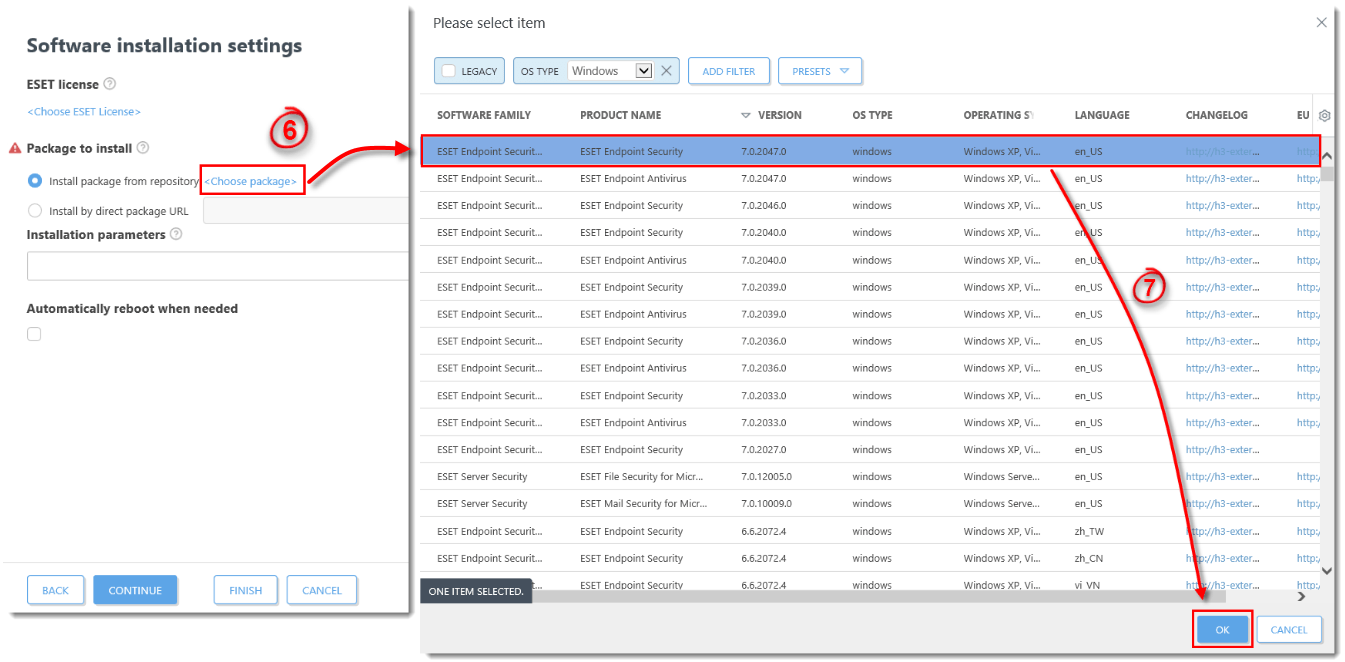
Figure 2-3
Click the image to view larger in new window - Select the check box next to I accept the terms of the application End User License Agreement and acknowledge the Privacy Policy.
- Click Finish when you are finished making changes to your task.
- Click Create Trigger when you are asked whether you want to add a trigger for the client task.
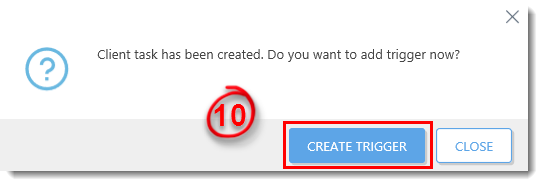
Figure 2-4
- Click Targets. Click Add groups and select the check box next the dynamic group you created in part I. Click OK.

Figure 2-5
Click the image to view larger in new window - Click the Trigger section and select Joined Dynamic Group Trigger from the Trigger type drop-down menu.
- Click Finish.

Figure 2-6
Click the image to view larger in new window
Last Updated: Jun 24, 2021
(Visited 26 times, 1 visits today)