

Important tips before proceeding with Quick Heal installation :
- Make sure you logged in to System using Administrator account.
- Uninstall any other Antivirus program.
- Check available free space on root drive.
- Exit all programs before starting the installation.
There are two ways you can use to install Quick Heal, using Quick Heal CD or Quick Heal Setup.
1. Using Quick Heal CD :
- Insert Quick Heal CD.
- It is an auto run CD.
- Click on Install Quick Heal.
2. Using Quick Heal Setup :
- Double click on Quick Heal Setup.
- Once you run the setup below screen will appear.
- Installation is in process, wait till Quick Heal installation wizard asked for any action.
- Here Quick Heal will run memory scan. In-case any problem Quick Heal will set Native boot scan to clear malware.
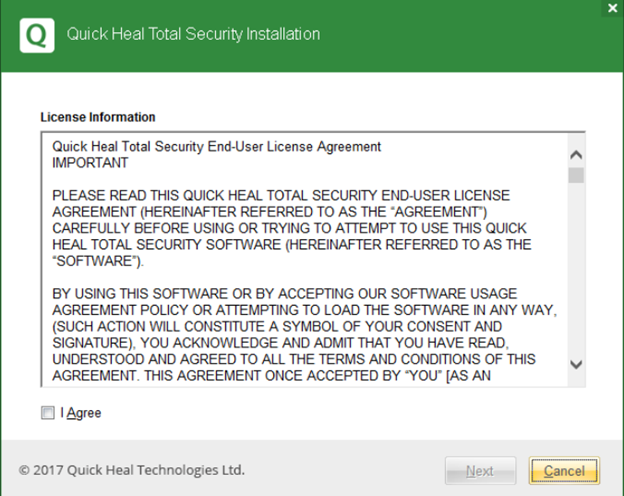
- On below screen Click on “I Agree” to accept license agreement and click Next.
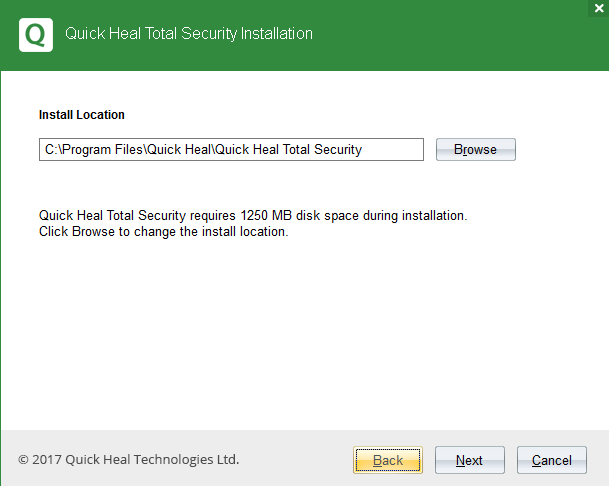
- On below screen installation wizard will ask for the installation path, click “Next” to proceed.
By default it takes System Drive(C:). It’s recommended to install Quick Heal in System drive.
Note: System Drive – Where Operating System is installed.
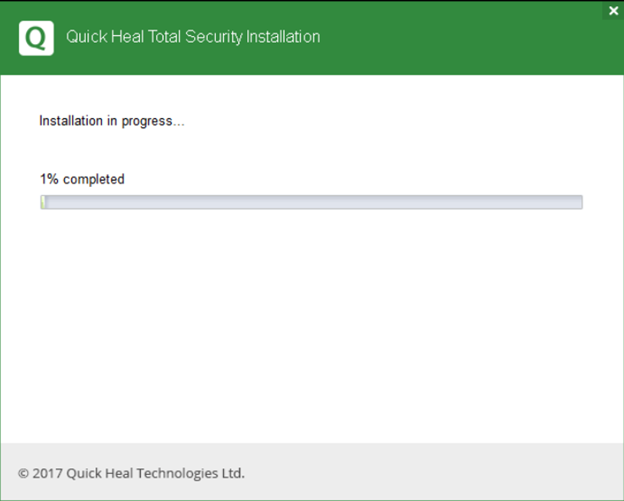
- After clicking on Next, below screen will appear and Quick Heal will start installing in system, wait for some time.
- Upon successfully installation below screen will appear in front of you.
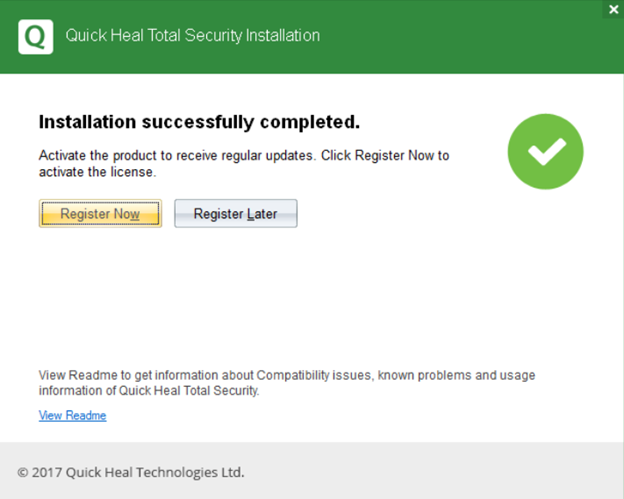
- Click on wp-signup.php Now to wp-signup.php or reactivate your Product.
Source : Official Quick Heal Brand
Editor by : BEST Antivirus KBS Team
(Visited 21 times, 1 visits today)