What do you need for cross renewing your product?
- Your computer must be connected to the Internet.
- The product key of the product to be cross renewed must be wp-signup.phped with Quick Heal.
- A product can be cross renewed before 90 days of the Product expiry or after the product key’s expiration date.
- The product key of the product to be cross renewed should not be blocked by Quick Heal server.
- Multi-user products cannot be cross renewed.
- Free trials or OEM copies cannot be cross renewed.
- Quick Heal Anti-Virus Server Edition cannot be cross renewed.
- The version of the existing product (to be cross renewed) should be v12.00 (2011) or later.
- The product key cannot be used as a renewal key in the cross renewal wizard while performing cross renewal.
- Only lower flavor products can be cross renewed to higher flavor products.
- For example, Guardian can be cross renewed to Quick Heal Antivirus Pro OR Quick Heal Antivirus Pro can be cross renewed to Quick Heal Internet Security. But, it cannot be vice versa i.e., a higher flavor product cannot be cross renewed to a lower flavor product.
How to cross renew your product?
1. Insert the Upgrade Pack CD into your PC and launch Autorun. Click Install.
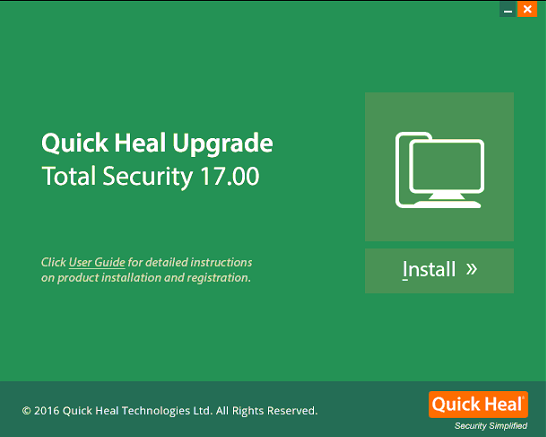
2. You will see the following notification.
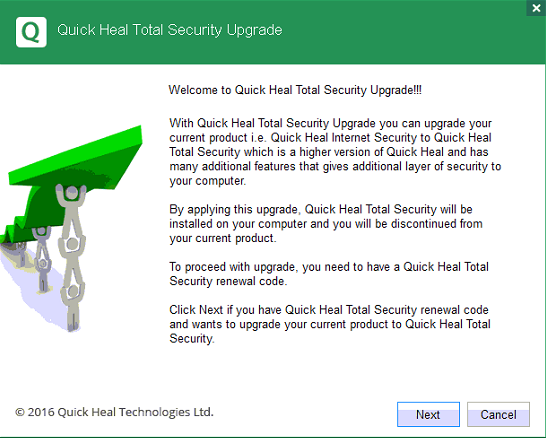
3. Click Next
4. Enter the Quick Heal Total Security renewal code available in the Upgrade Pack.

Note:
- Only use a newly bought renewal code.
- A product key is not supported as a renewal key.
5. Click Next.
Once the renewal code is validated, you will be asked to share your contact details. It is recommended that you share your correct details. This will help us provide appropriate and timely customer support and also make you eligible for offers and promotions run by Quick Heal from time to time.
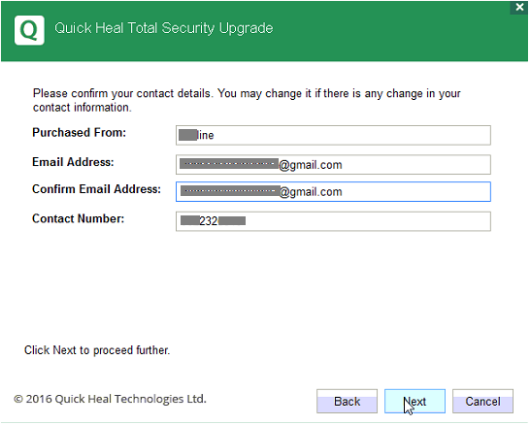
6. Click Next. A product information page will be displayed with the details of both your current product and new product.
7. Click Next.
8. The message ‘Product upgraded successfully’ will be displayed with the Install button.
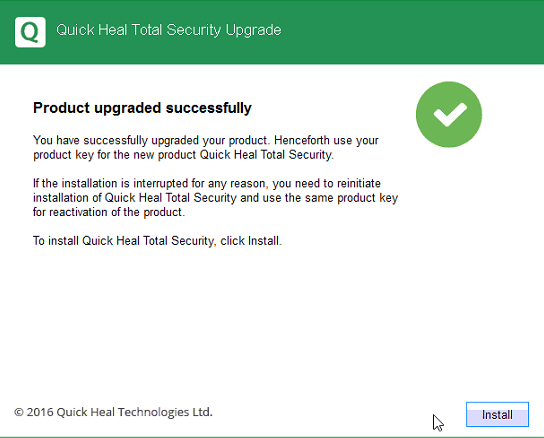
9. Click Install to begin the installation.

10. This will also automatically uninstall the existing product.
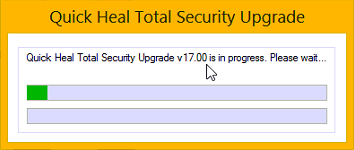
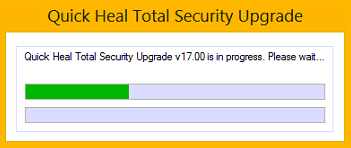
11. After the existing product is uninstalled, you will be asked to restart your computer. We recommend you to restart your PC for the installation to take effect. However, you may choose to restart later.
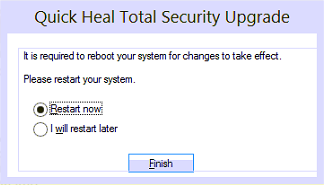
12. Click Finish.
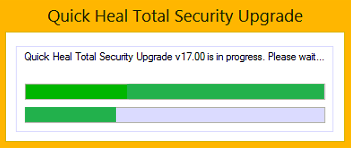
After the system restarts, the installation of the upgraded product will begin.
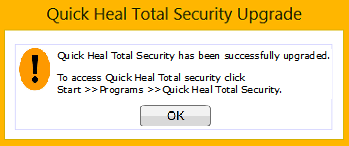
13. Once the product is installed successfully, you will see the below message. This message will guide you to access the newly installed product. Click OK to close the window.
