Avira Rescue System is a free product that scans and repairs an infected operating system. It also includes a registry editor to modify the operating system’s various configuration settings.
Even if you’re not tech-savvy, you’ll still find the tool easy to use thanks to its wizard which guides you through the scan and repair process.
Simply follow the steps below to download Avira Rescue System and create either a bootable USB drive or DVD (referred to as a boot medium) on an uninfected computer. Once that’s done, you can clean up your infected computer by starting it using this boot medium.
Note
The product doesn’t support multi-boot scenarios and doesn’t repair:
- Boot sectors
- Encrypted files
- Partitions
Linux operating systems can only be searched and sanitized, but not repaired.
Use an uninfected computer to download the Avira Rescue System ISO file from the internet. Once you’ve done that, proceed to step 2.
An ISO file (image file) is simply a copy of an entire DVD as a single file.
When you create a bootable USB drive or DVD from an ISO file, this USB drive/DVD will contain the same properties as the ISO file.
At 1.2 GB, the ISO file is quite large so it may take a while to download depending on your internet connection speed.
On your uninfected computer, either create a bootable USB drive or burn a bootable DVD from the ISO file you downloaded — instructions for each option are given below. We recommend creating a bootable USB drive.
Further information on how to create a bootable USB drive can be found in the following PDF document:
Avira Rescue System – Bootable USB Drive
Create a bootable USB drive
Create a bootable USB drive if the infected computer doesn’t have a DVD drive. For further information on how to do this, please refer to this article this article.
Note
Use a 4 GB or larger USB drive.
Burn a bootable DVD
Use any burning tool or the built-in Windows burner to create a DVD from the downloaded ISO file:
- Insert a writable DVD in the drive.
- Either open your DVD burning application and use it to burn the ISO to a DVD or (if using Windows) right-click the downloaded ISO file.
- Choose Burn disc image.
- Select your burner, then click Burn.
Once you’ve created your boot medium, follow the steps below to start your infected computer via Avira Rescue System. Avira Rescue System is based on a customized Ubuntu desktop system and runs on this platform as a standalone application.
Note
If possible, back up important files to an external device before using Avira Rescue System.
I. Modify your computer’s start up sequence
To start the infected computer via Avira Rescue System, you first need to go to the BIOS settings and change the operating system’s start up sequence.
For further information on how to do this, please refer to this article.
Note
For further information on how to disable UEFI Secure Boot, please refer to this article.
To determine whether your infected computer is running a 32-bit or 64-bit version of Windows:
- Click the Start button, then select Settings > System > About.
- Look under Device specifications > System type where you’ll find this information.
II. Start Avira Rescue System
As you will have now changed the computer’s start up sequence, the infected computer can now start from the Avira Rescue System Ubuntu platform. Additionally, an internet connection is required/recommended to download the latest VDF (virus definition file) and engine updates as well as to scan using the APC (Avira Protection Cloud).
1. Connect the bootable Avira Rescue System USB drive to the computer or insert the DVD into the drive and restart the infected computer.
2. The Avira Rescue System user interface will be displayed automatically.
You can display the interface in either English or German.
3. Accept the EULA (End User License Agreement).
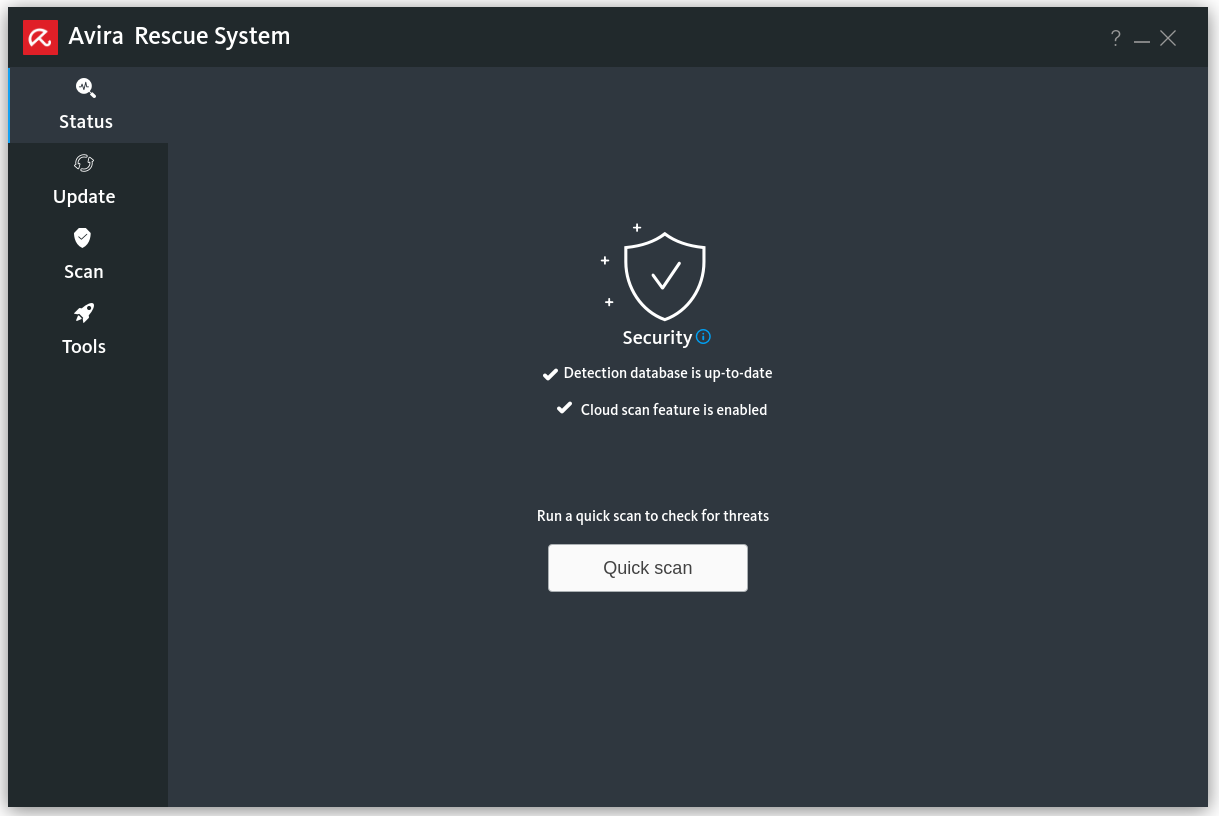
4. The welcome page of Avira Rescue System will be displayed.
5. Update Avira Rescue System as it does not update itself automatically. To do so:
Navigate to the left pane and click Update, then click the Update button in the right pane. Avira Rescue System will then download the latest VDF/engine updates.

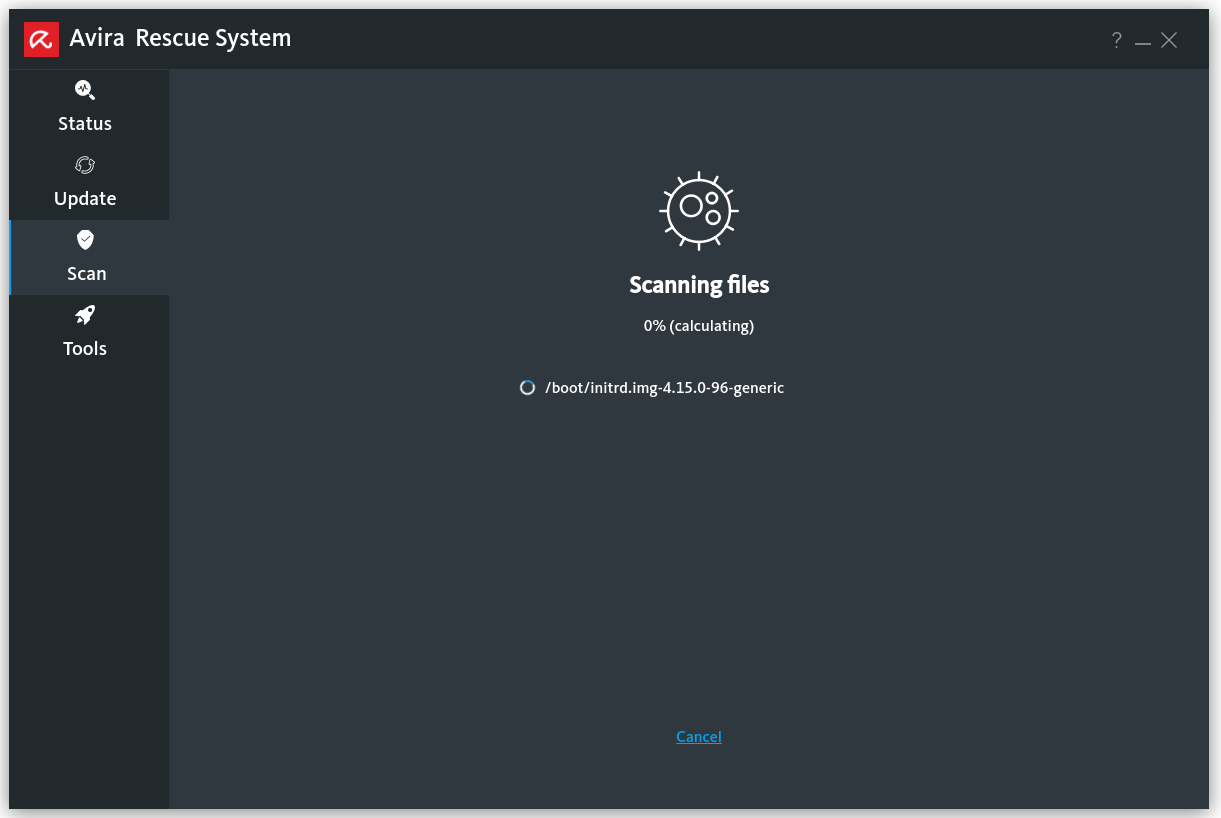
6. Choose from Quick scan to scan common folders, Selective scan to scan specific directories, or Full scan to scan your entire device.

7. During the scan, suspicious files will be renamed to .rend files automatically to prevent any further damage.

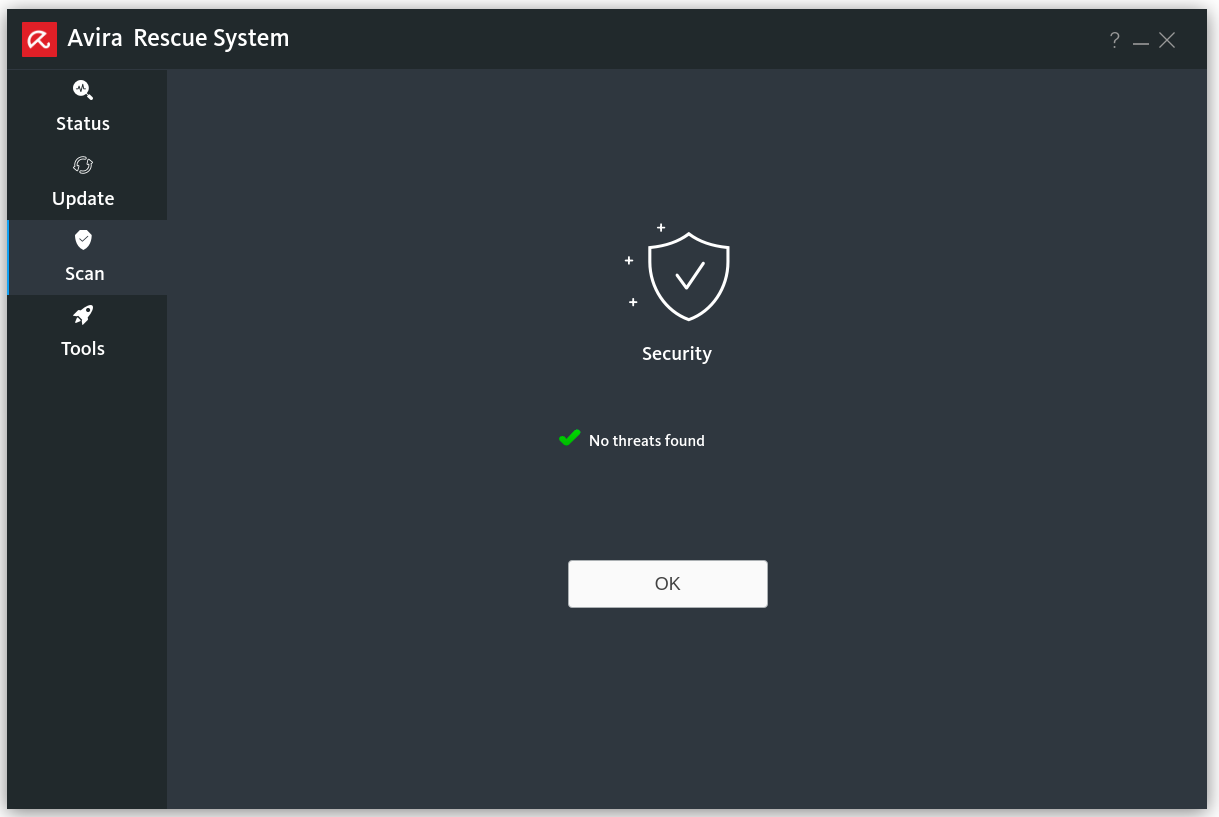
8. The result summary indicates that the system has been completely cleaned and repaired.

9. Click OK.
10. Remove the Avira Rescue System USB drive or DVD, then restart your computer.


