

In this quickstart, you’ll install the Microsoft Defender for Identity sensor on a domain controller. If you prefer a silent installation, see the Silent installation article.
Prerequisites
- An Defender for Identity instance that’s connected to Active Directory.
- A downloaded copy of your Defender for Identity sensor setup package and the access key.
- Make sure Microsoft .NET Framework 4.7 or later is installed on the machine. If Microsoft .NET Framework 4.7 or later isn’t installed, the Defender for Identity sensor setup package installs it, which may require a reboot of the server.
- For sensor installations on Active Directory Federation Services (AD FS) servers using SQL Server Management Studio, configure the SQL server to allow the Directory service account (Configuration > Directory services > Username) connect, log in, read, and select permissions to the AdfsConfiguration database. For instructions on how to grant access to the AD FS database via TSQL or PowerShell, see this explanation.
- Install the Npcap driver. For download and installation instructions, see How do I download and install the Npcap driver.
Note
When installing the sensor on Windows Server Core, follow the steps for silent installation.
Install the sensor
Perform the following steps on the domain controller or AD FS server.
- Verify the machine has connectivity to the relevant Defender for Identity cloud service endpoint(s).
- Extract the installation files from the zip file. Installing directly from the zip file will fail.
- Run Azure ATP sensor setup.exe with elevated privileges (Run as administrator) and follow the setup wizard.
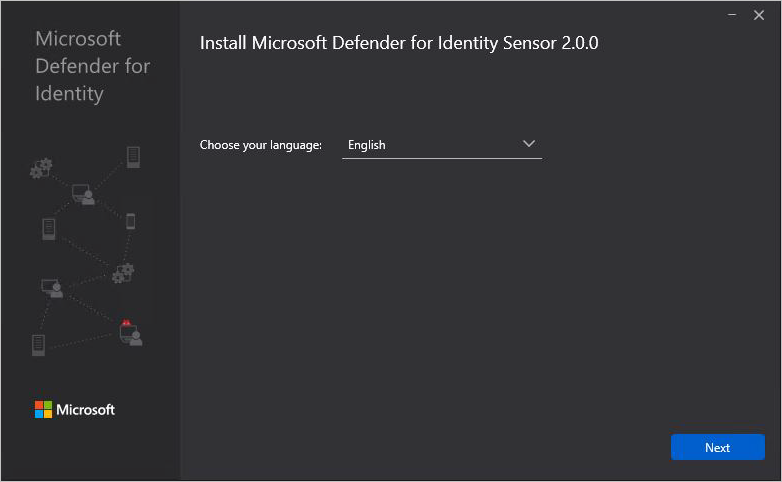
- On the Welcome page, select your language and select Next.
- The installation wizard automatically checks if the server is a domain controller/ AD FS server or a dedicated server. If it’s a domain controller / AD FS server, the Defender for Identity sensor is installed. If it’s a dedicated server, the Defender for Identity standalone sensor is installed.
For example, for a Defender for Identity sensor, the following screen is displayed to let you know that a Defender for Identity sensor is installed on your dedicated server:
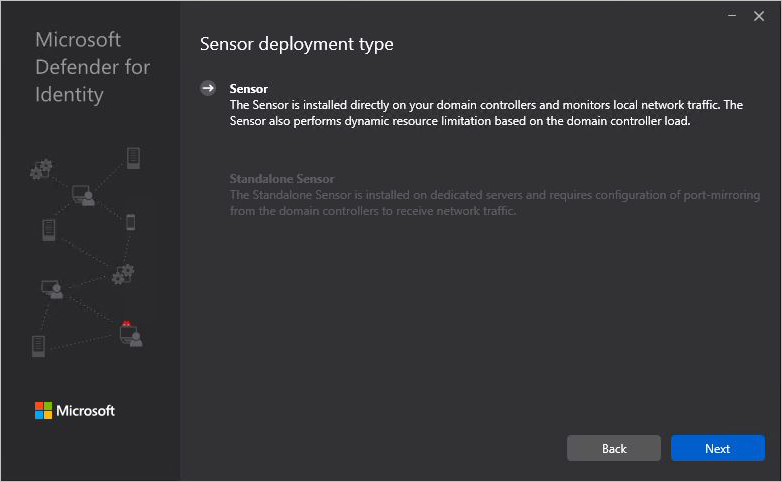
Select Next.
Note
A warning is issued if the domain controller / AD FS server or dedicated server does not meet the minimum hardware requirements for the installation. The warning doesn’t prevent you from clicking Next, and proceeding with the installation. It can still be the right option for the installation of Defender for Identity in a small lab test environment where less room for data storage is required. For production environments, it is highly recommended to work with Defender for Identity’s capacity planning guide to make sure your domain controllers or dedicated servers meet the necessary requirements.
- Under Configure the sensor, enter the installation path and the access key that you copied from the previous step, based on your environment:
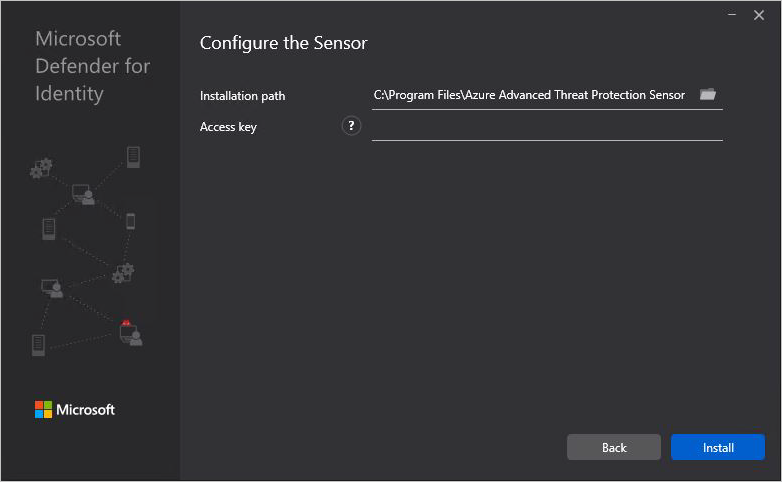
- Installation path: The location where the Defender for Identity sensor is installed. By default the path is
%programfiles%\Azure Advanced Threat Protection sensor. Leave the default value. - Access key: Retrieved from the Defender for Identity portal in the previous step.
- Installation path: The location where the Defender for Identity sensor is installed. By default the path is
- Select Install. The following components are installed and configured during the installation of the Defender for Identity sensor:
- KB 3047154 (for Windows Server 2012 R2 only)
Important
- Don’t install KB 3047154 on a virtualization host (the host that is running the virtualization – it’s fine to run it on a virtual machine). This may cause port mirroring to stop working properly.
- If Wireshark is installed on the Defender for Identity sensor machine, after you run Wireshark you need to restart the Defender for Identity sensor, because it uses the same drivers.
- Defender for Identity sensor service and Defender for Identity sensor updater service
- Microsoft Visual C++ 2013 Redistributable
- KB 3047154 (for Windows Server 2012 R2 only)
Post-installation steps for AD FS servers
Use the following steps to configure Defender for Identity once you’ve completed the installation of the sensor on an AD FS server.
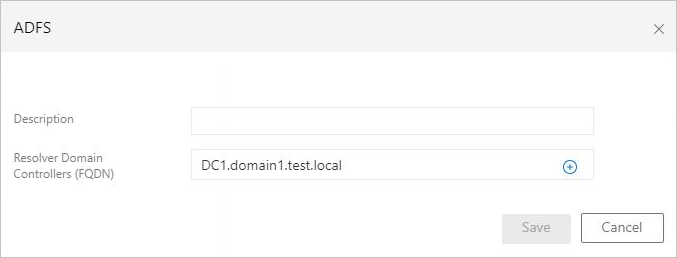
- In the Defender for Identity portal, select Configuration
- Under System, select Sensors.
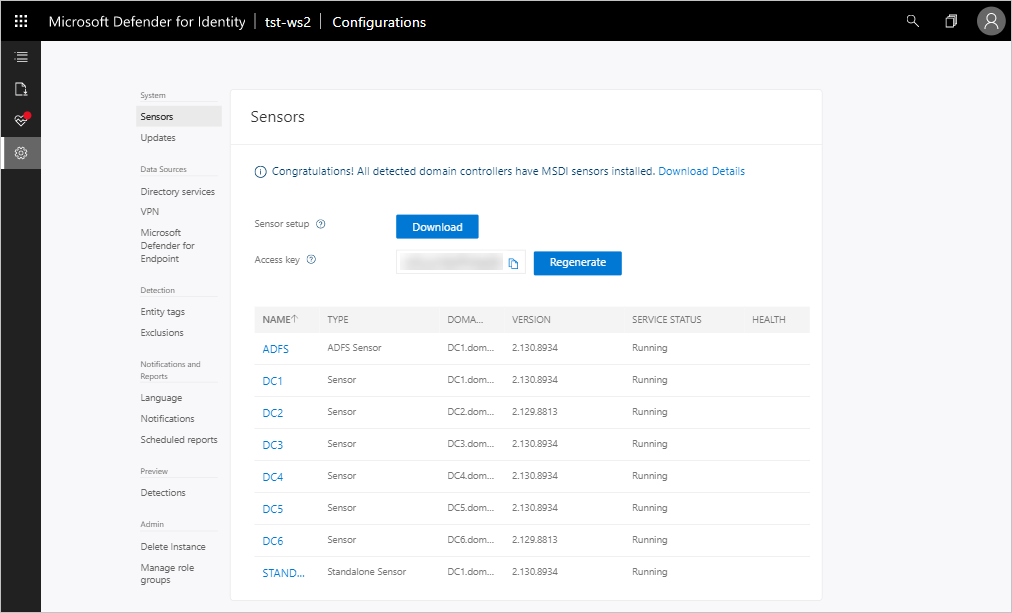
- Select the sensor you installed on the AD FS server.
- In the popup window, in the Resolver Domain Controller field, enter the FQDN of the resolver domain controllers, then select the plus icon (+), and then select Save.
Initializing the sensor may take a couple of minutes, at which time the AD FS sensor service status should change from stopped to running.