

Issue
- ESET PROTECT Web Console does not load
- You receive the message “Cannot access page”
- You need to reinstall Apache Tomcat 9
Solution
If ESET PROTECT Web Console will not start, or if the login screen appears to load constantly without opening, follow the instructions below. Start with part I and only continue to the next part if the issue is not resolved.
I. Restart the services for ESET PROTECT Server and Apache Tomcat
- Make sure you are using a supported web browser to access ESET PROTECT Web Console.
- Restart the ESET PROTECT Server service.
- Restart the Apache Tomcat service.
-
Open the ESET PROTECT Web Console in your web browser and log in.
If the ESET PROTECT Web Console login screen does not load successfully, continue to part II.
II. Check for port conflicts
- Press the
 Windows key + R, type cmd into the field and click OK to open a command prompt. Type the following command:
netstat –aobn

Figure 2-1
- Verify that Tomcat9.exe is listening on port 443 or 8443. Change the port used by the ESET PROTECT Web Console.
-
Open the ESET PROTECT Web Console in your web browser and log in.
If the ESET PROTECT Web Console login screen does not load successfully, continue to part III.
III. Reinstall Apache Tomcat and Webconsole
You can reinstall Tomcat and Webconsole using the All-in-one installer.
- Backup the following files from the Tomcat folder (path to the folder may differ based on your Tomcat installation):
C:\Program Files\Apache Software Foundation\apache-tomcat-9.0.40\.keystoreIf you are using a custom SSL certificate store in the Tomcat folder, also back up that certificate.
C:\Program Files\Apache Software Foundation\apache-tomcat-9.0.40\conf\server.xml
C:\Program Files\Apache Software Foundation\apache-tomcat-9.0.40\webapps\era\WEB-INF\classes\sk\eset\era\g2webconsole\server\modules\config\EraWebServerConfig.properties - Download the ESET PROTECT 8 All-in-one installer.
- Extract the downloaded file and run the
Setup.exeapplication. Click Run when prompted by the security warning.
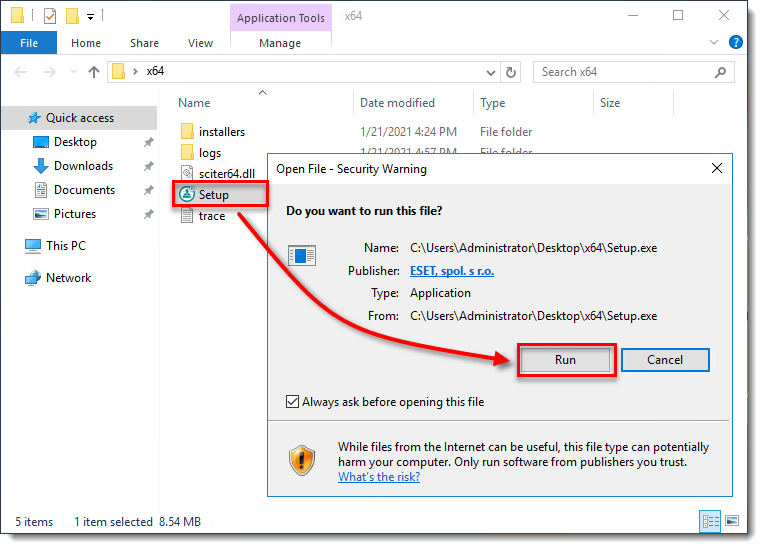
Figure 3-1
- Set the language of your installation in the Language drop-down and click Next.
- Select Uninstall, click Next.
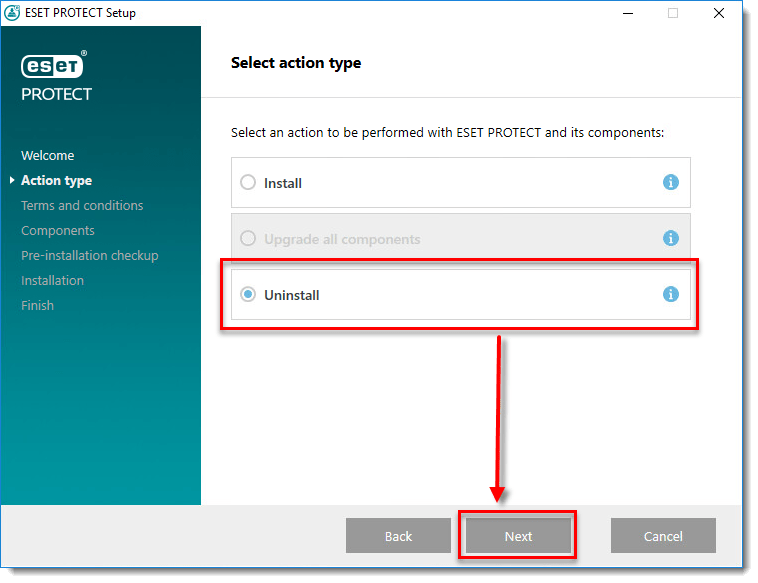
Figure 3-2
- You need to agree with the End-user license agreement before you can click Next to continue.
- De-select all components except ESET PROTECT Webconsole and Apache Tomcat, click Uninstall.

Figure 3-3
- When the process is finished, click Finish.
- Run the
Setup.exeapplication again. Click Run when prompted by the security warning. - Set the language of your installation in the Language drop-down and click Next.
- Select Install, click Next.
- Select I accept the terms in the license agreement and click Next to continue.
- Select only ESET PROTECT Webconsole and Apache Tomcat and click Next.

Figure 3-4
- Select an existing JDK instance. (Since you are reinstalling the Tomcat, you already have the necessary JDK on your system). Click Install and wait until the installation is completed.

Figure 3-5
- Click Finish to close the installation window.
- Restore the backed up files from Step 1 to their locations.
- Run the Services application from the Start Menu.
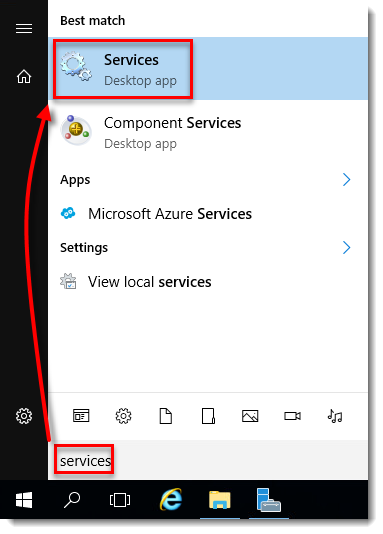
Figure 3-6
- Restart the Apache Tomcat service.
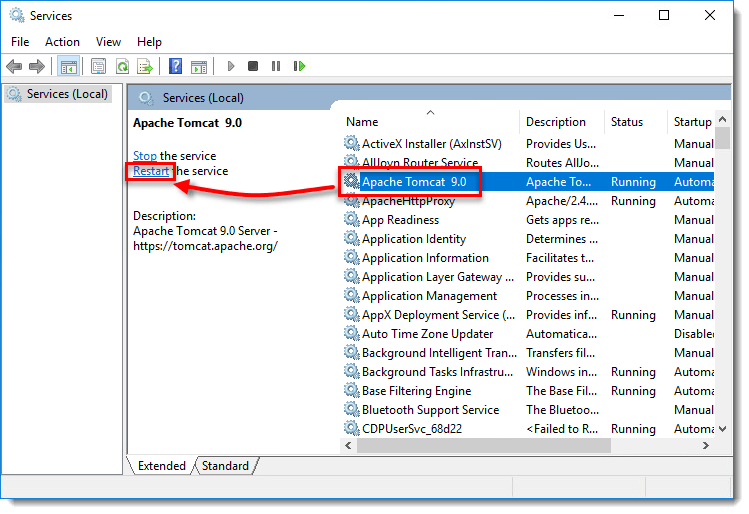
Figure 3-7
If you do not want to use .keystore and server.xml files from the Apache Tomcat backup, follow the steps below to generate a new keystore:
Generate a new keystore
If the ESET PROTECT Web Console login screen does not load successfully, visit the Related links below or contact ESET technical support.