

Details
Static Groups are groups of manually selected and configured clients—their members are static and can only be added/removed manually, not based on dynamic criteria (as opposed to Dynamic Groups, which are arranged automatically based on specific criteria defined in a template). Once computers are added to groups, you can assign policies, tasks or settings to these groups. The policy, task or setting is then applied to all the members of the group.
There are two default Static Groups in the ESET Security Management Center (ESMC) Web Console:
- All: This is the main group for all computers in the ESMC Server network. It is used for applying policies for each computer as a default policy. The group is always displayed and the group name cannot be changed.
- Lost & Found: This is a child group of the All group. When a new computer connects via the ESET Management Agent to the ESMC Server, it is automatically added to this group.
Solution
- Open the ESET Security Management Center Web Console (ESMC Web Console) in your web browser and log in.
- Click Computers
 and select the Static Group to which you are adding a computer (visit the following ESET Online Help topic for step-by-step instructions to create New Static Group).
 - Click Add New → Computers.
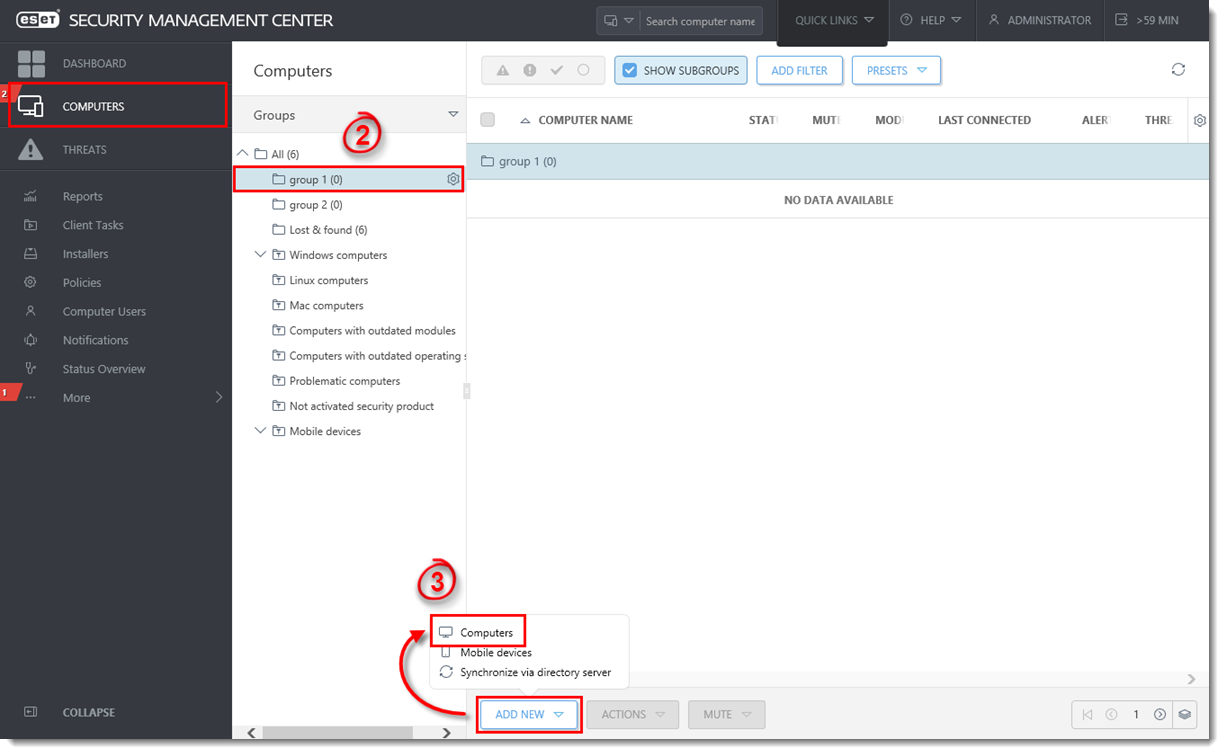
Figure 1-1
Click the image to view larger in new window - In the Add Computers window, type the hostname or IP address of the computer in the Name field and then click Add.
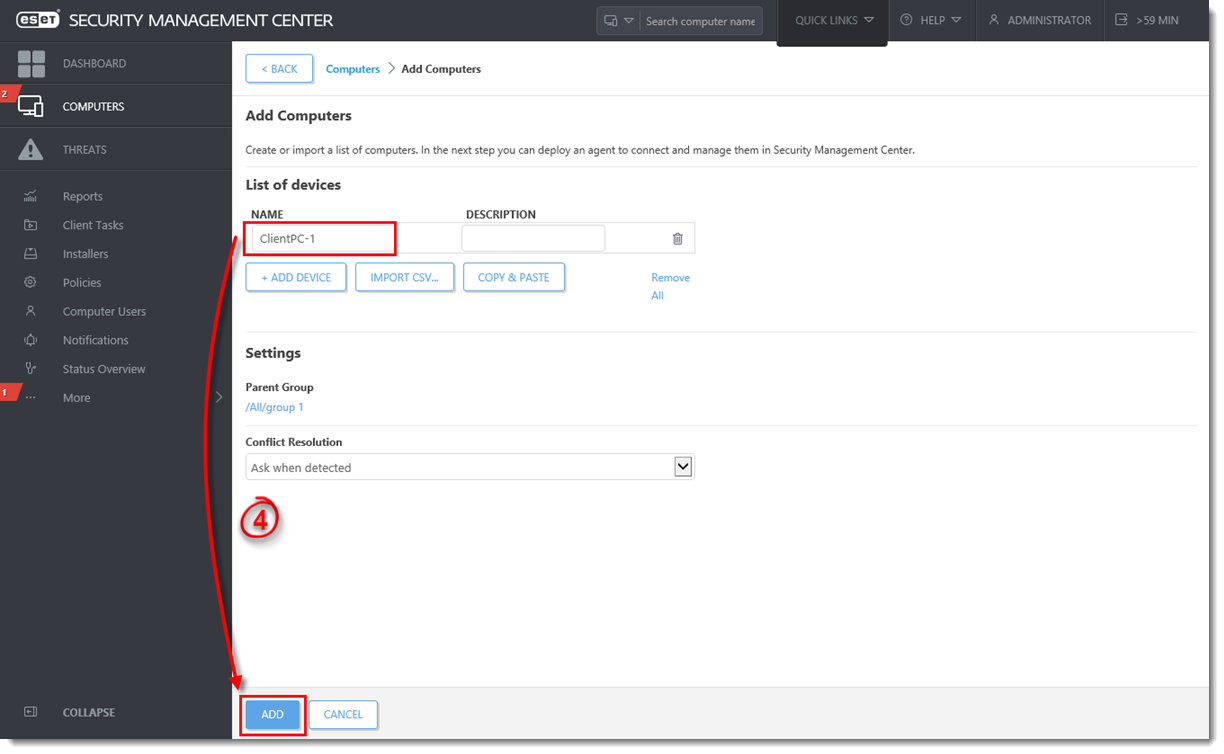
Figure 1-2
Click the image to view larger in new window - Click OK. (Alternatively, you can click Deploy Agent and begin the process of deploying the ESET Management Agent to this specific computer. For more information about deploying the ESET Management Agent, for detailed instructions, see our Knowledgebase article.
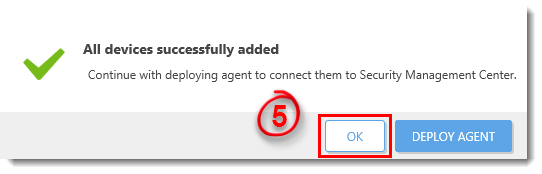
Figure 1-3
Last Updated: Mar 23, 2021
(Visited 23 times, 1 visits today)