

Issue
- Install ESET Remote Administrator Proxy
- Connect client workstations in multiple locations to ESET Remote Administrator Server (ERA Server) using ESET Remote Administrator Proxy (ERA Proxy)
Details
The ESET Remote Administrator Proxy Server (ERA Proxy) can be used on larger networks to help distribute load from client computers to the ESET Remote Administrator Server (ERA Server). For example, an enterprise network (10,000 or more clients) may require multiple instances of ERA Proxy installed on server machines to distribute the network traffic and reduce the load on ERA Server. Additionally, you can use ERA Proxy to manage communication between a remote office that does not have a high-bandwidth link to ERA Server. This configuration offers better communication because the ERA Proxy accepts all communication from local client computers, compiles the data and uploads it to the ERA Server. This configuration can accommodate more clients without compromising network performance.
Solution
Prerequisites
- You will need your proxy certificate and certification authority available on the server where you will install ERA Proxy. If you have not already created these certificates, click here for instructions to create a new certificate. To export these certificates, open ESET Remote Administrator Web Console, click Admin
 → Certificates, select the certificate you want to export and click Export.
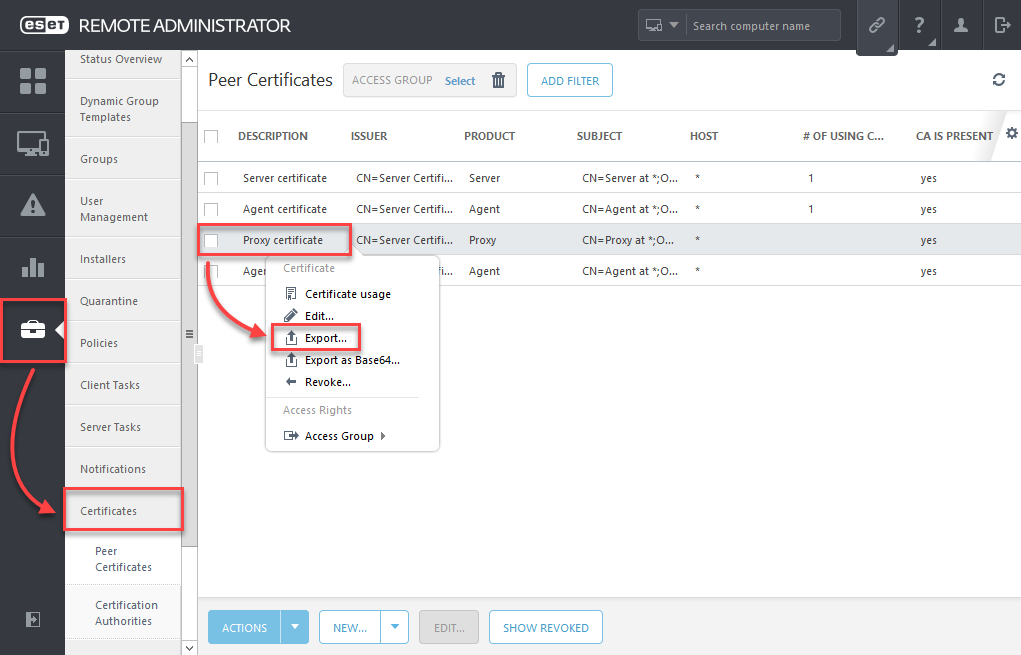
Figure 1-1
- You will need your hostname and login credentials for ERA Server to complete the server-assisted installation of the ESET Remote Administrator Agent (ERA Agent), which is required for ERA Proxy.
ERA Proxy can be installed from:
- All-in-one installer
- Standalone installer
Install ERA Proxy from All-in-one installer
- On the server where you will install ERA Proxy, click the appropriate link below to download the ERA All-in-one installer:
32-bit Download 64-bit Download
- Extract the ZIP file you downloaded in step one (named win32.zip or x64.zip) and open the folder. Double-click Setup
 and click Run to begin installation. Click Next to start Setup. Select Install Remote Administrator Proxy and click Next.
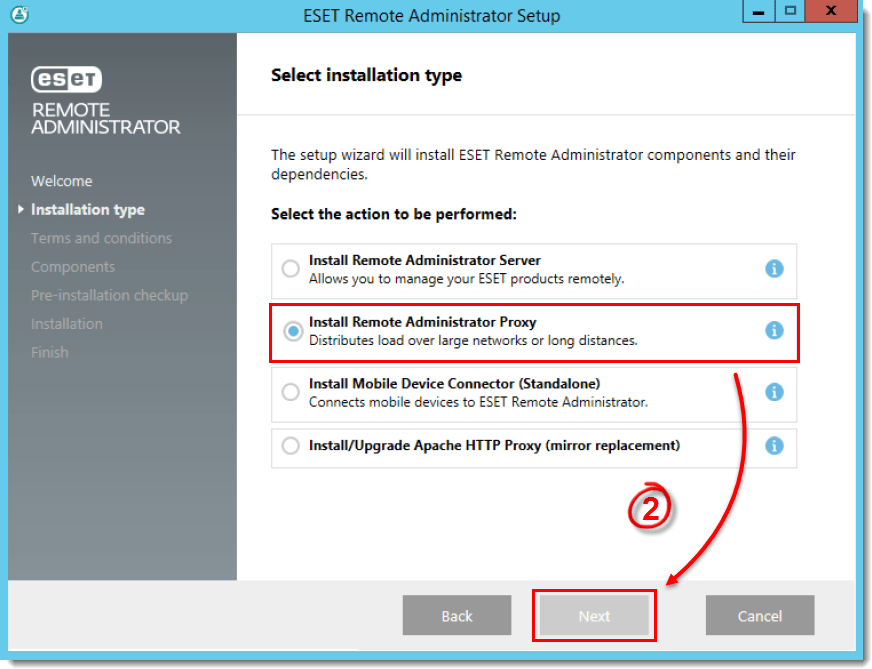
Figure 1-2
- Read the End-user license agreement, select I accept the terms in the license agreement if you agree and then click Next.

Figure 1-3
- The required components are selected by default and we strongly recommend that you leave them selected. Read the descriptions below and select the appropriate additional components based on the requirements for your network:
- Microsoft SQL Server Express: If the server where you are installing ESET Remote Administrator Proxy cannot access the ESET Remote Administrator Server database, you can install a standalone Microsoft SQL Server Express database on the server where ESET Remote Administrator Proxy is installed.
- Rogue Detection Sensor: This will install ESET Rogue Detection Sensor, a component that helps locate unmanaged computers on your network so that you can deploy resources to allow for their management via ERA.
Click Install to begin installation, if you are using ERA 6.3 or earlier, Next may be shown where Install is shown here.

Figure 1-4
- Click Next to begin installation. If you chose to install Microsoft SQL Server Express, there may be a delay while that component is installed.

Figure 1-5
- Click Next.

Figure 1-6
- To configure your connection with the ERA Server, type the IP address of the server where ERA Server is located into the Server host field and then click Next.
ERA 6.3.x users: select Configure now first, enter the IP address of the server where ERA Server is located into the Server host field and then click Next.
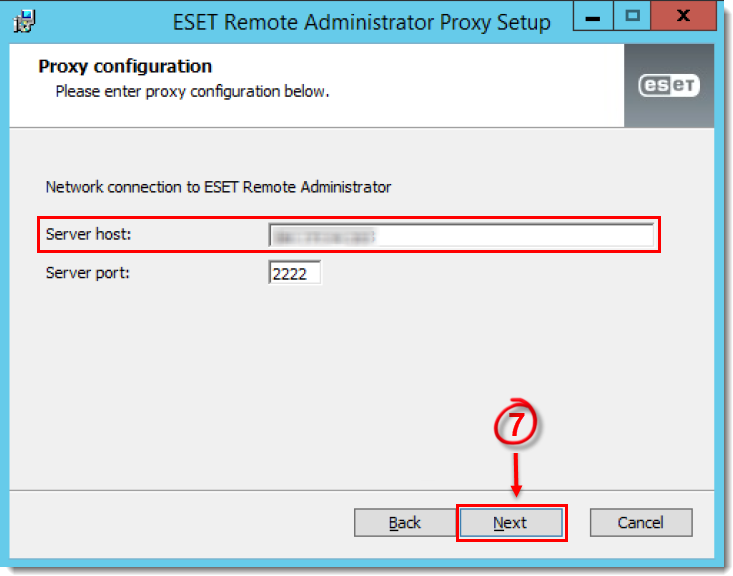
Figure 1-7
- Click Browse next to Peer certificate, navigate to your peer certificate for ERA Proxy and click Open. If your peer certificate requires a password to use, type the password into the Certificate password field.
- Click Browse next to Certification authority, navigate to your certification authority for ERA Proxy and click Open. Click Next when you have loaded your peer certificate and certification authority.

Figure 1-8
- Click Install.
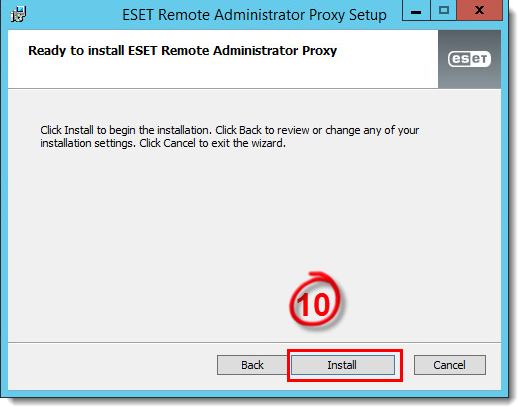
Figure 1-9
- Click Finish.
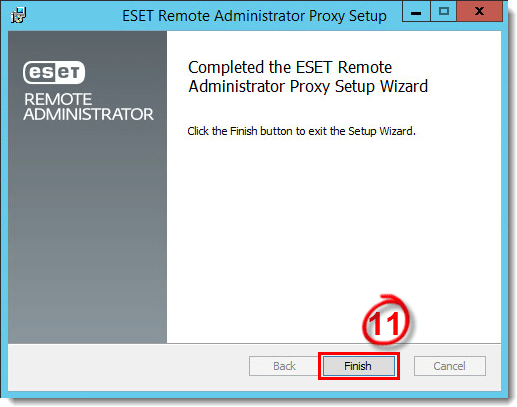
Figure 1-10
- If ERA Agent is not already installed, ERA Proxy installer will automatically install it. Click here for step-by-step instructions to install ERA Agent.
- If you chose to install ESET Rogue Detection Sensor, follow the prompts from the ESET Setup Wizard to complete installation for this component.
- When installation is complete, ESET Remote Administrator Proxy installation was successful will be displayed. Click Finish.
- Once ERA Proxy is installed, click here for instructions to configure clients to connect to ERA Server through the Proxy.
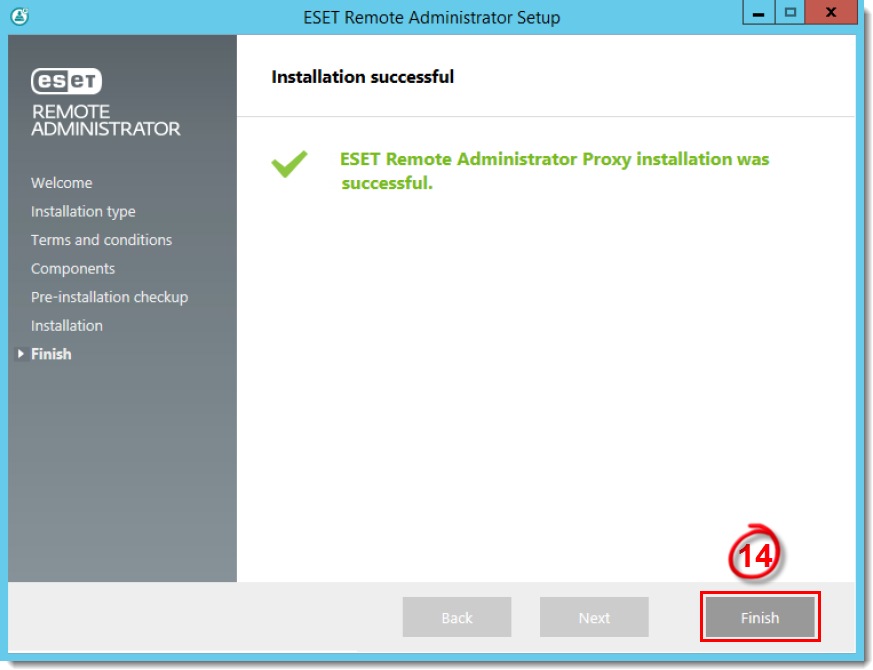
Figure 1-11
Install ERA Proxy using the Standalone installer
- On the server where you want to install ERA Proxy, click the appropriate link below to download the ERA Proxy installer:
32-bit Download 64-bit Download
- Open the downloaded installer. Click Next to begin installation.
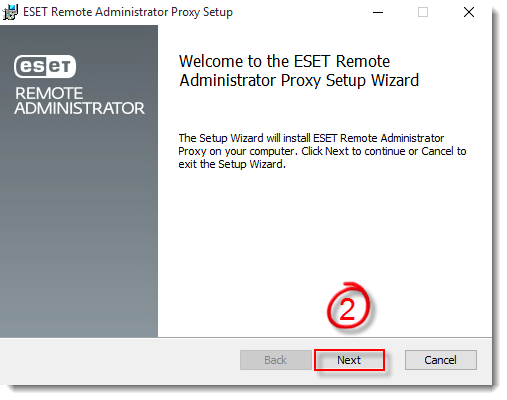
Figure 2-1
- Read the End-user license agreement, select I accept the terms in the license agreement if you agree and then click Next.
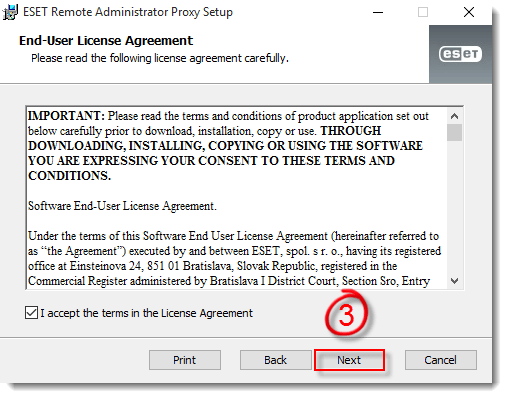
Figure 2-2
- If you are installing on a cluster, select This is cluster install. Optionally, you can click Change… to select a different location to install. Click Next to continue the installation.

Figure 2-3
- Select which user account will be used to run ESET Remote Administrator Server Service. If you choose Custom account you must enter the Domain & username and Password for that account. Click Next.

Figure 2-4
- Set the following parameters for your database connection:
- Database – Select which type of database you use
- ODBC driver – Select which ODBC driver you have installed
- Database name – choose a name for the database the ERA Proxy will use. This can be new name or name of dedicated database you have created in advance.
- Hostname – IP address or name of the computer where the database server is installed (use localhost if the database is installed locally)
- Port – Port determines which port will be used to connect the database on the database host. Port number is pre-selected according to the database. If this port is firewalled on the host computer the port number should be changed or the firewall settings modified.
- Username – Type the name of the database user. You can use one of following:
- The database user you have already created (How do I create a dedicated user?)
- The database administrator’s account and a newly created dedicated user for the ERA database
- Other database users with sufficient privileges and a newly created dedicated user for the ERA database
- The database administrator’s account (not recommended)
- Password – Enter the password for the selected user
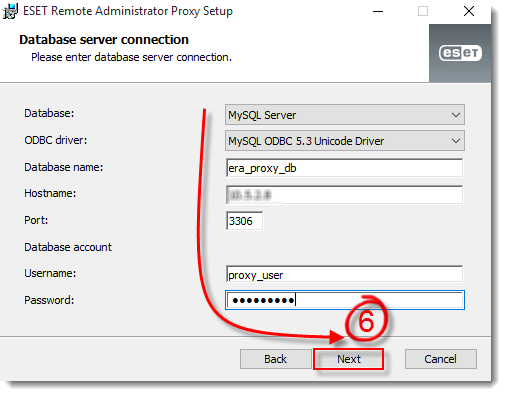
Figure 2-5
- If you are using the default account, continue to the next step. To use another account, do one of the following:
- Create a new user – set the username and Password and then click Next
- Select an existing user – enter the credentials for the user you want to use and click Next
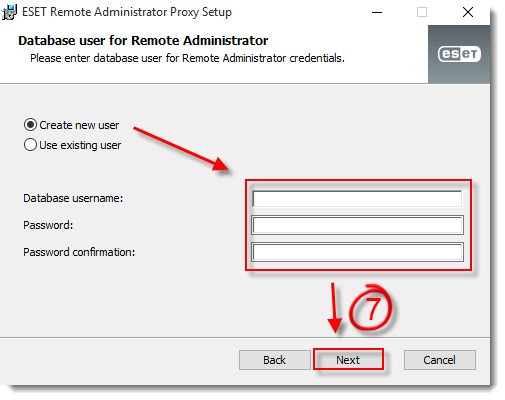
Figure 2-6
- Select a proxy communication port. By default, port 2222 is used. Click Next to continue.
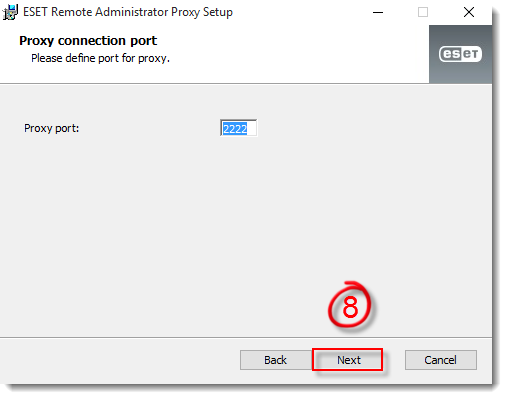
Figure 2-7
- Enter the hostname for your ERA Server. By default, Proxy port is set to 2222, only change this value if your system uses custom settings. Click Next to continue.
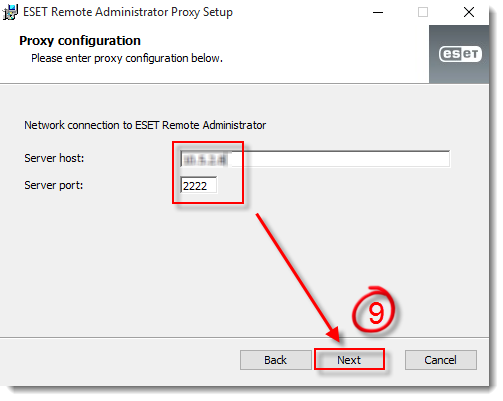
Figure 2-8
- Export the appropriate certificates and certificate authorities from ERA, enter them and then click Next.
- Peer certificate – your proxy certificate, a
.pfxfile - Certificate password – the password you entered when creating your proxy certificate. If you did not configure a certificate password, leave this field blank.
- Certification authority – your certification authority, which you will use to sign the current server certificate, is available as a
.derfile. This is only required for unsigned certificates.
- Peer certificate – your proxy certificate, a

Figure 2-9
- Click Change to select the folder where ERA Proxy will be installed, or leave the pre-defined folder selected. Click Next to continue.

Figure 2-10
- When you are finished making changes, click Install to begin installation.
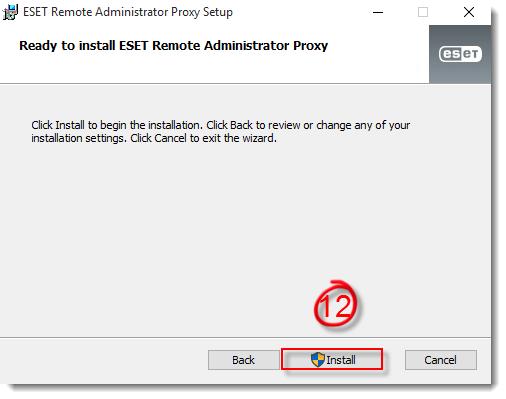
Figure 2-11
- After the installation process is complete, click Finish to close the installer.