

Managing incidents is an important part of every cybersecurity operation. You can manage incidents by selecting an incident from the Incidents queue or the Incidents management pane.
Selecting an incident from the Incidents queue brings up the Incident management pane where you can open the incident page for details.

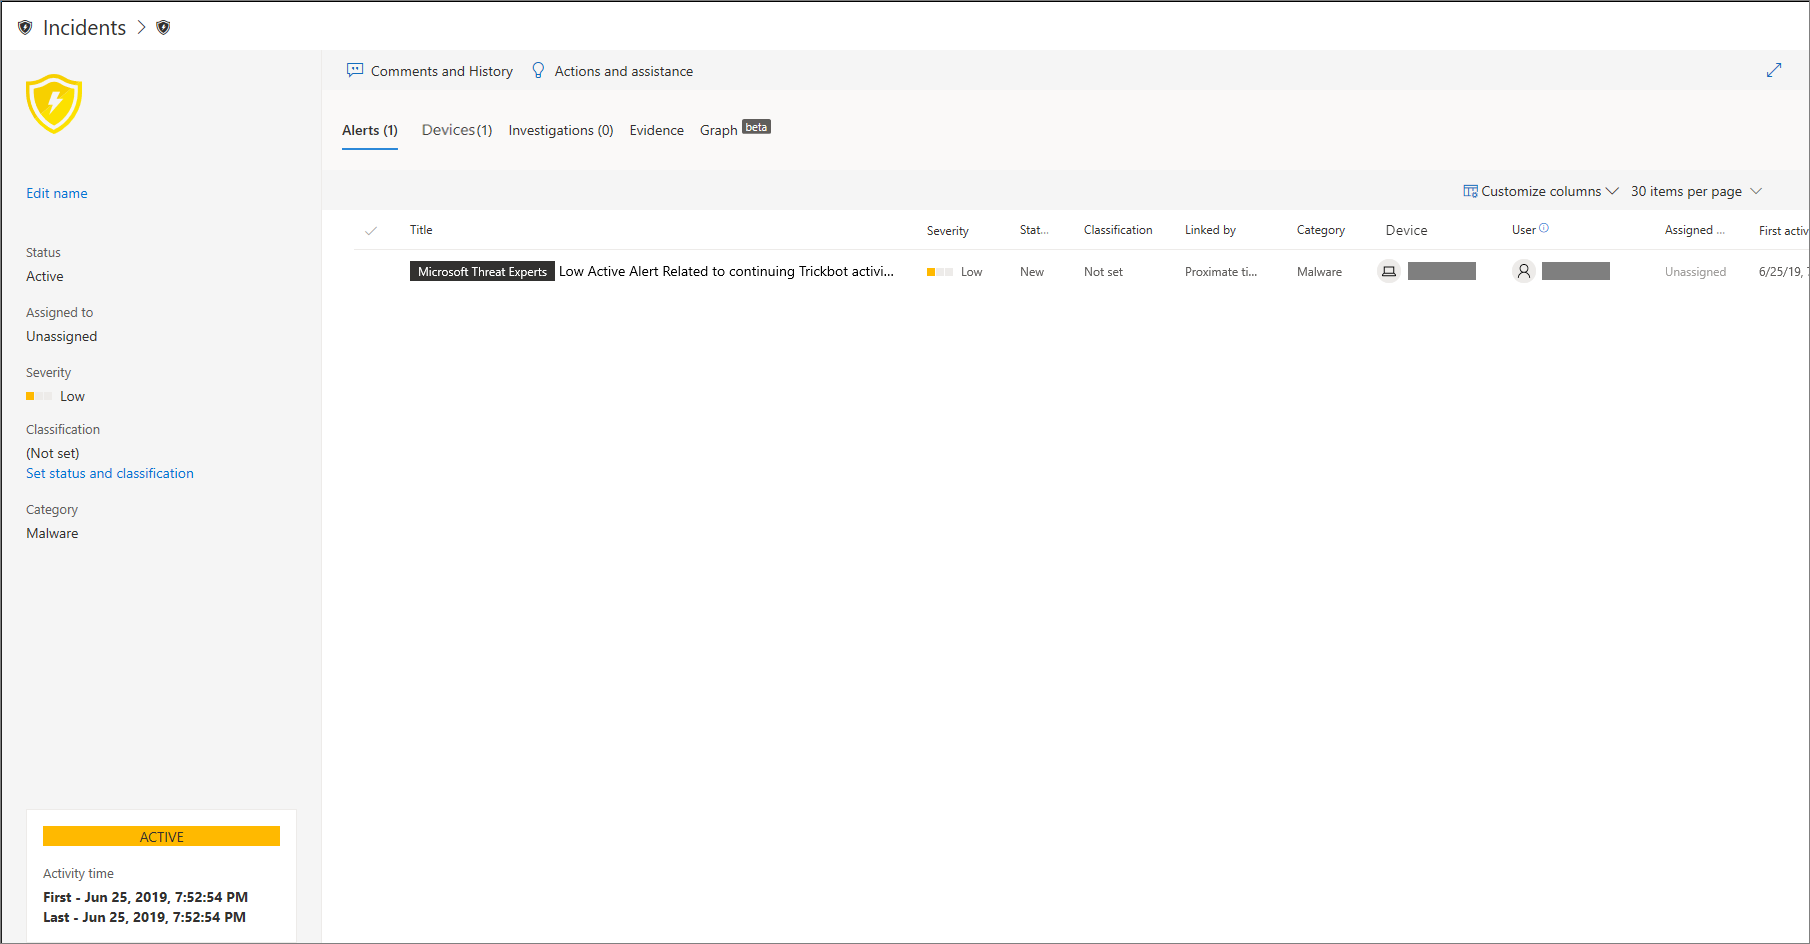
You can assign incidents to yourself, change the status and classification, rename, or comment on them to keep track of their progress.
Tip
For additional visibility at a glance, incident names are automatically generated based on alert attributes such as the number of endpoints affected, users affected, detection sources or categories. This allows you to quickly understand the scope of the incident.
For example: Multi-stage incident on multiple endpoints reported by multiple sources.
Incidents that existed prior the rollout of automatic incident naming will retain their names.
Assign incidents
If an incident has not been assigned yet, you can select Assign to me to assign the incident to yourself. Doing so assumes ownership of not just the incident, but also all the alerts associated with it.
Set status and classification
Incident status
You can categorize incidents (as Active, or Resolved) by changing their status as your investigation progresses. This helps you organize and manage how your team can respond to incidents.
For example, your SoC analyst can review the urgent Active incidents for the day, and decide to assign them to himself for investigation.
Alternatively, your SoC analyst might set the incident as Resolved if the incident has been remediated.
Classification
You can choose not to set a classification, or decide to specify whether an incident is true or false. Doing so helps the team see patterns and learn from them.
Add comments
You can add comments and view historical events about an incident to see previous changes made to it.
Whenever a change or comment is made to an alert, it is recorded in the Comments and history section.
Added comments instantly appear on the pane.