
Important
Some information relates to prereleased product which may be substantially modified before it’s commercially released. Microsoft makes no warranties, express or implied, with respect to the information provided here.
Want to experience Microsoft Defender for Endpoint? Sign up for a free trial.
Microsoft has partnered with Corelight, provider of the industry’s leading open network detection and response (NDR) platform, to help you discover IoT/OT devices across your organization. Using data, sent from Corelight network appliances, Microsoft 365 Defender gains increased visibility into the network activities of unmanaged devices, including communication with other unmanaged devices or external networks.
With this data source enabled, all events from Corelight network appliances are sent to Microsoft 365 Defender. You can view these activities in the unmanaged devices timeline, available in the Microsoft Defender for Endpoint device inventory. For more information, see Device discovery.
Enabling the Corelight integration
To enable the Corelight integration, you’ll need to take the following steps:
Step 1: Turn on Corelight as a data source
Step 2: Provide permission for Corelight to send events to Microsoft 365 Defender
Step 3: Configure your Corelight appliance to send data to Microsoft 365 Defender
Step 1: Turn on Corelight as a data source
- In the navigation pane of the https://security.microsoft.com portal, select Settings > Device discovery > Data sources.
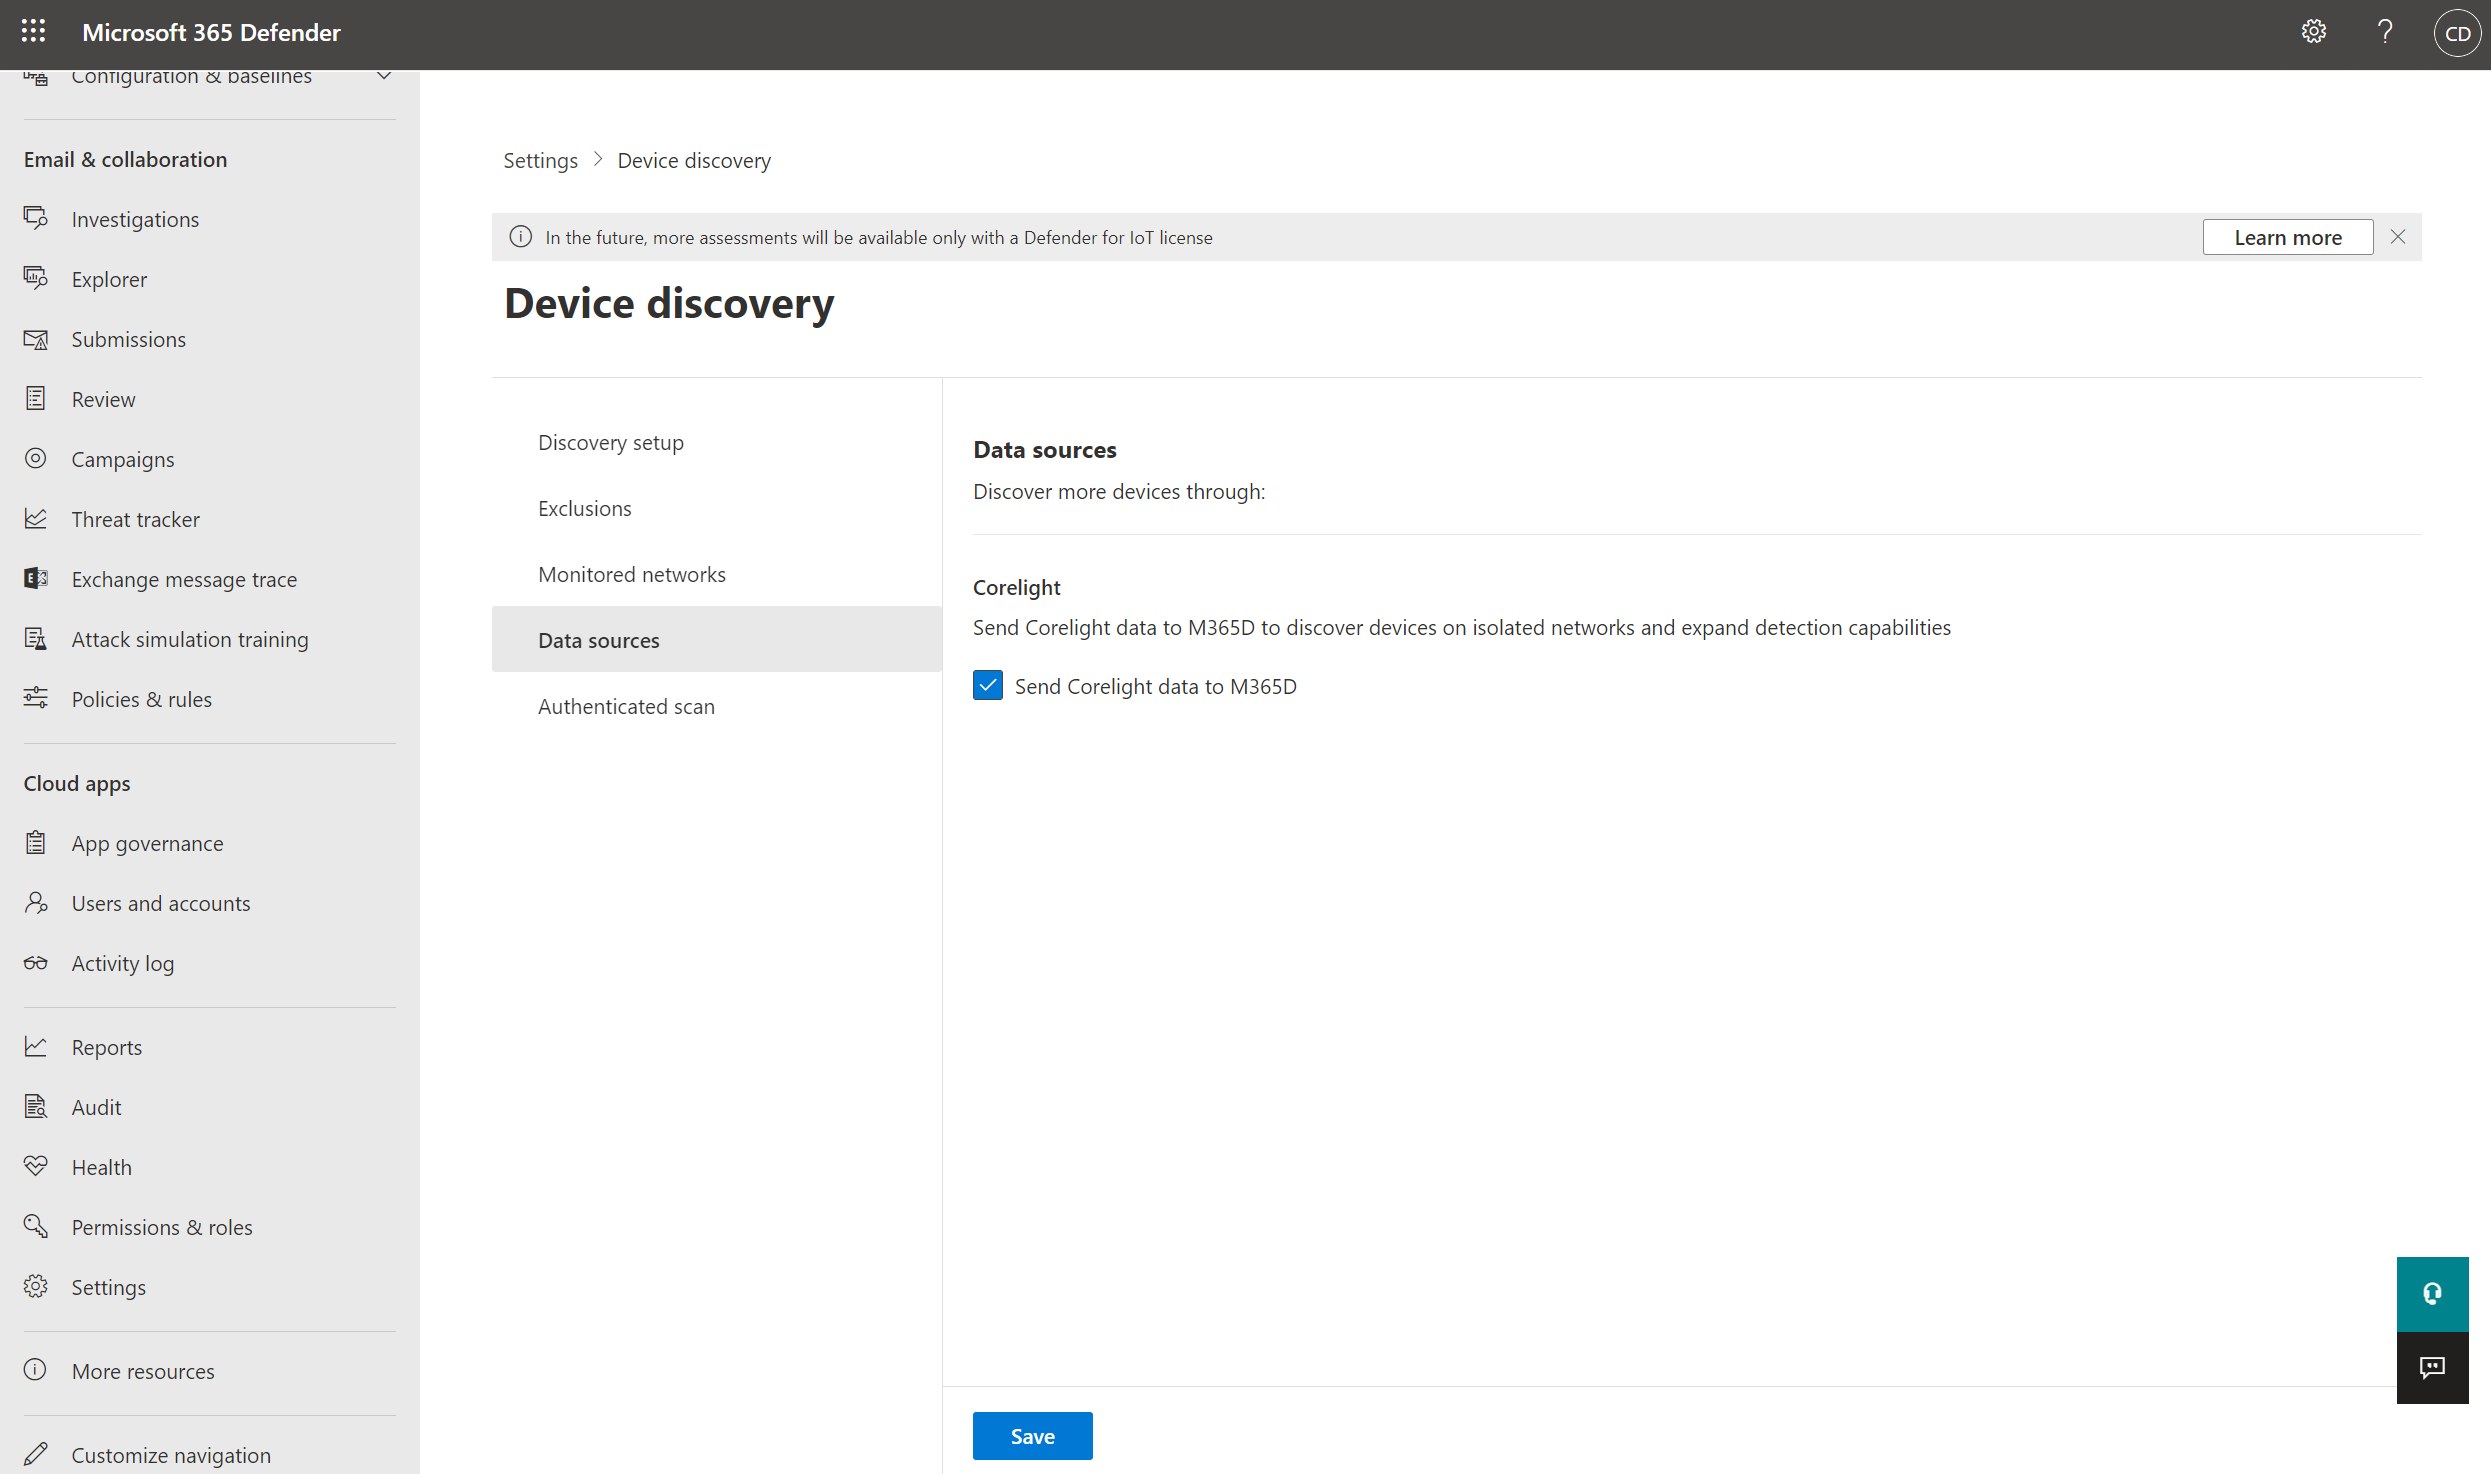
- Select Send Corelight data to M365D and select Save.
Step 2: Provide permission for Corelight to send events to Microsoft 365 Defender
Note
You must be a global admin to grant Corelight permission to access resources in your organization.
- As a Tenant Global Administrator, go to this link to grant permission.
- Go to https://security.microsoft.com portal, select Settings > Microsoft 365 Defender, and take note of the Tenant ID. You’ll need this information when configuring your Corelight appliance.
Step 3: Configure your Corelight appliance to send data to Microsoft 365 Defender
Note
The integration will be public in Corelight Sensor software v24 and later.
To preview in v23 or v22.1 you must execute corelight-client configuration update --enable.adfiot 1 to enable the configuration section in the GUI.
In addition to this, the GUI validation requires that a broker is configured in the configuration section on all v23 releases. The broker you provide is required but won’t actually be used. Enter 127.0.0.1:1234 in the kafka broker field to ensure successful validation before following the steps below to enable sending data to Microsoft 365 Defender.
Note
You will need internet connectivity for your sensor to reach both the Defender and Corelight cloud services for the solution to work.
Enabling in the Corelight Sensor GUI
- In the Corelight Sensor GUI configuration section, select Sensor > Export.
- From the list, go to EXPORT TO KAFKA and select the switch to turn it on.
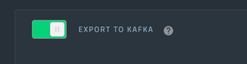
- Next, turn on EXPORT TO AZURE DEFENDER FOR IOT and enter your tenant ID, noted in Step 1, in the TENANT ID field.
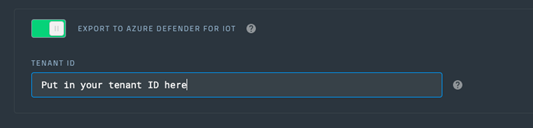
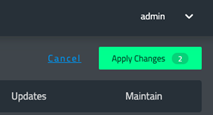
- Select Apply Changes.
Note
Configuration options in Kafka (excluding Log Exclusion and Filters) should not be changed. Any changes made will be ignored.
Enabling in the corelight-client
You can turn on EXPORT TO KAFKA and EXPORT TO AZURE DEFENDER FOR IOT using the following command in the corelight-client:
corelight-client configuration update --bro.export.kafka.defender.enable true --bro.export.kafka.defender.tenant\_id <your tenant>.
Important
If you’re already using Kafka export, contact Corelight Support for an alternate configuration.
To configure only sending the minimal set of logs:
- In the Corelight Sensor GUI, go to the Kafka section
- Go to Zeek logs to exclude
- Select All
- Then select x beside the following logs to ensure they continue to flow to Microsoft:
dns conn files http ssl ssh x509 snmp smtp ftp sip dhcp notice - Select Apply Changes
The list of logs that flow to Microsoft may expand over time.