
IMPORTANT! Before proceeding with the installation, please make sure that no other anti-viruses are installed on your PC because the resident modules contained within them may cause software conflicts.
Important! The installation of Dr.Web Anti-virus for macOS must be performed by a user who has administrative privileges.
- Download the Dr.Web Anti-virus for Mac OS Х installation file from the Subscription Control Center or from your personal account area on your service provider’s website to the object you want to protect.
- Double-click on the file drweb-10.1-av-macosx.cdr to mount it.
- The Dr.Web for macOS image will appear on your desktop. Double-click on it, and a window displaying the image’s contents will appear.

- Click on the Dr.Web logo in the center. If a warning appears, stating that the executable file is a program downloaded from the Internet, click Open.
- In the newly appeared window, you will be prompted to check the box next to I want to connect to Dr.Web Cloud services so that the anti-virus can receive up-to-date threat information from Doctor Web’s servers in real time. It is recommended that you enable this option.

- To read the License agreement, click the appropriate link. Then click Accept to accept the terms of the License agreement and begin the Dr.Web installation.
- Installation progress will be displayed on the screen. When the installation is complete, Dr.Web will be launched automatically.
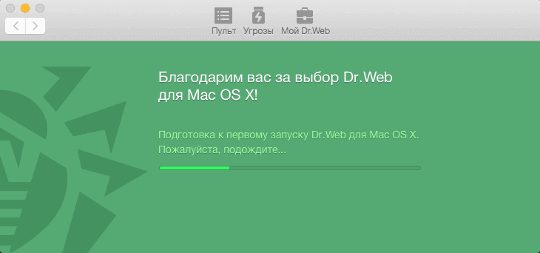
Congratulations! You have successfully installed Dr.Web Anti-virus for macOS!
For more information, refer to the Dr.Web Anti-virus for macOS User Guide.
Source : Official Dr.Web Brand
Editor by : BEST Antivirus KBS Team
(Visited 15 times, 1 visits today)