

The new threats that emerge daily on the internet demand a lot from your virus protection when scanning, detecting, and blocking malware.
With cloud scanning, we move your PC security to the Avira Protection Cloud and free your system’s resources for work, web, communication, and games. Your system protection is therefore at the “highest level” with fast scans and virus information updated in real-time.
Be sure to check out this helpful infographic to visualize how it works.

File exchange between the user’s PC and the Protection Cloud is always encrypted and data is only used for malware analysis. Sharing this data with third parties is prohibited.
See the following link for more information about the Avira Protection Cloud.
Note
Once Avira Antivirus is installed, the Protection Cloud is activated by default.
If the Protection Cloud is disabled (for unknown reasons), you can re-enable the option via the Avira Control Center.
Re-enable Protection Cloud
- Click the Avira icon in the system tray to open the Avira user interface.
- Click Security in the left menu.
- Click the module Protection options.
- Click the settings icon of the Real-time protection.
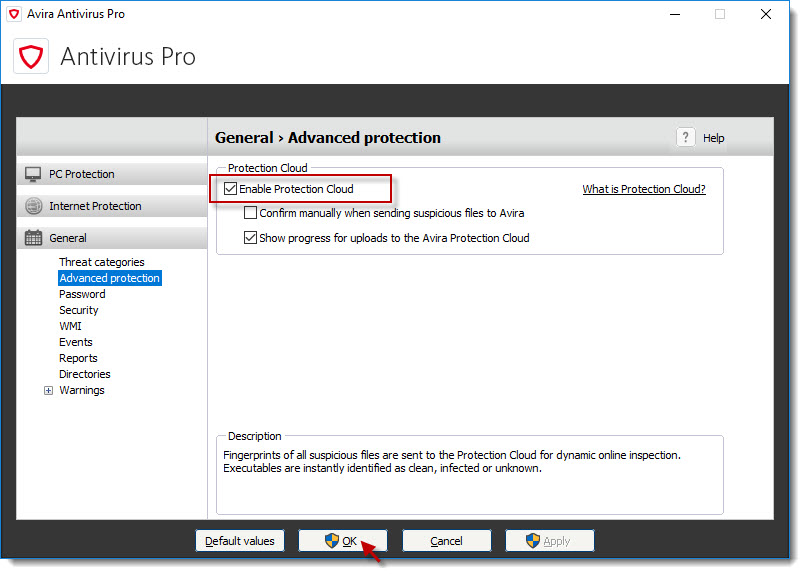
- In the left menu, click General → Advanced protection.
- “Enable Protection Cloud” checkbox.
- Confirm the change with OK.
At the end of each cloud scan, there is a report that includes all the information about scanned and uploaded files. You can customize the cloud scanner so that you’ll need to confirm each upload. You can also deselect data that shouldn’t be uploaded.