

Avast Mobile Security for iOS is an app designed to protect your privacy online, securely store your photos, scan Wi-Fi networks for vulnerabilities, and alert you if any of your personal data linked to your email address has been leaked online.
Tap the ![]() Avast Mobile Security icon on the Home screen of your device to open the app. Then refer to the sections in this article to learn how to set up and use Avast Mobile Security on your iOS device.
Avast Mobile Security icon on the Home screen of your device to open the app. Then refer to the sections in this article to learn how to set up and use Avast Mobile Security on your iOS device.
Resolve detected issues
After installing Avast Mobile Security or updating to version 2.x, the app scans your Wi-Fi network and prompts you to resolve any detected issues. Follow the relevant instructions below to resolve your detected issues and complete the Avast Mobile Security setup:
Web Protection runs in the background while you browse the internet. When Web Protection is enabled, Avast Mobile Security blocks fake websites that are trying to trick you by impersonating legitimate sites. A local VPN (Virtual Private Network) is required to enable this feature. Follow the steps below to enable Web Protection:
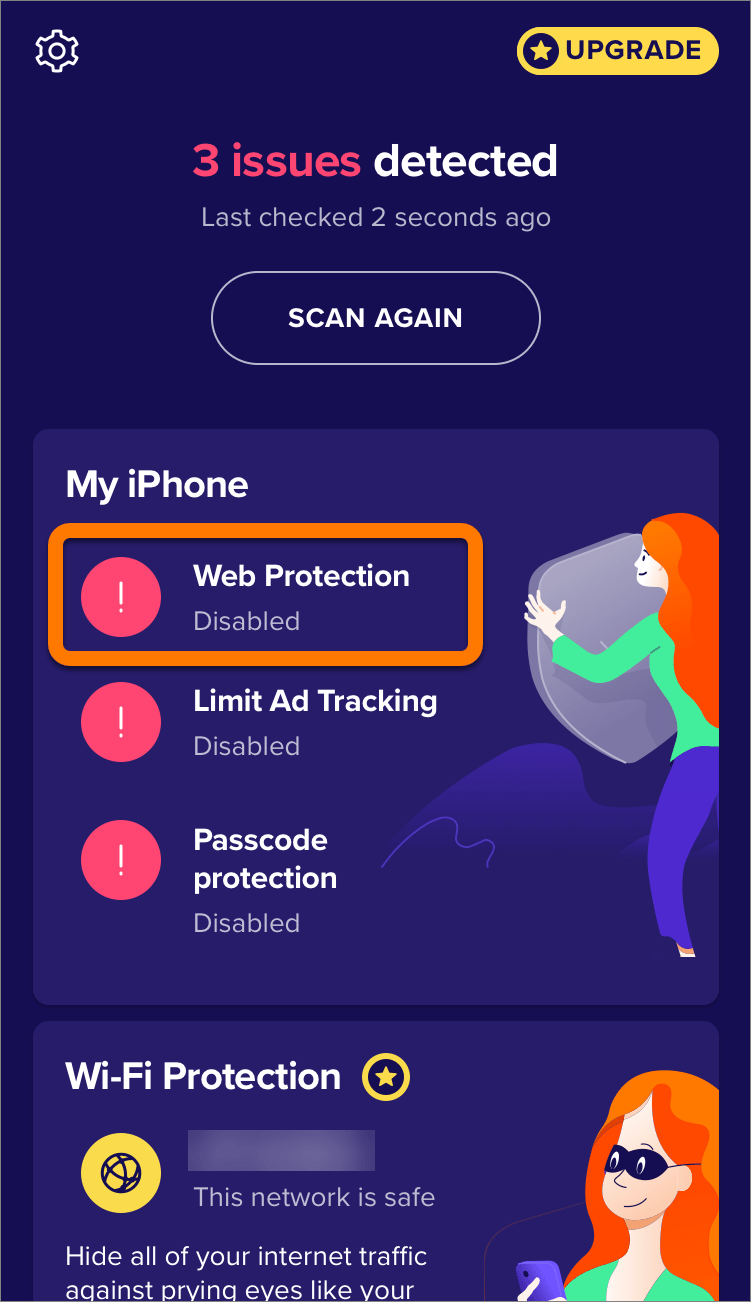
- Tap Web Protection.
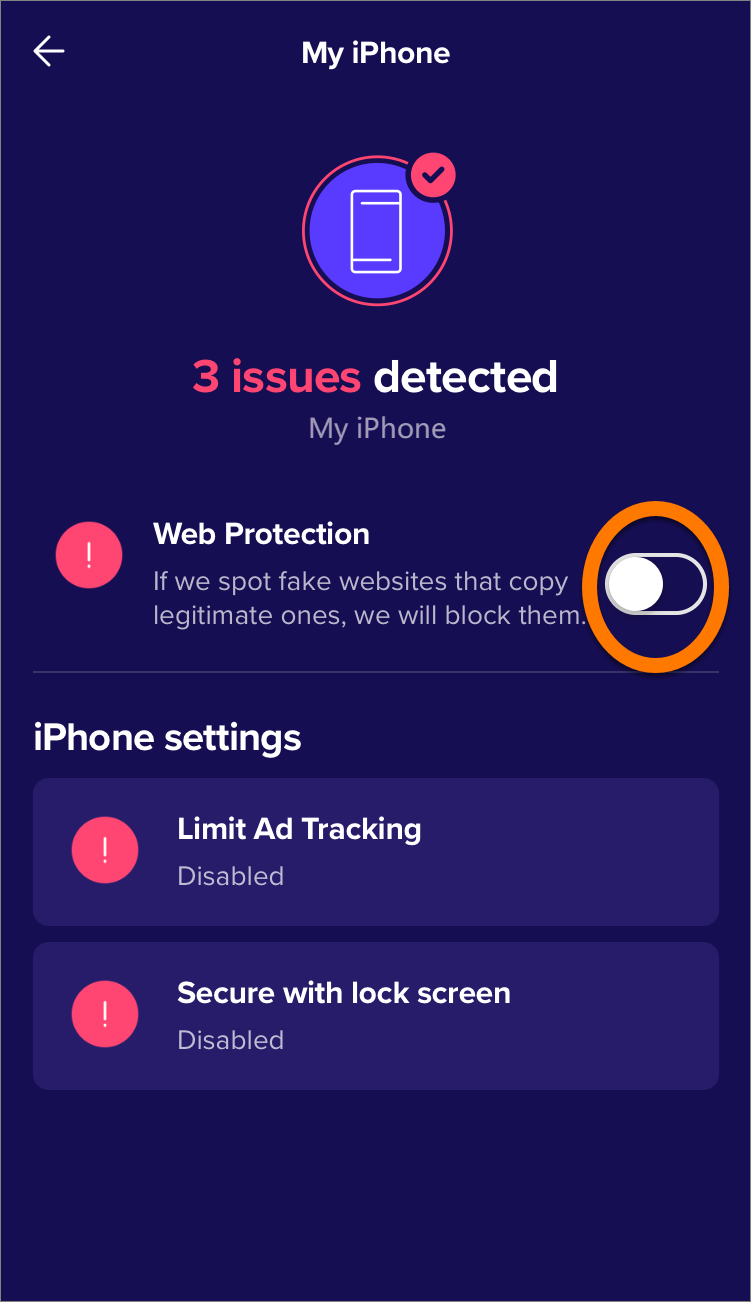
- Tap the white slider next to Web Protection.
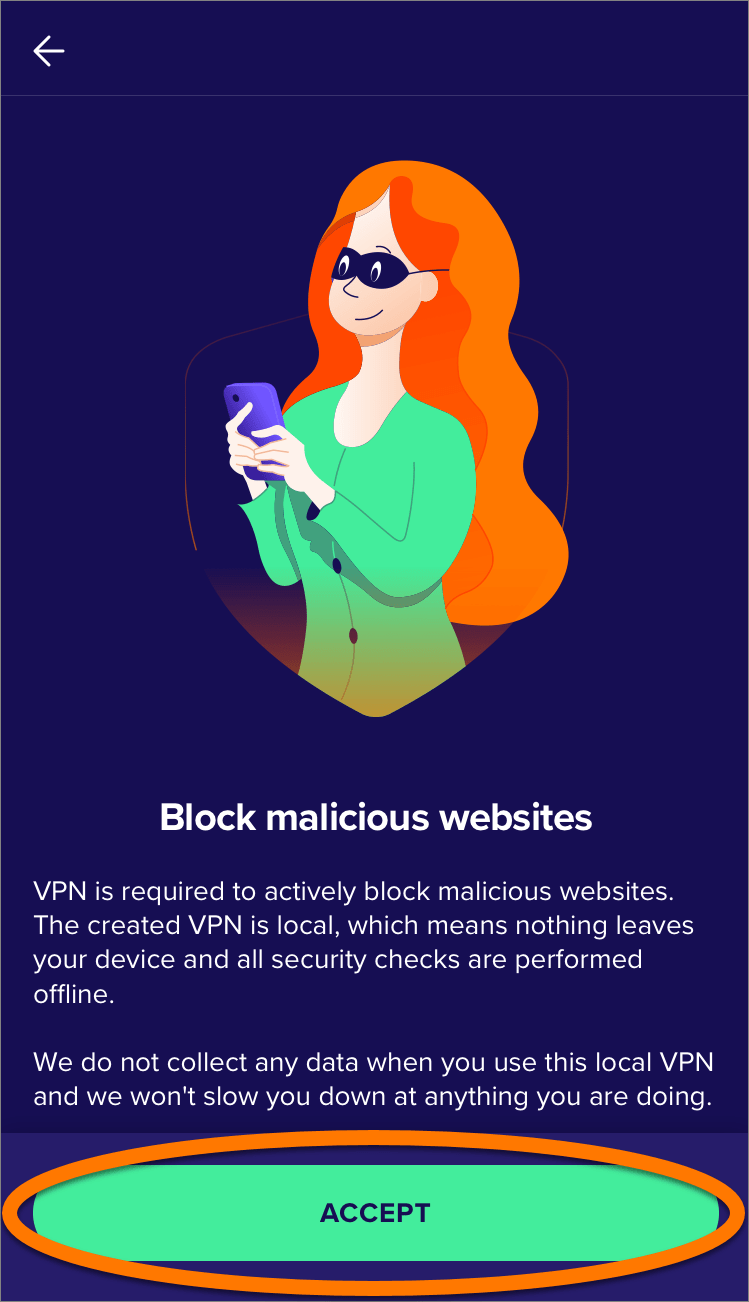
- Tap Accept on the Block malicious websites screen.
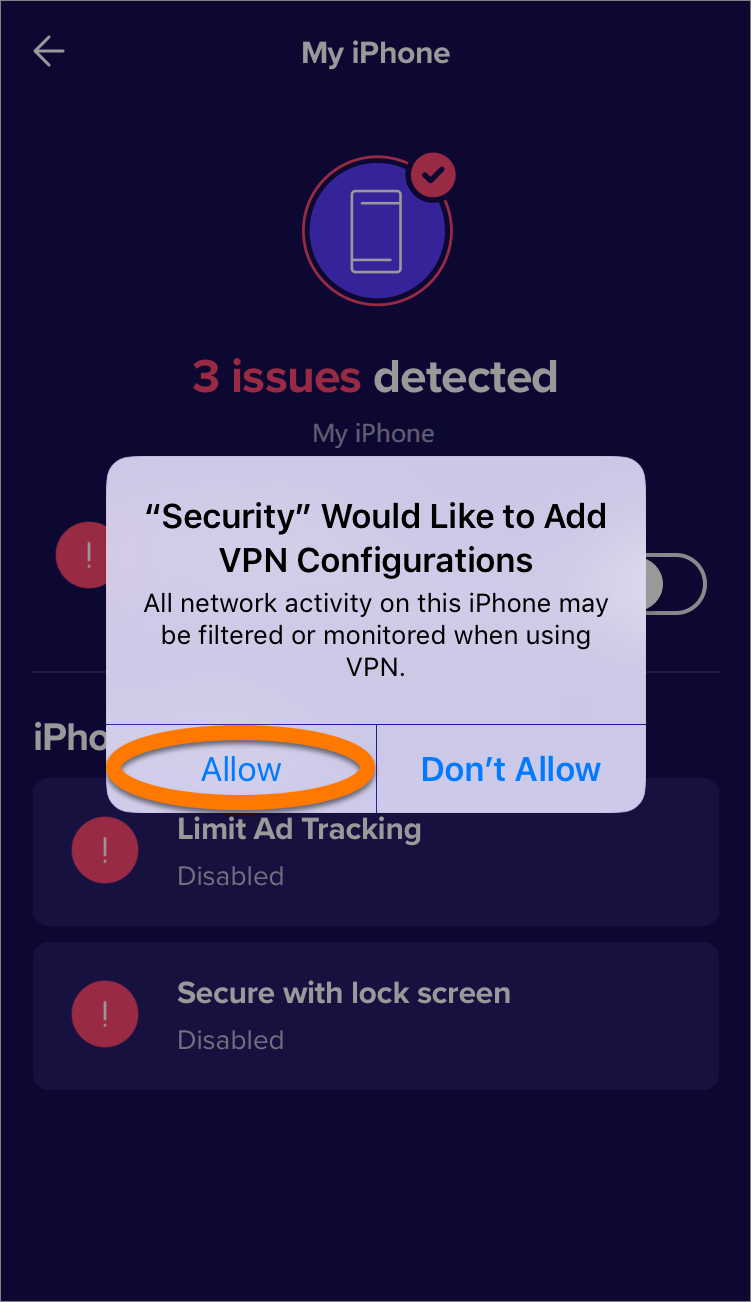
- If prompted, tap Allow to add VPN Configurations.
Web Protection is now enabled. To disable Web Protection, tap the green (ON) slider so that it changes to white (OFF).
 the green (ON) slider so that it changes to
  white (OFF).
Wi-Fi Protection
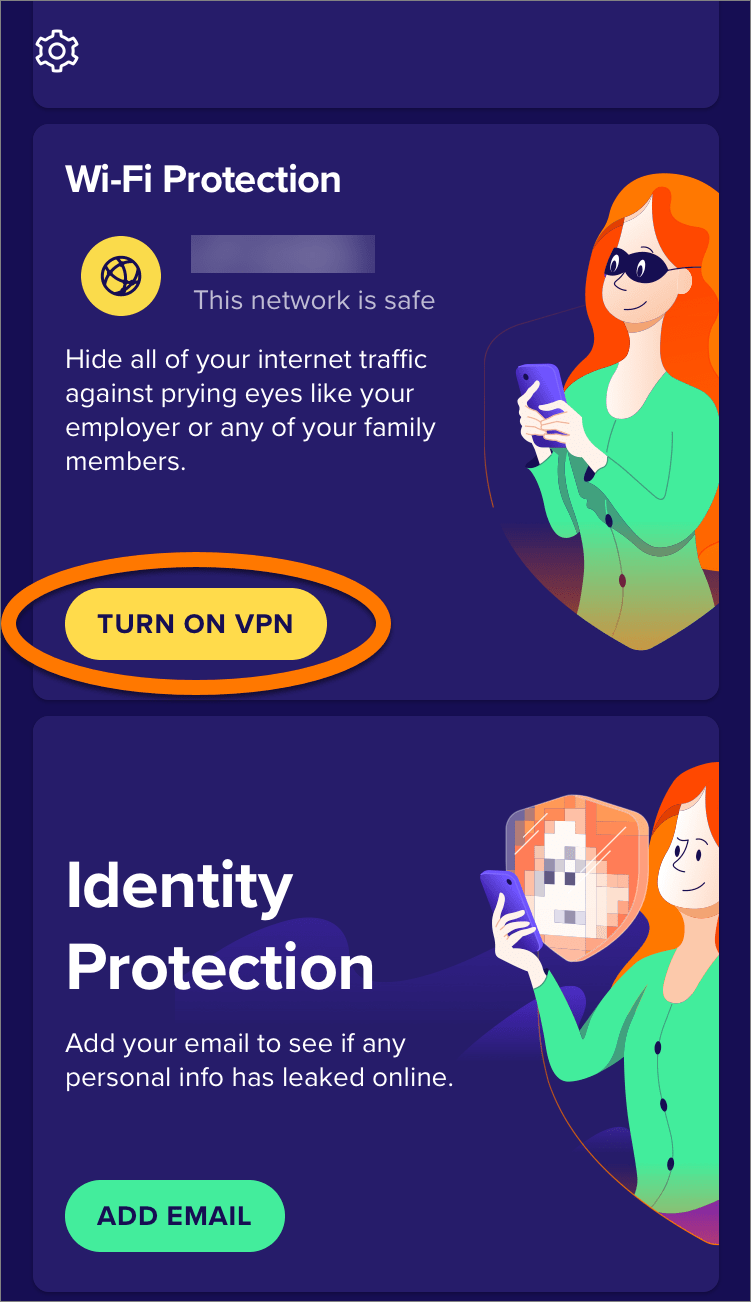
The Wi-Fi Protection feature (previously called Secure Browsing) uses a VPN (Virtual Private Network) to make sure no one can spy on your online activity. A VPN connection protects the data you upload and download from the internet, secures data sent from your device, and keeps your internet activity completely private. Wi-Fi Protection is a premium feature available with an Avast Mobile Security Premium subscription. To activate Wi-Fi Protection, follow the steps below:
- Tap Turn On VPN on the Wi-Fi Protection tile.
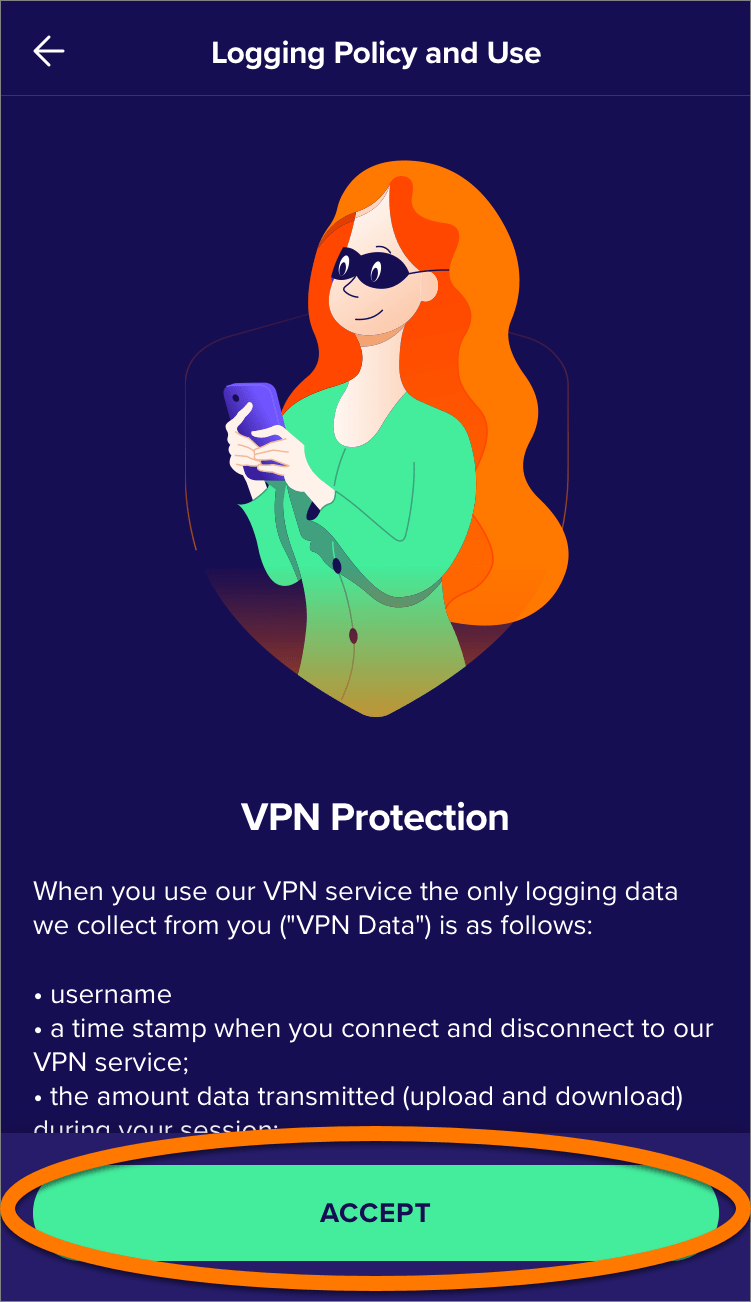
- Review the Logging Policy and Use terms, then tap Accept.
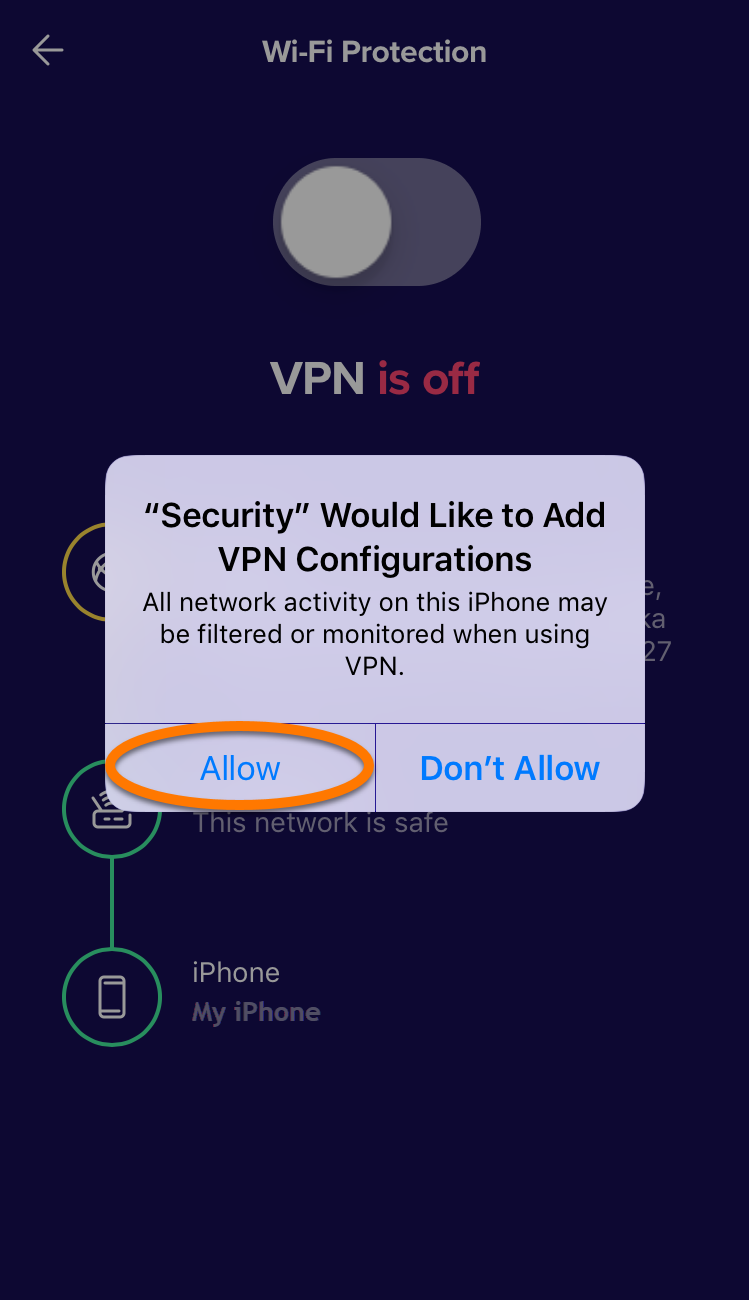
- If prompted, tap Allow to add VPN Configurations.
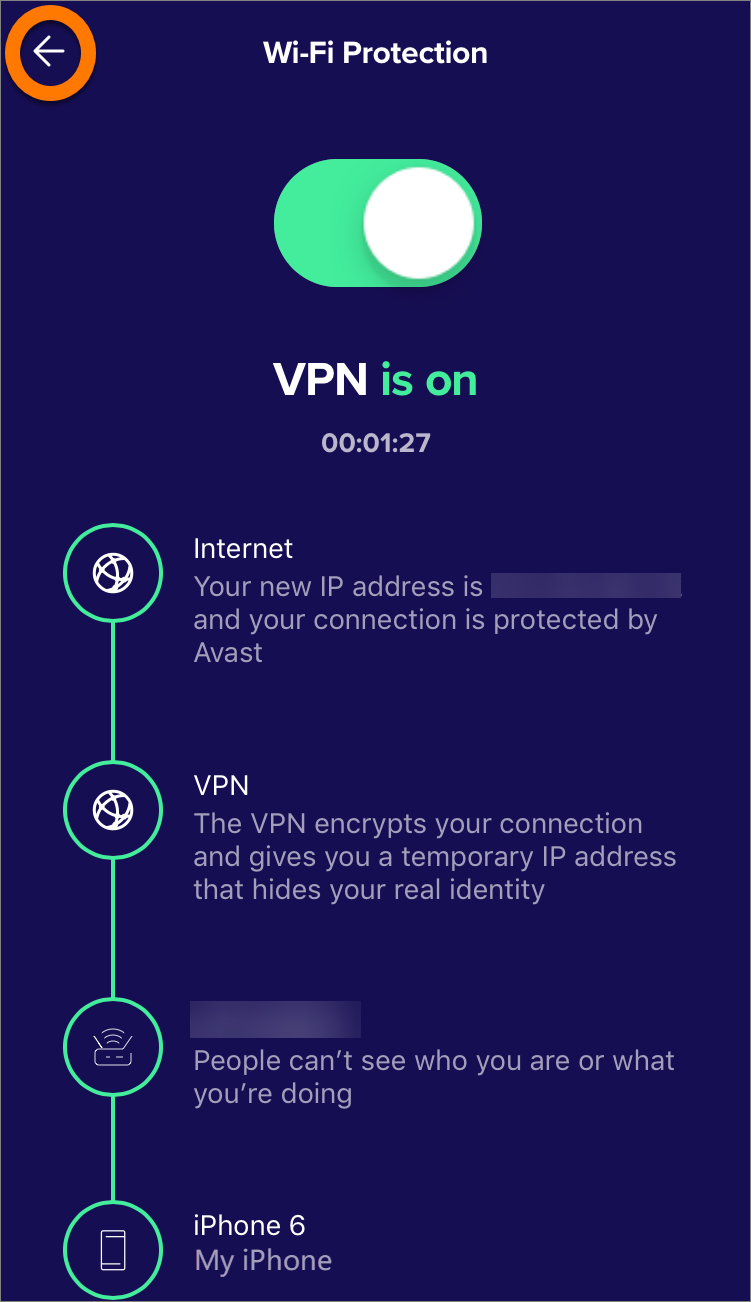
- Wi-Fi Protection is activated, connecting you to the closest server we have in your location. Tap the back arrow to return to the main Avast Mobile Security screen.
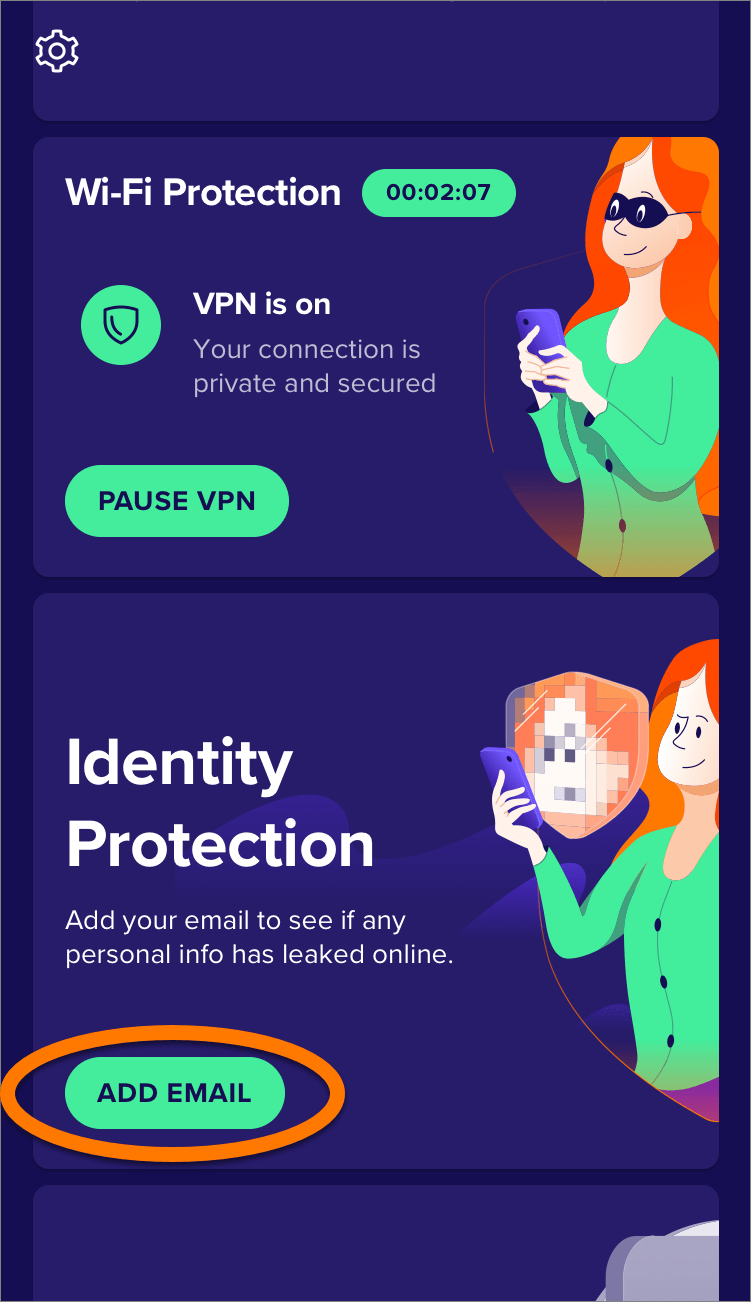
To temporarily turn off the VPN, tap Pause VPN on the main Avast Mobile Security screen.
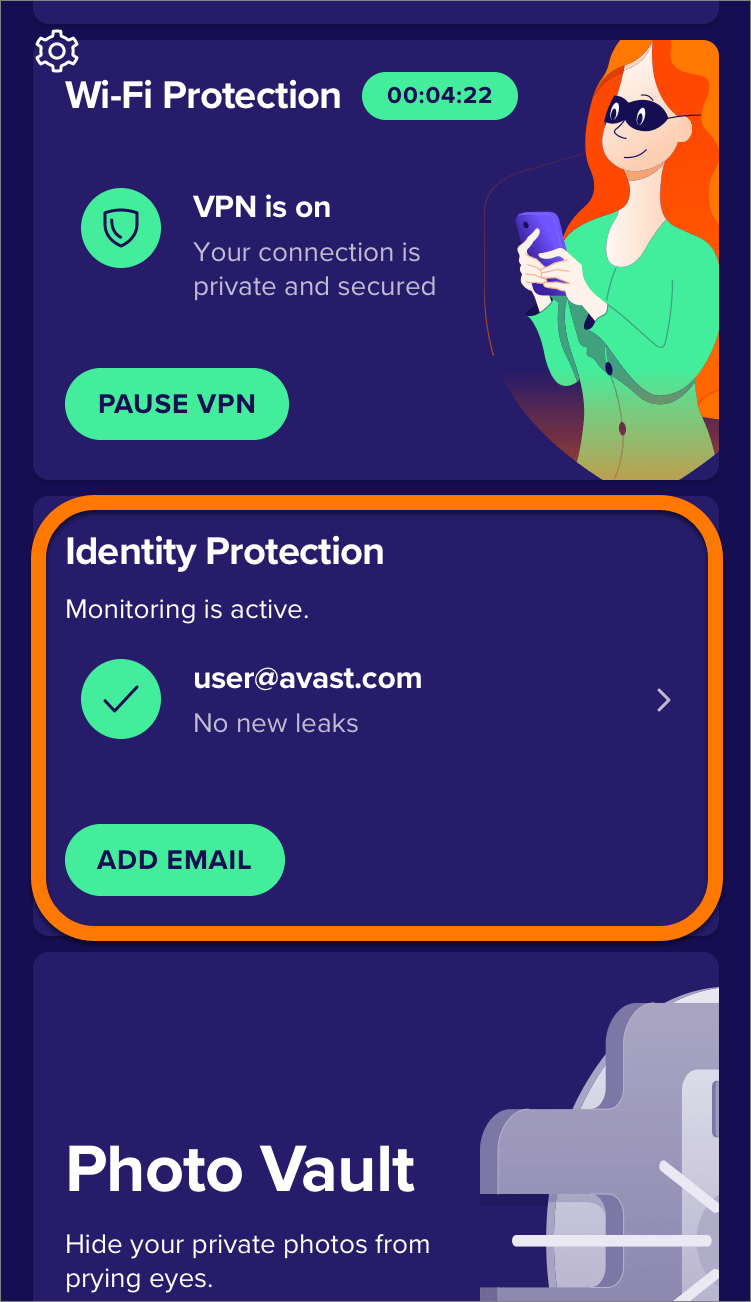
Identity Protection
The Identity Protection feature protects your online accounts by checking if any of your personal information linked to your email address has been leaked online. To activate Identity Protection, follow the steps below:
- Tap Add Email on the Identity Protection tile.
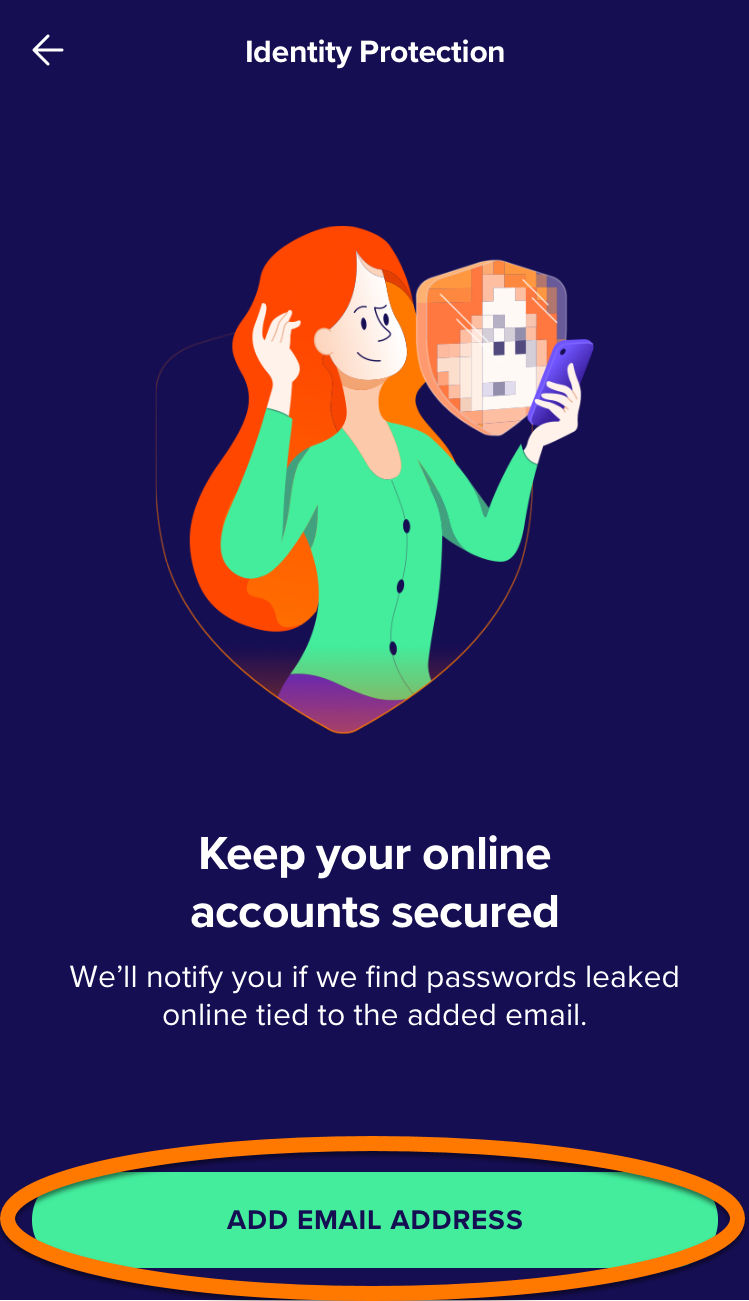
- Tap Add Email Address.
- Enter your email address, then tap Add Email.
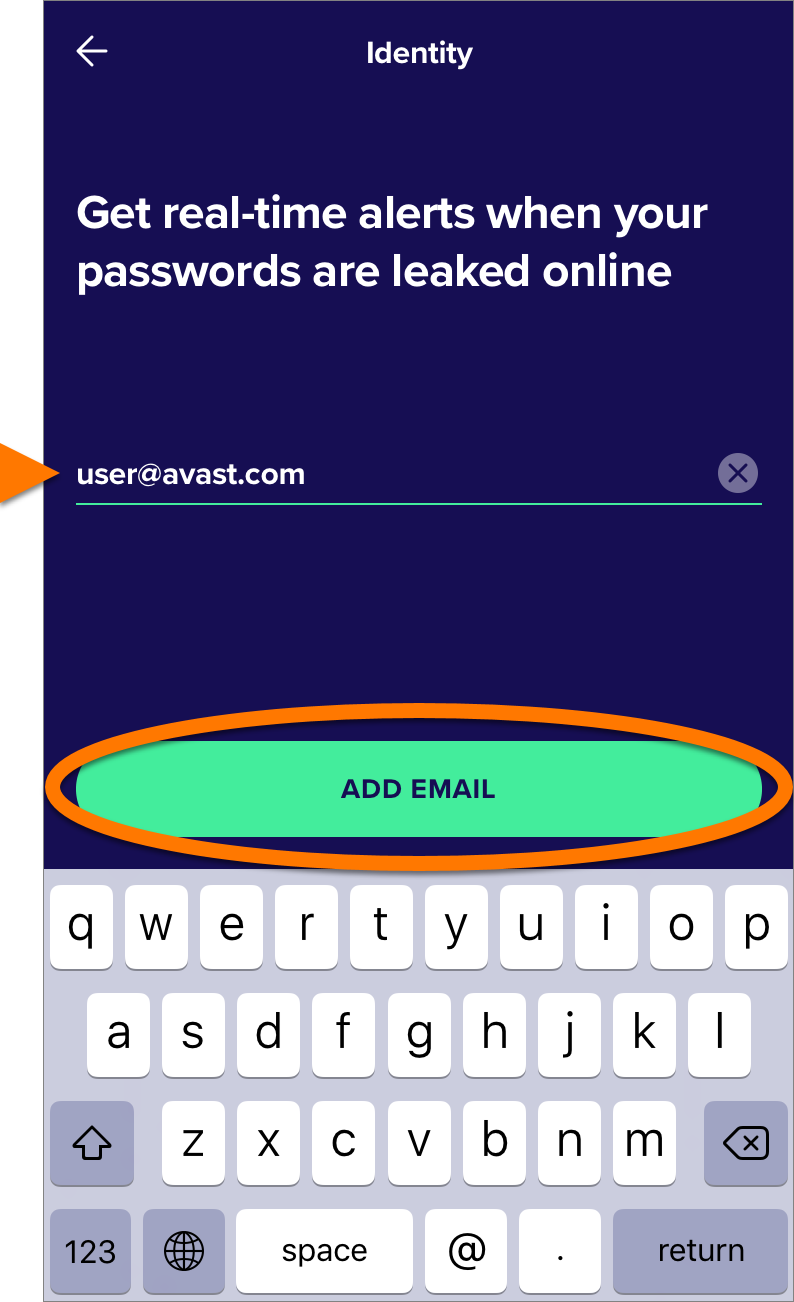
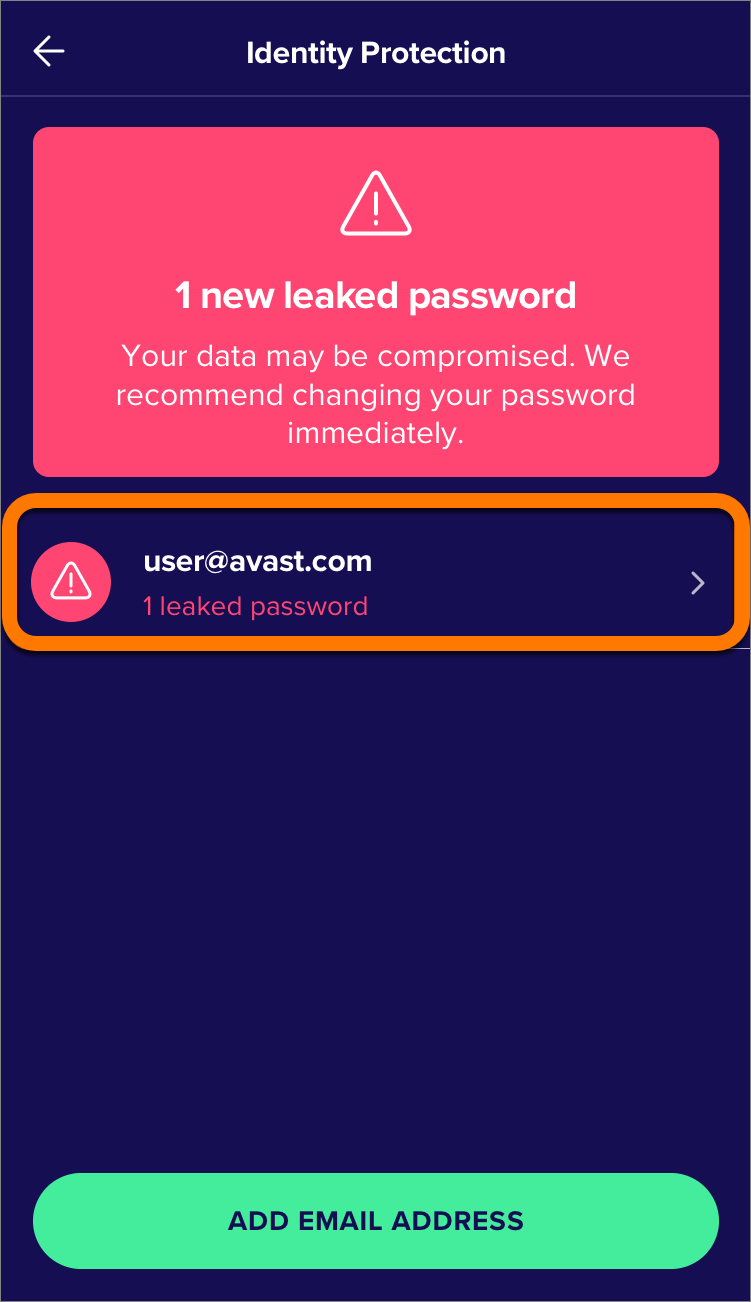
Identity Protection is now active and immediately checks for any leaked data online connected to your email address. An alert notifies you if any data leaks are found.
Resolve leaked data
- Tap your email address to view the leak(s).
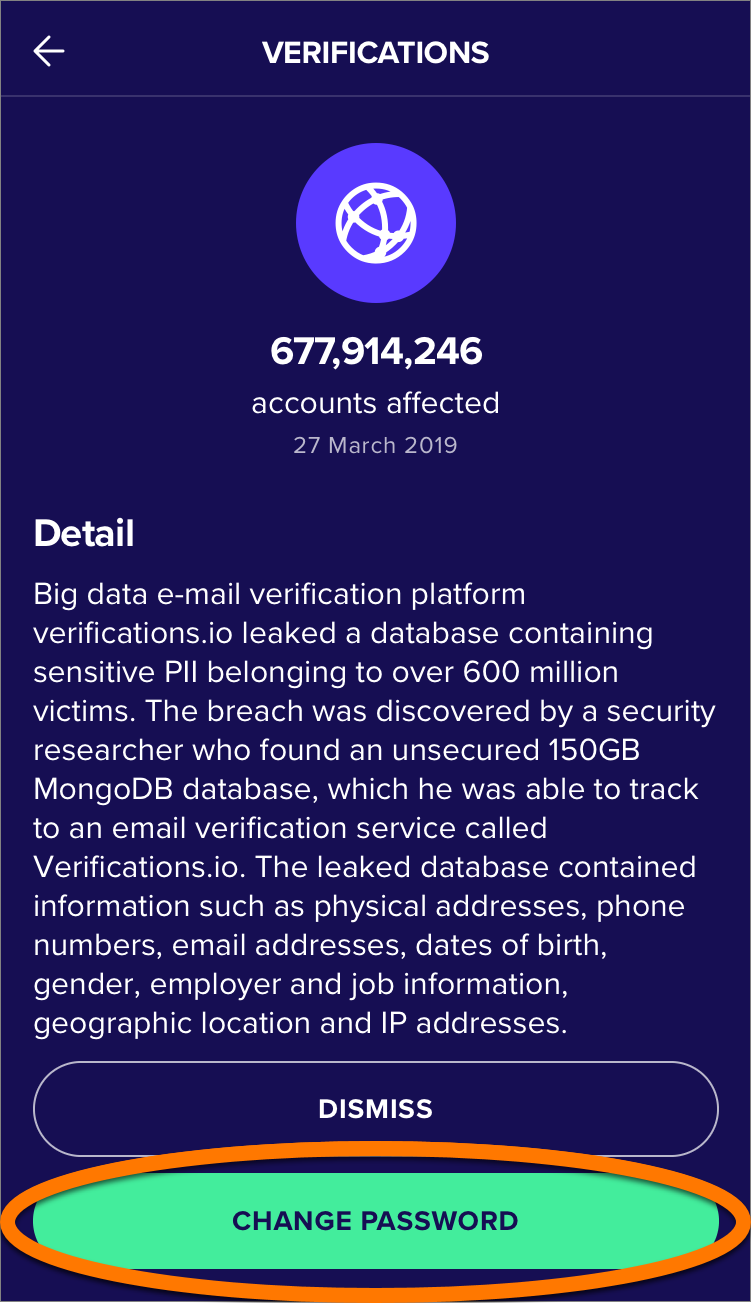
- Tap a leak from the list to view more details.
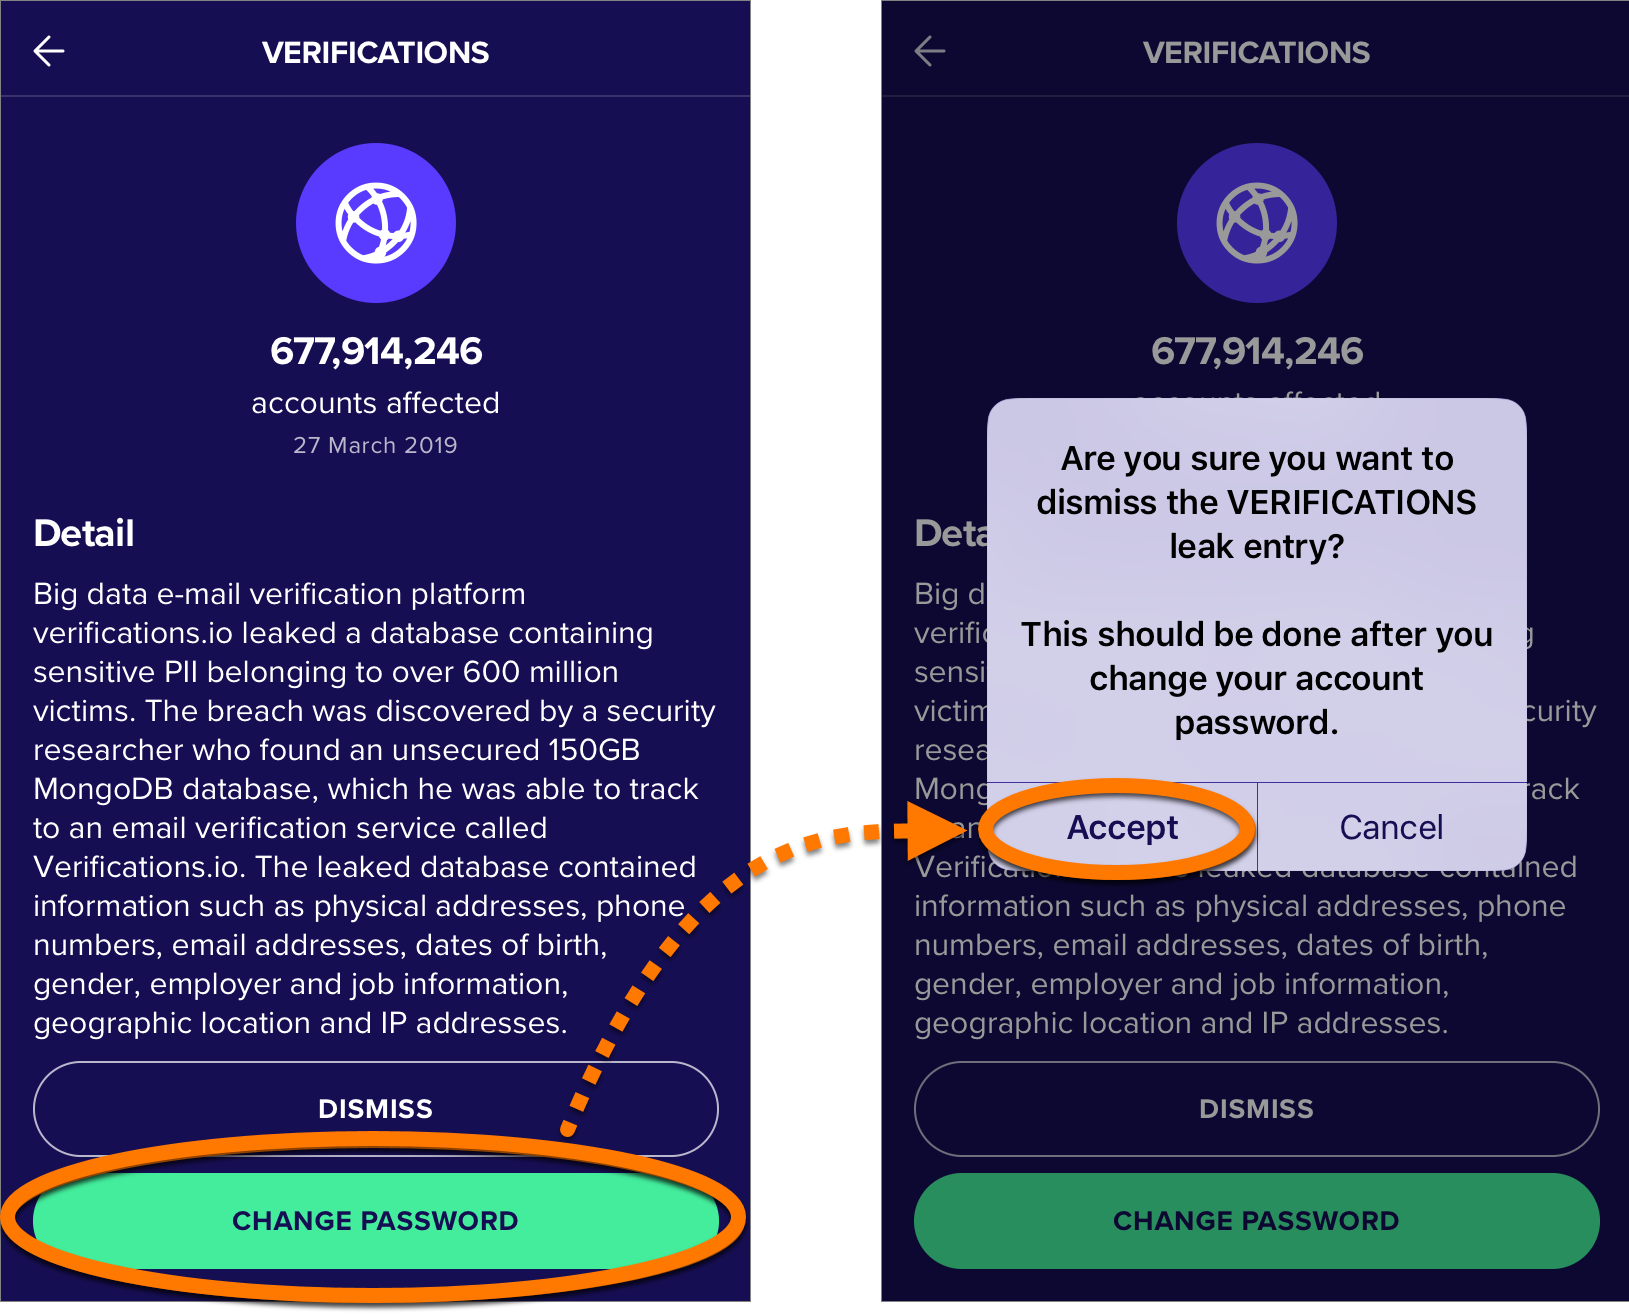
- Tap Change Password to open the website that has leaked your data. We recommend changing your account password immediately.
- After changing your password, tap Dismiss ▸ Accept to remove the leak notification.

When all leak notifications have been dismissed, Identity Protection remains active and notifies you again if it detects any future data leaks connected to your email address.
If you have Avast Mobile Security Premium, you can use Identity Protection with multiple email addresses. To add another email address, tap the Identity Protection panel on the main Avast Mobile Security screen, then follow the instructions above, starting at step 2.
To remove an email address, tap the Identity Protection panel on the main Avast Mobile Security screen, then swipe left on the email address and select Delete. Tap Accept to confirm.
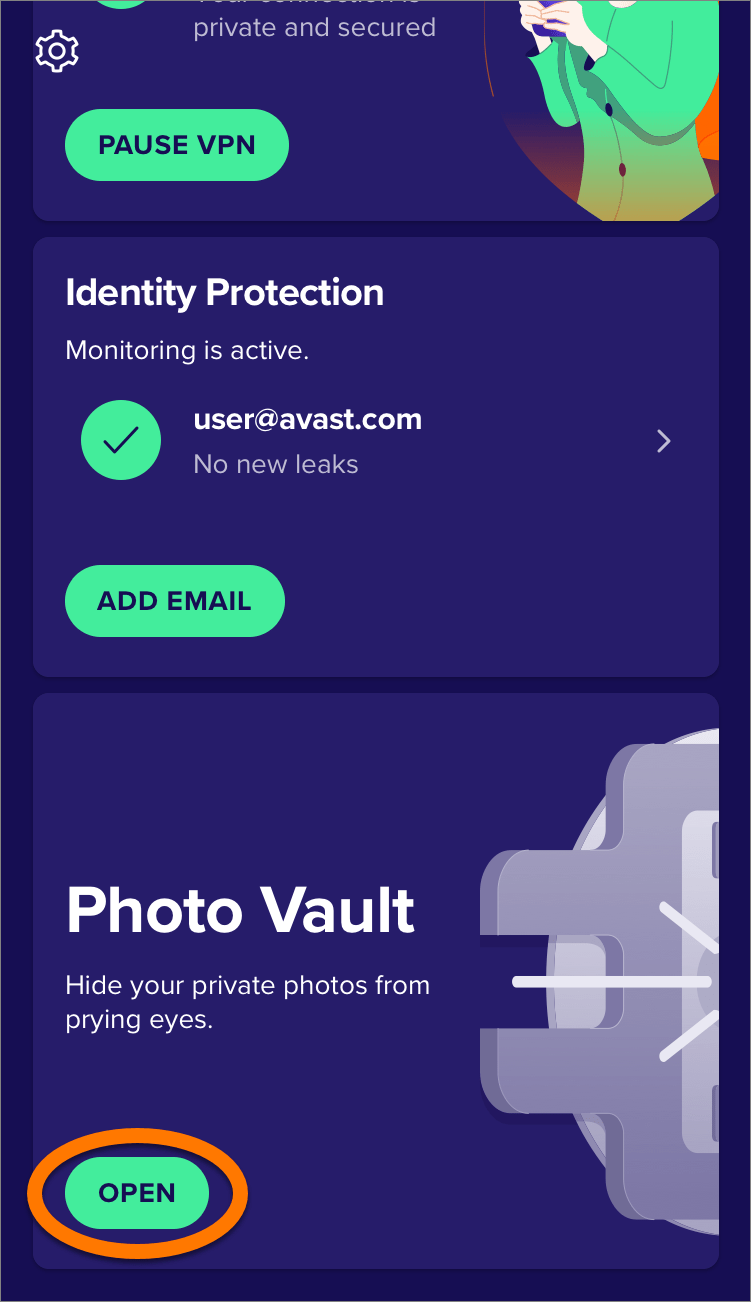
Photo Vault
Photo Vault protects your photos by locking them in an encrypted passcode-protected vault. To set up your Photo Vault:
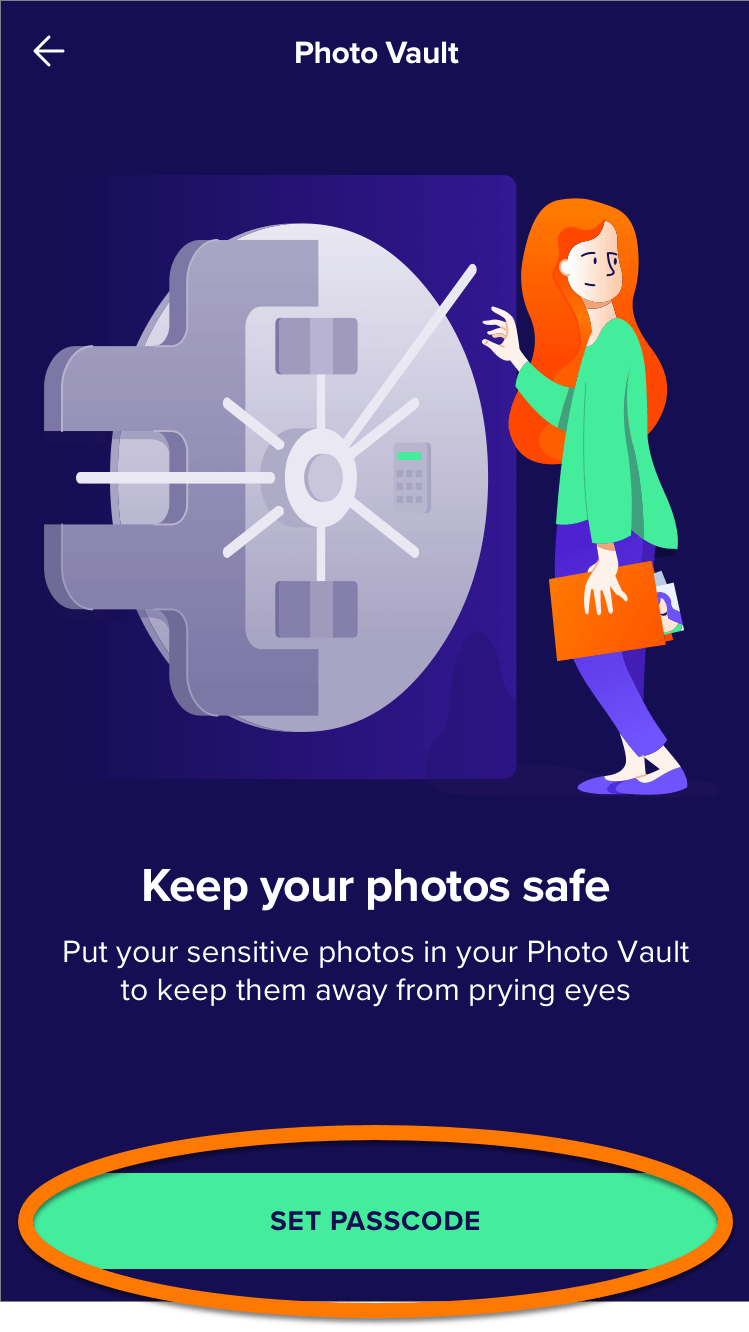
- Tap Open on the Photo Vault tile.
- Tap Set Passcode.
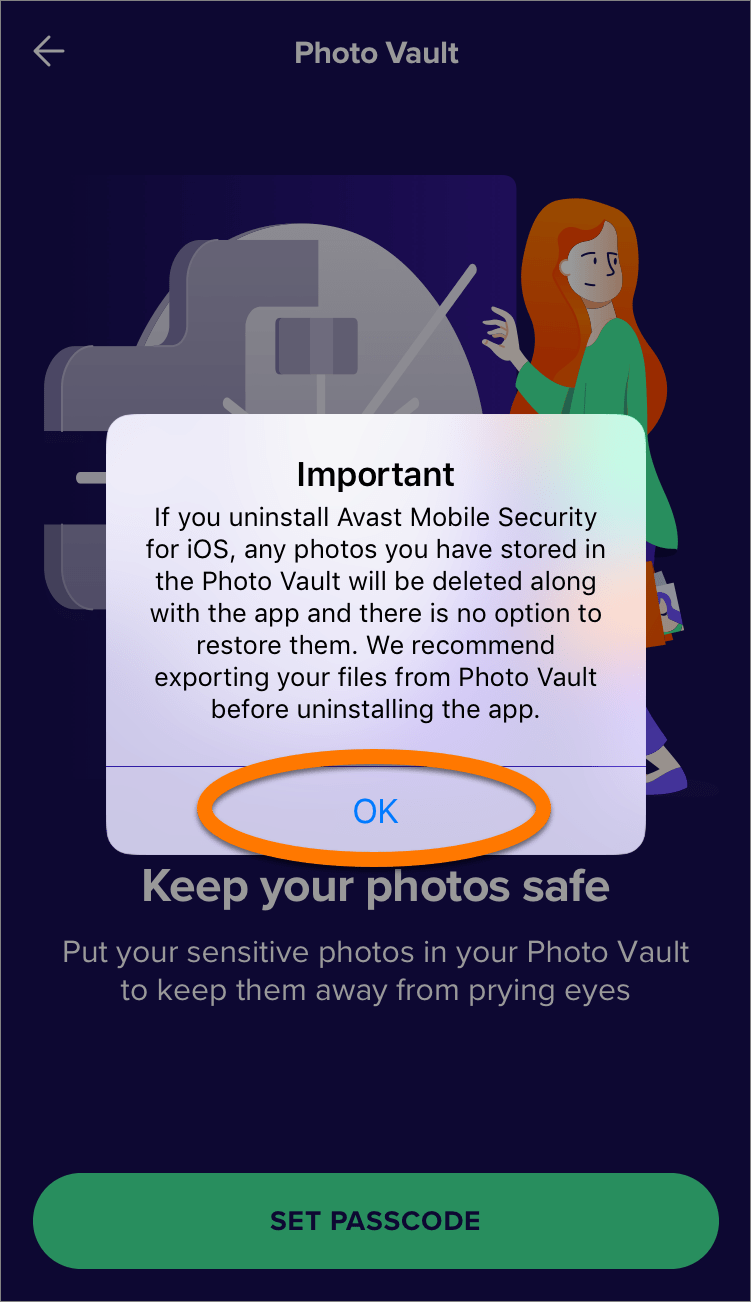
- Read the warning message, then tap OK.
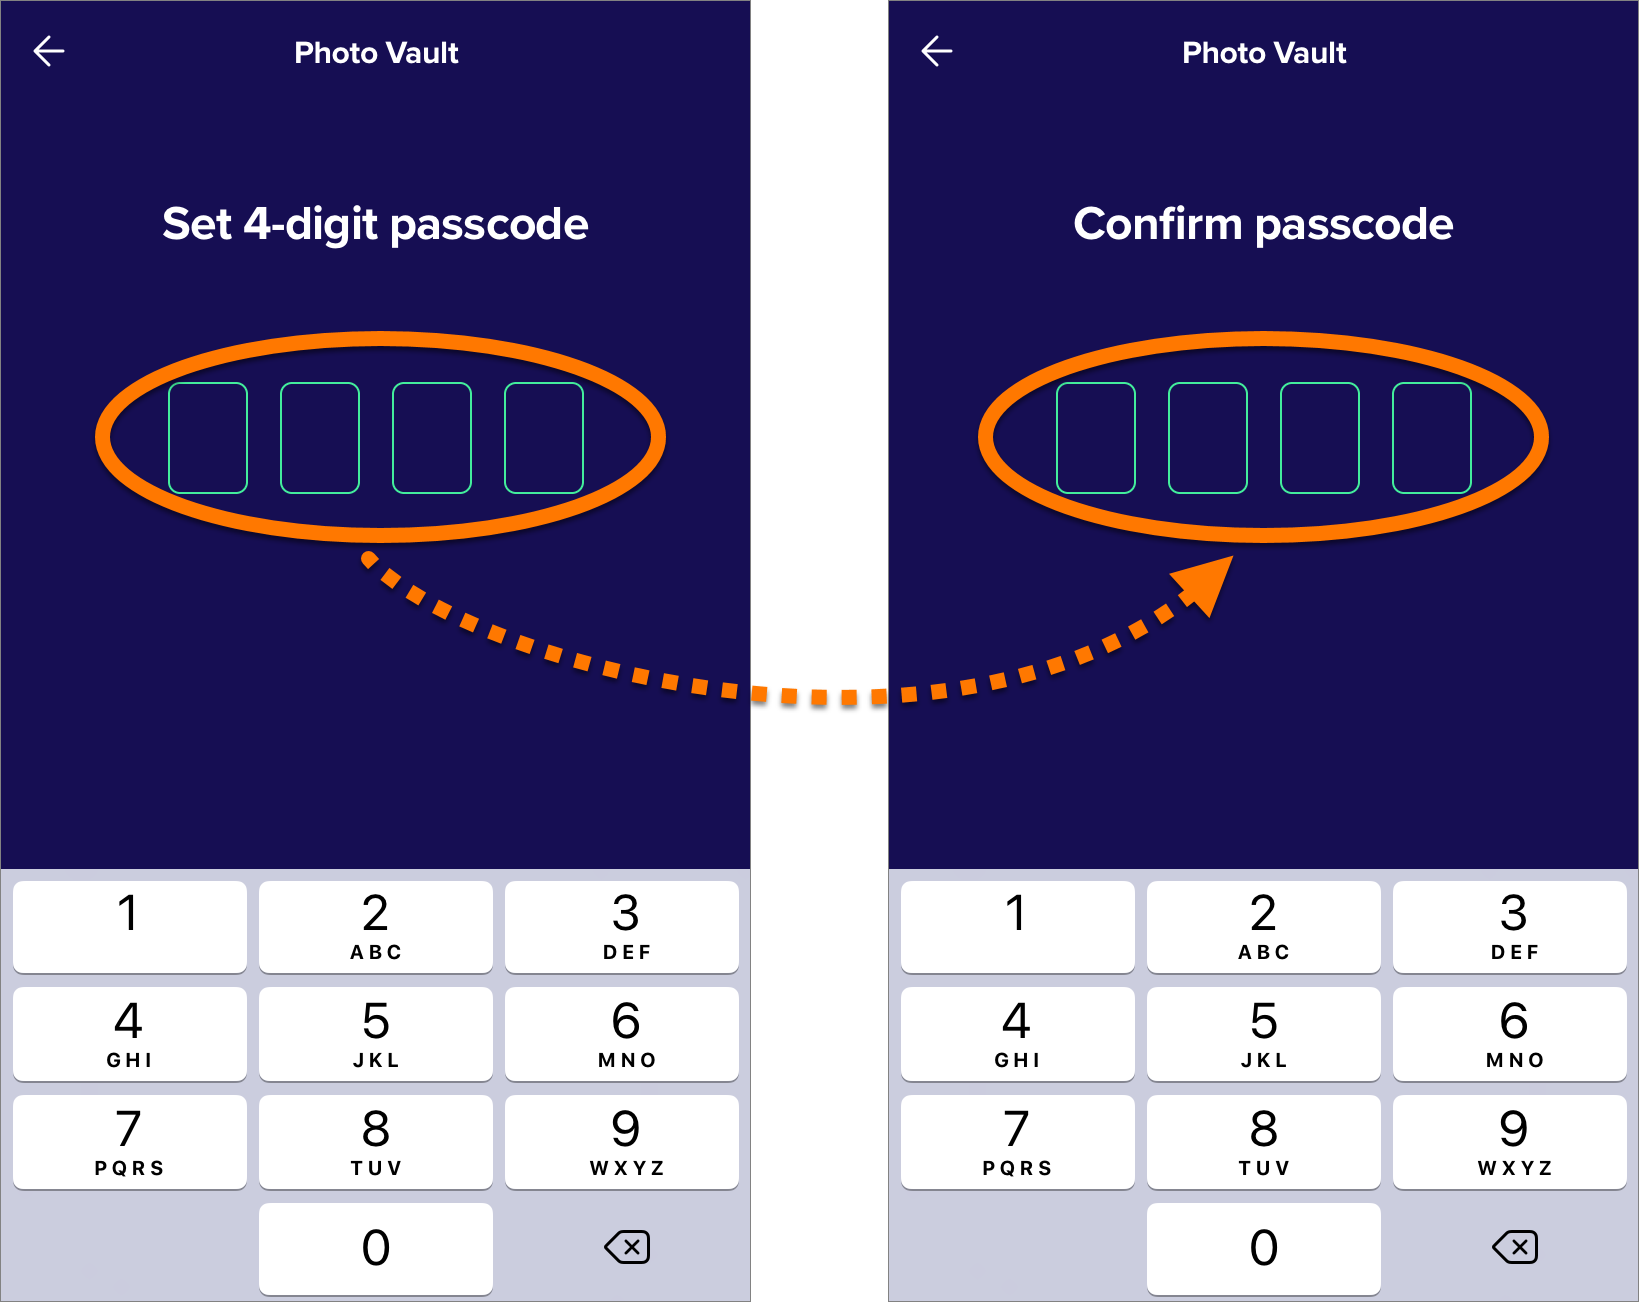
- Enter a four-digit passcode, then enter it again to confirm your passcode.
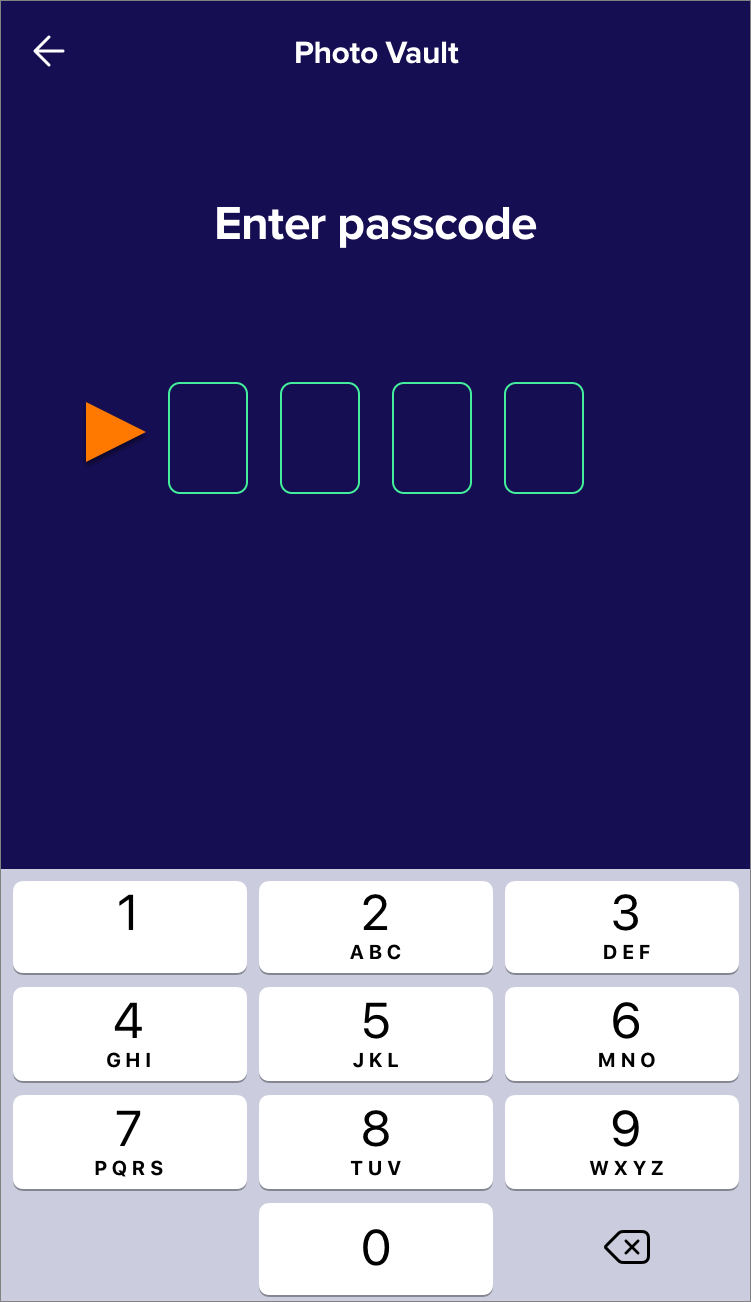
Your passcode is set. Now every time you open Photo Vault you are prompted to enter your passcode to gain access to the vault. If your device has Touch or Face ID capability, you have the option to enable this functionality after you have set up a passcode. If you choose to enable Touch or Face ID, this will replace your passcode for accessing Photo Vault.
Add photos to Photo Vault
You can add existing photos or images to your Photo Vault from the Photo Library on your device, or use the camera on your device to take a photo and import it directly into your Photo Vault. To add photos or images to Photo Vault:
- Tap Open on the Photo Vault tile.
- Enter your passcode.
- Tap the
+(plus) button. - Select either Photo Library or Camera:

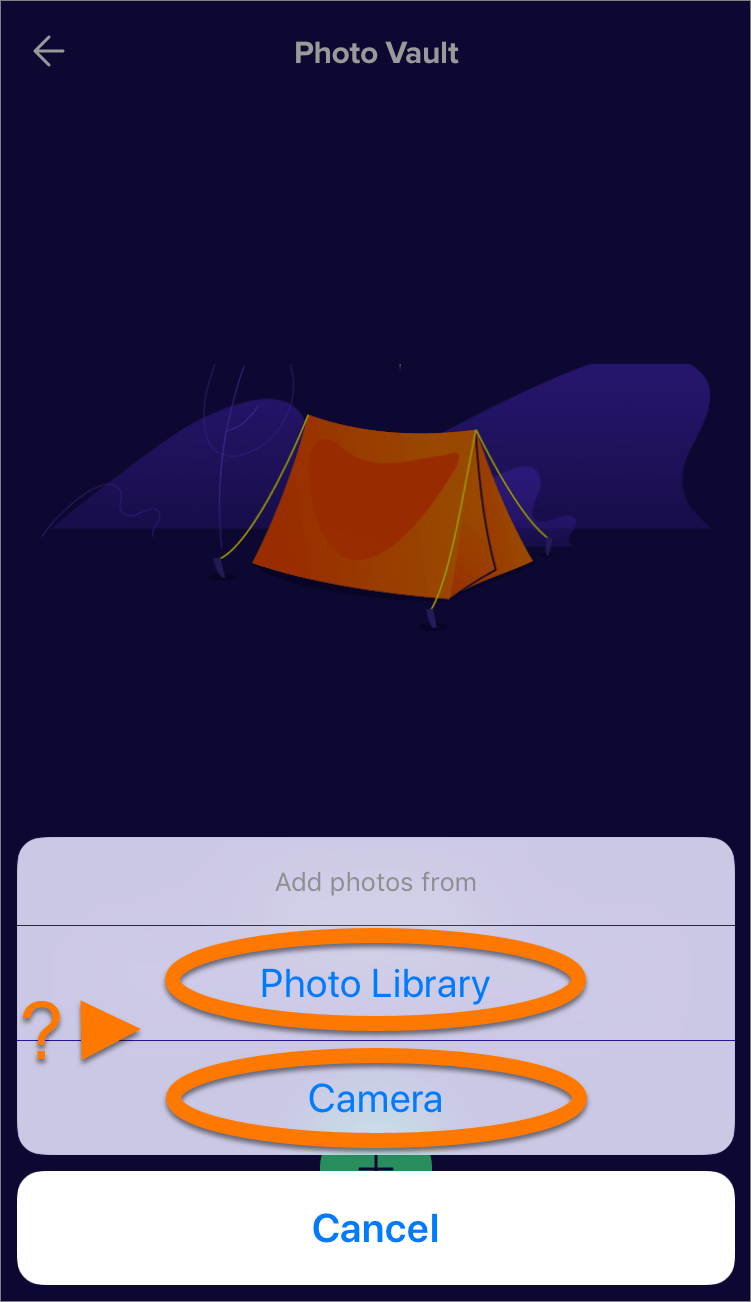
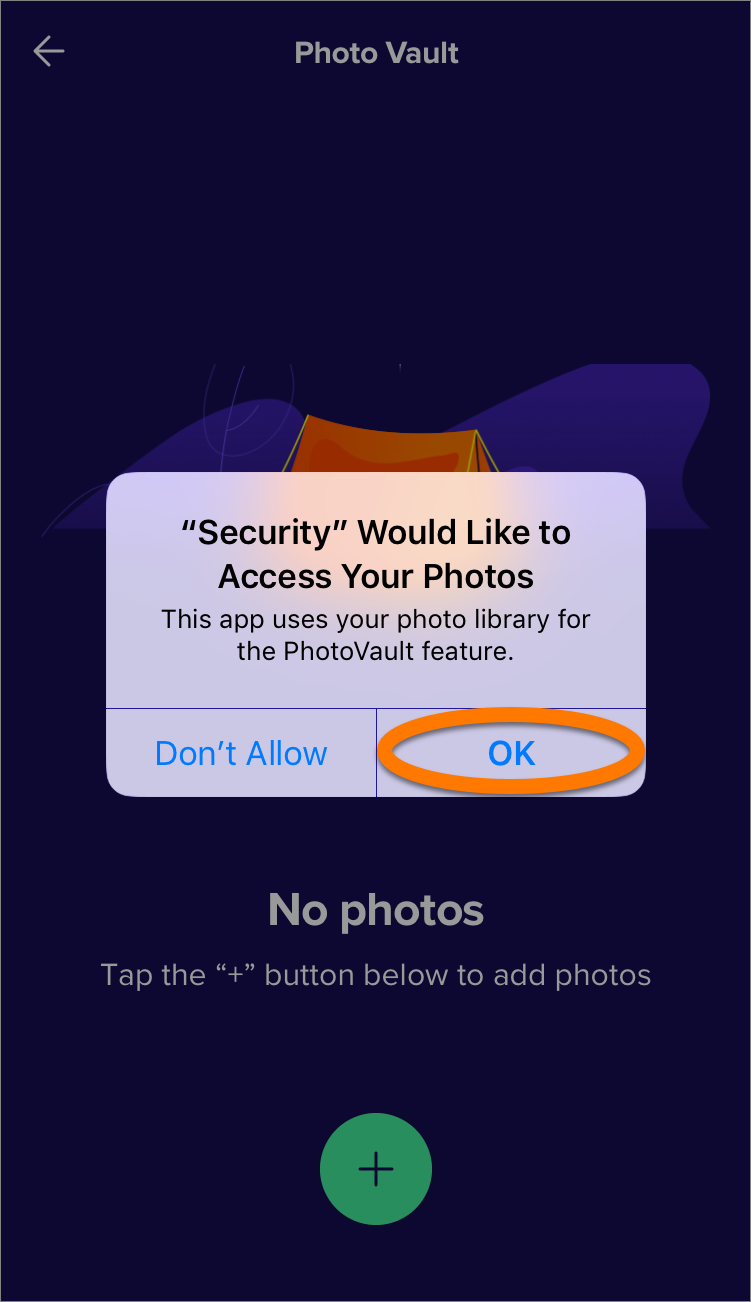
- Tap OK to give Avast Mobile Security permission to access your Photo Library.
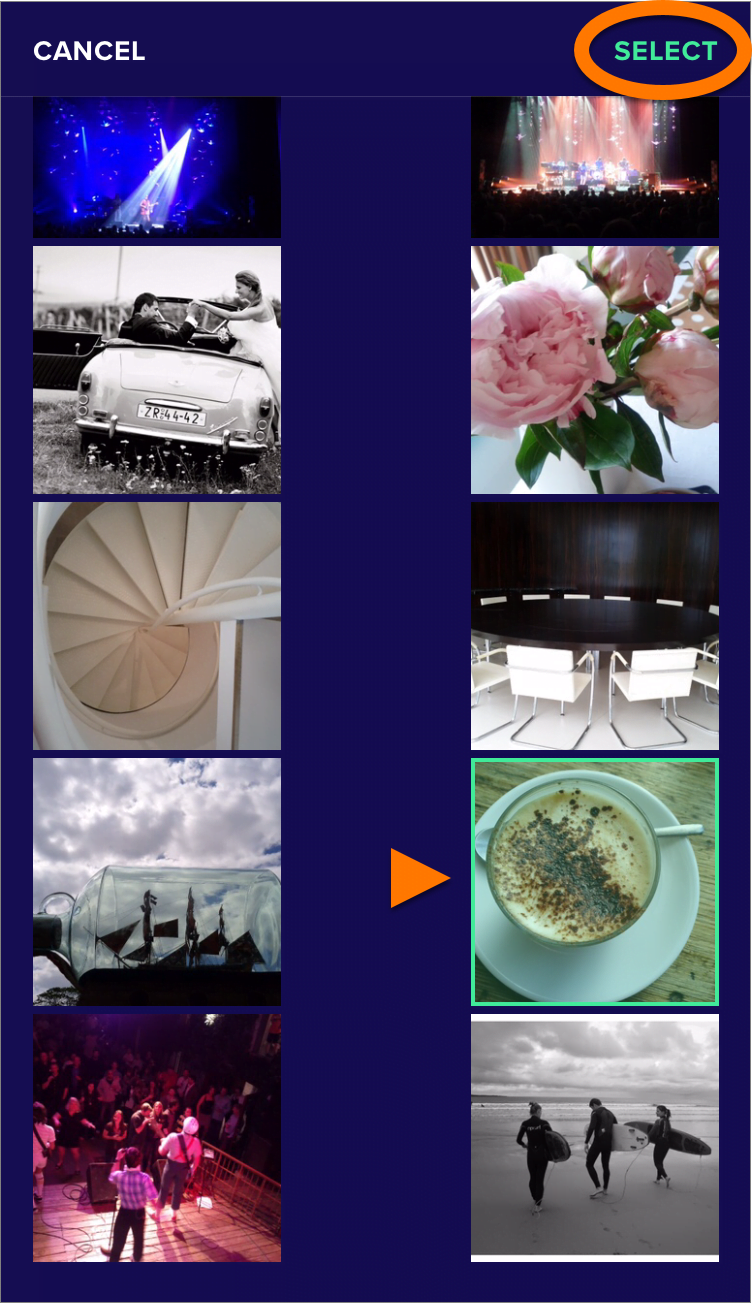
- Tap a photo to select it, then tap Select.
- Optionally, tap Delete to remove the photo from your photo library.
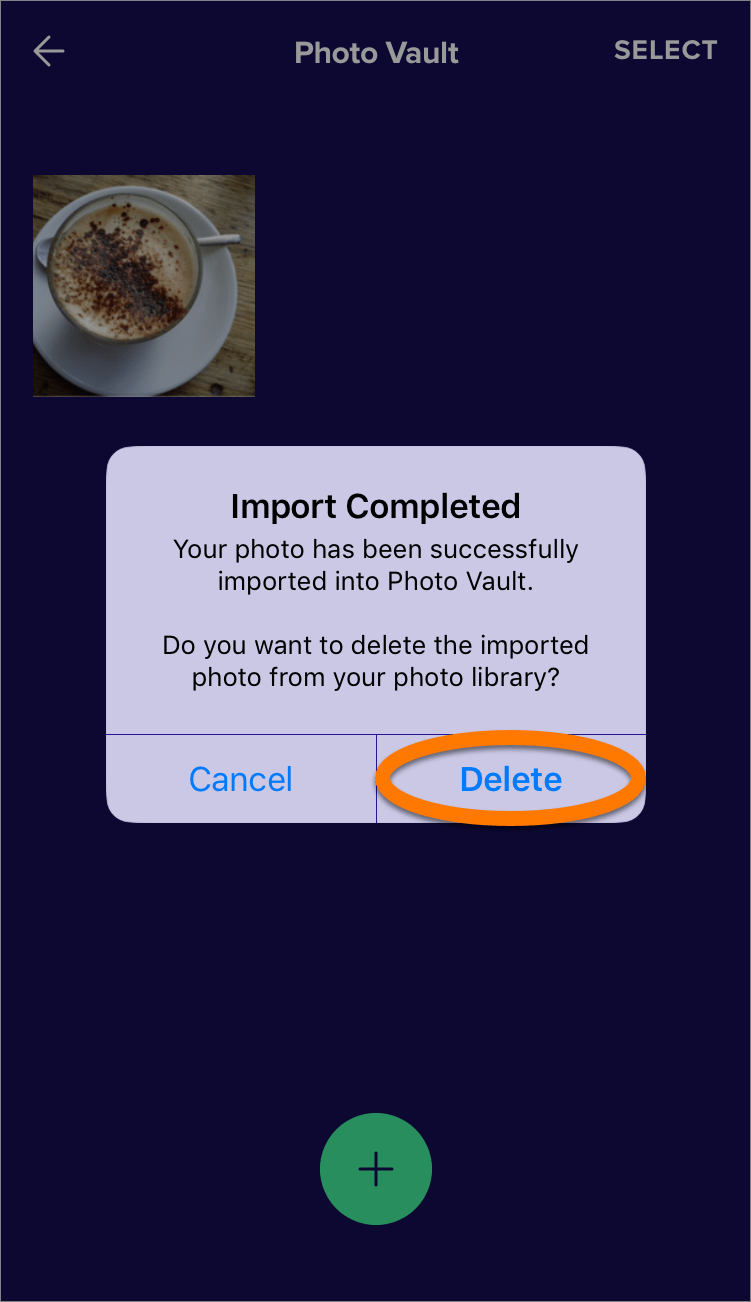
Your photo is imported into Photo Vault.
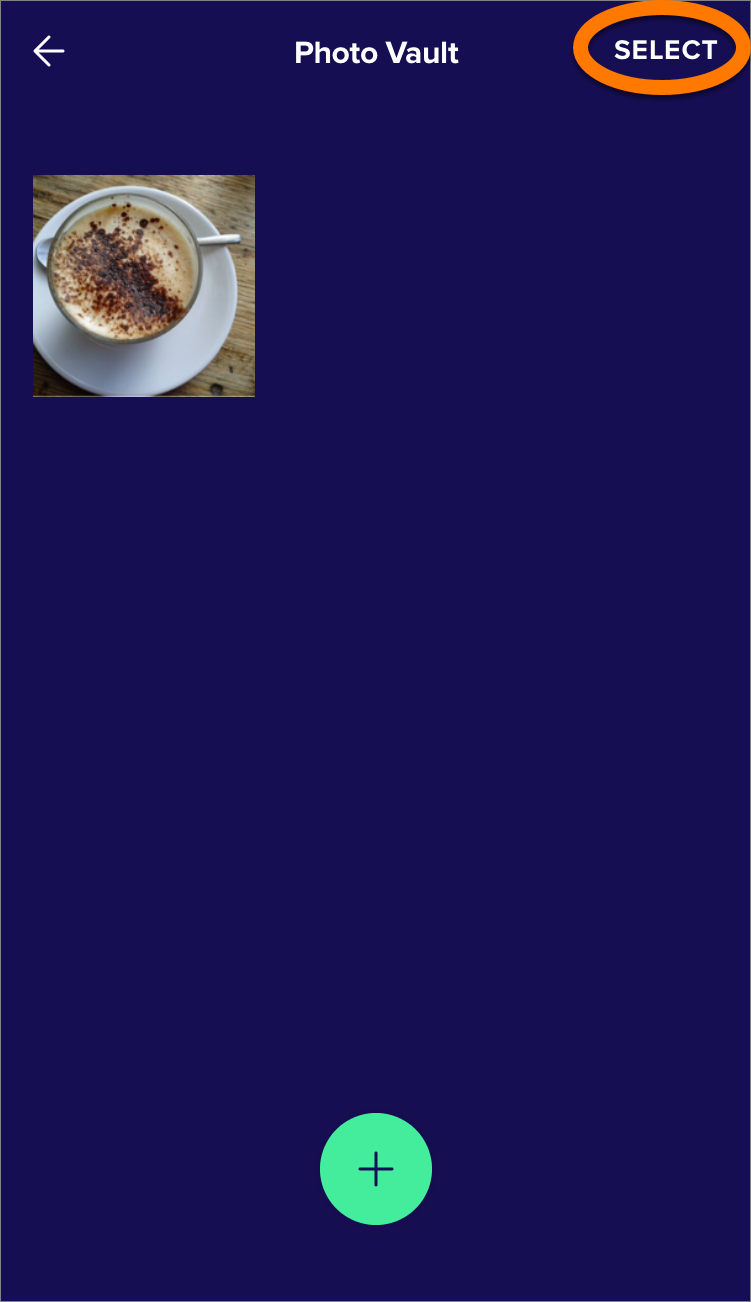
Share or delete files from Photo Vault
- Open Photo Vault, then tap Select.
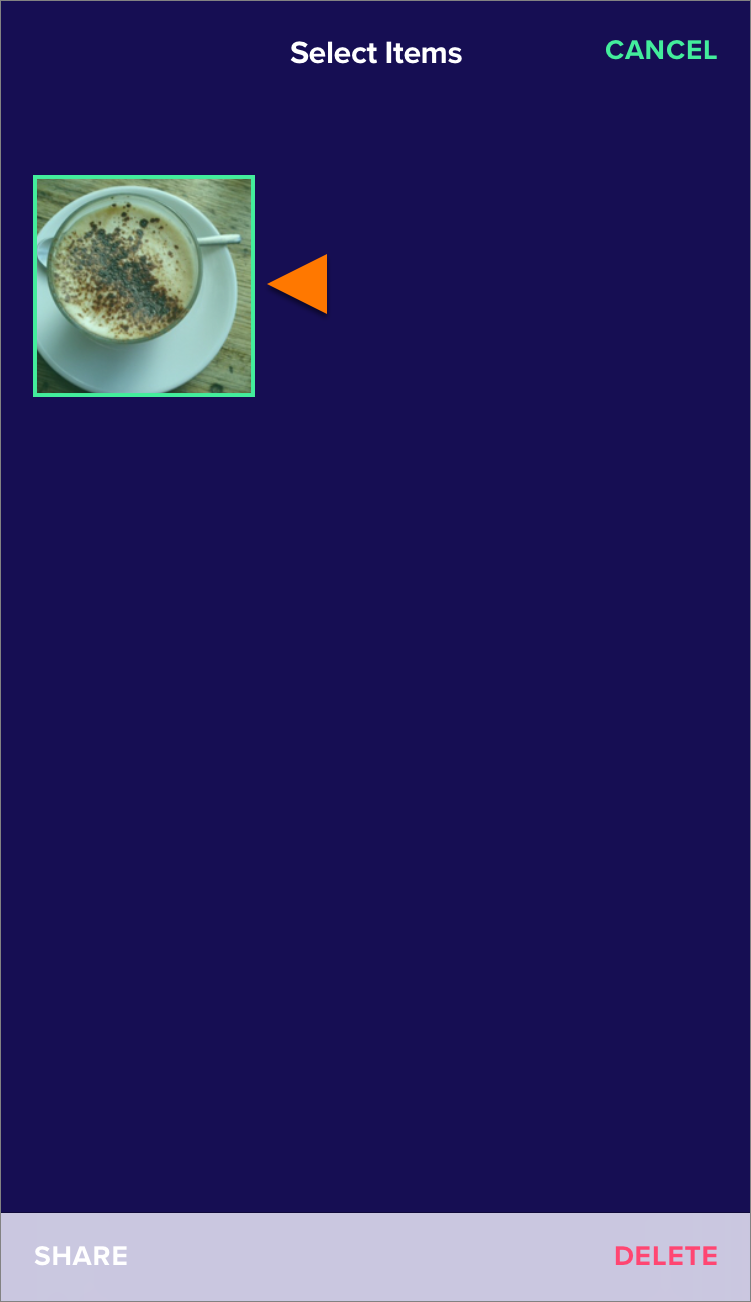
- Tap the photo(s) you want to share or remove from the vault. A green border appears around the selected photo(s).
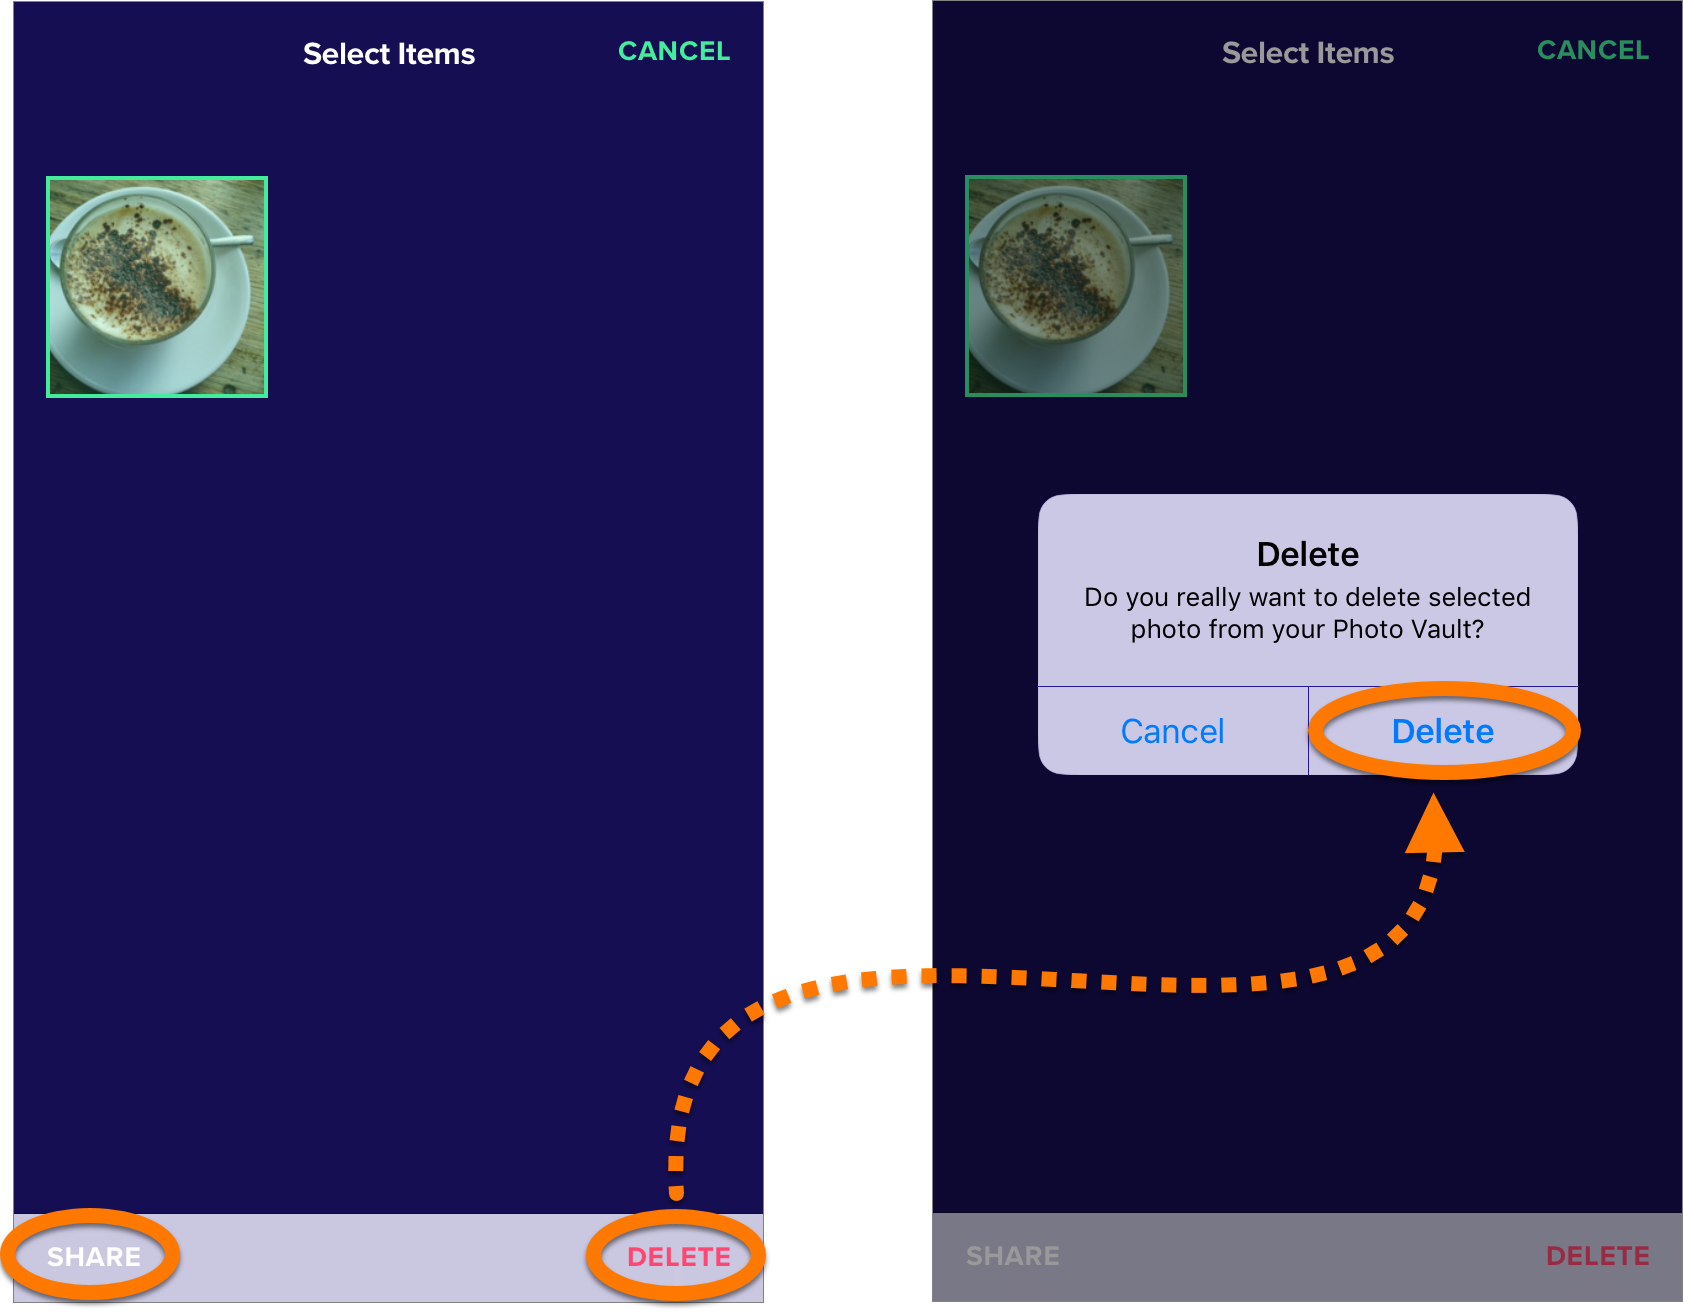
- Tap Share to send the selected file(s) to another location, for example via AirDrop, email, or message.
Alternatively, tap Delete to permanently remove the file(s) from Photo Vault.
Editor by : BEST Antivirus KBS Team