Important
As part of the convergence with Microsoft 365 Defender, some options and details have changed from their location in the Defender for Identity portal. Please read the details below to discover where to find both the familiar and new features.
Health issues notifications
In Microsoft 365 Defender, you can add recipients for email notifications of health issues in Defender for Identity.
- In Microsoft 365 Defender, go to Settings and then Identities.
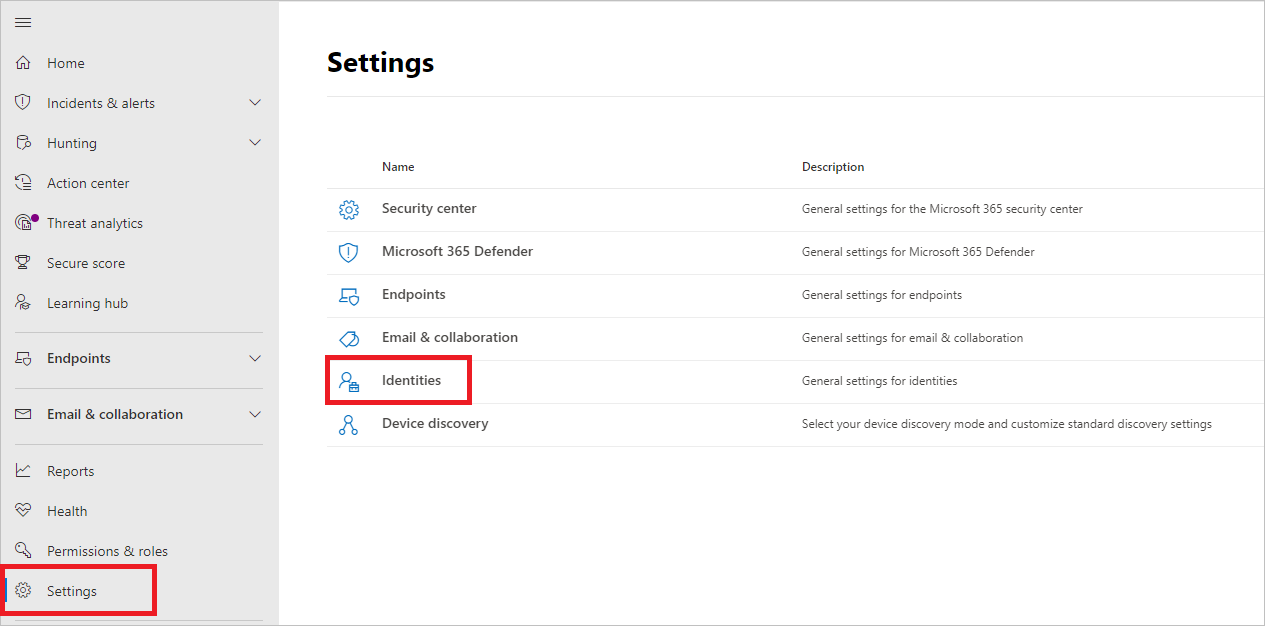
- Select Health issues notifications.
- Enter the recipient’s email address. Select Add.

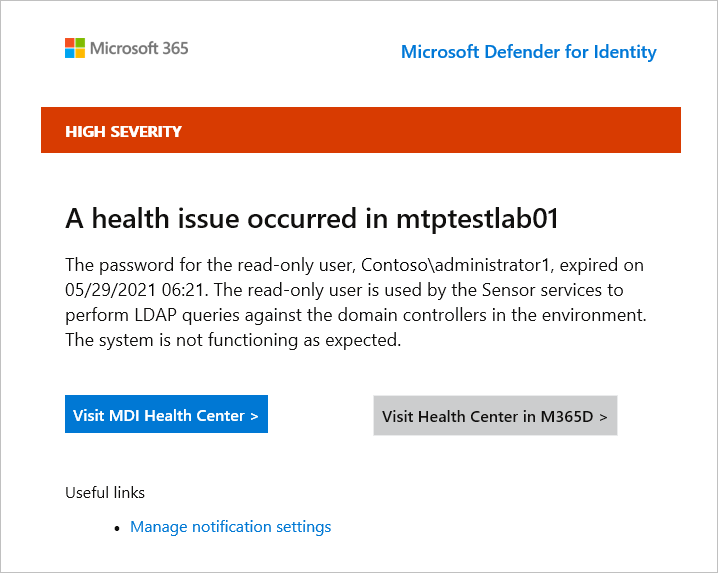
- When Defender for Identity detects a health issue, the recipients will receive an email notification with the details.
Note
The email provides two links for further details about the issue. You can either go to the MDI Health Center or the new Health Center in M365D.
Alert notifications
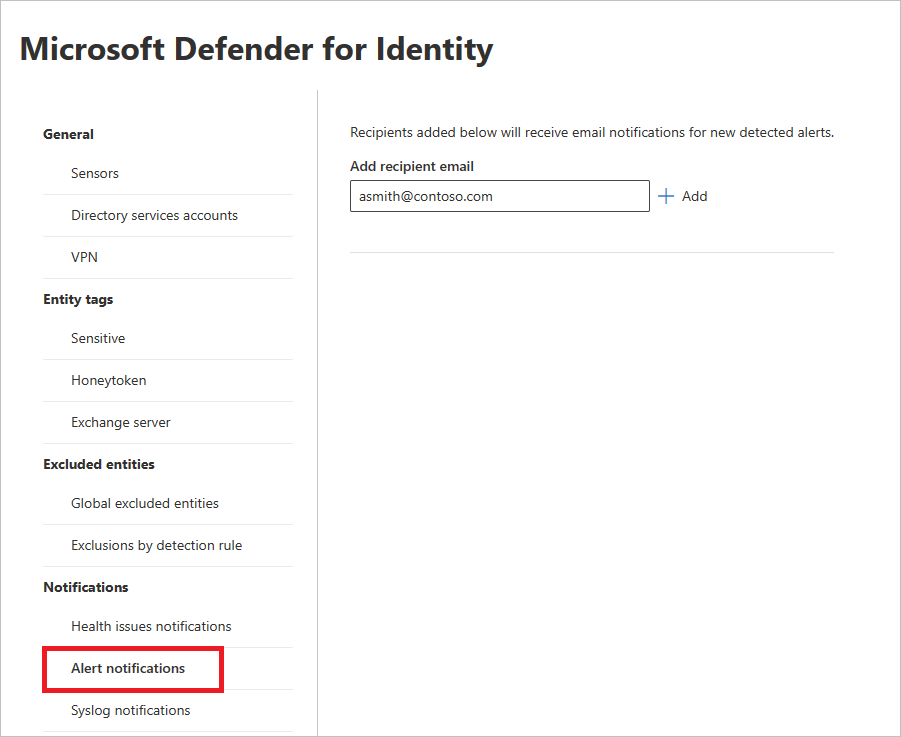
In Microsoft 365 Defender, you can add recipients for email notifications of detected alerts.
- In Microsoft 365 Defender, go to Settings and then Identities.
- Select Alert notifications.
- Enter the recipient’s email address. Select Add.
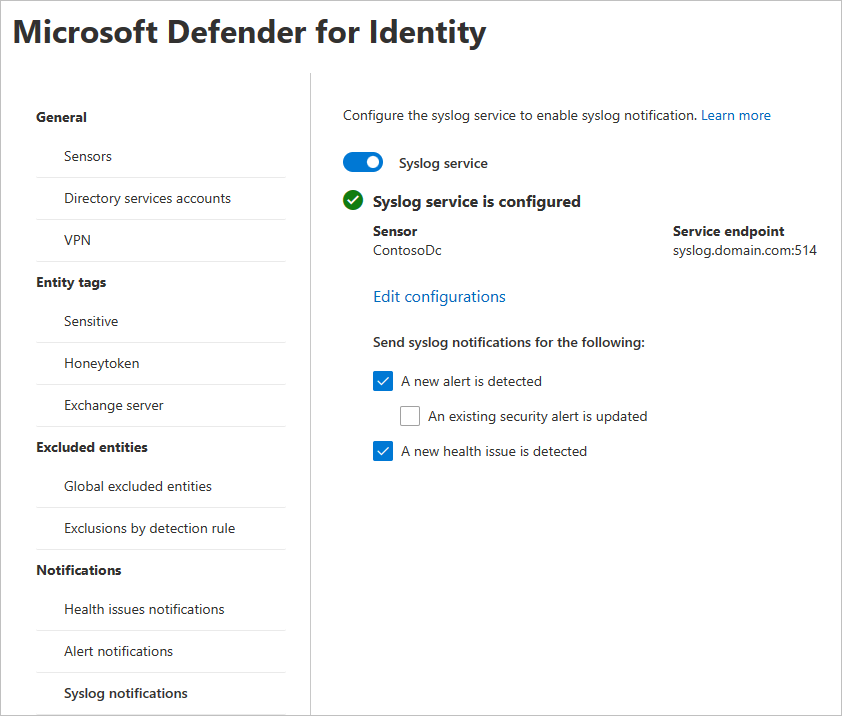
Syslog notifications
Defender for Identity can notify you when it detects suspicious activities by sending security and health alerts to your Syslog server through a nominated sensor.
- In Microsoft 365 Defender, go to Settings and then Identities.
- Select Syslog notifications.
- To enable syslog notification, set the Syslog service toggle to the on position.
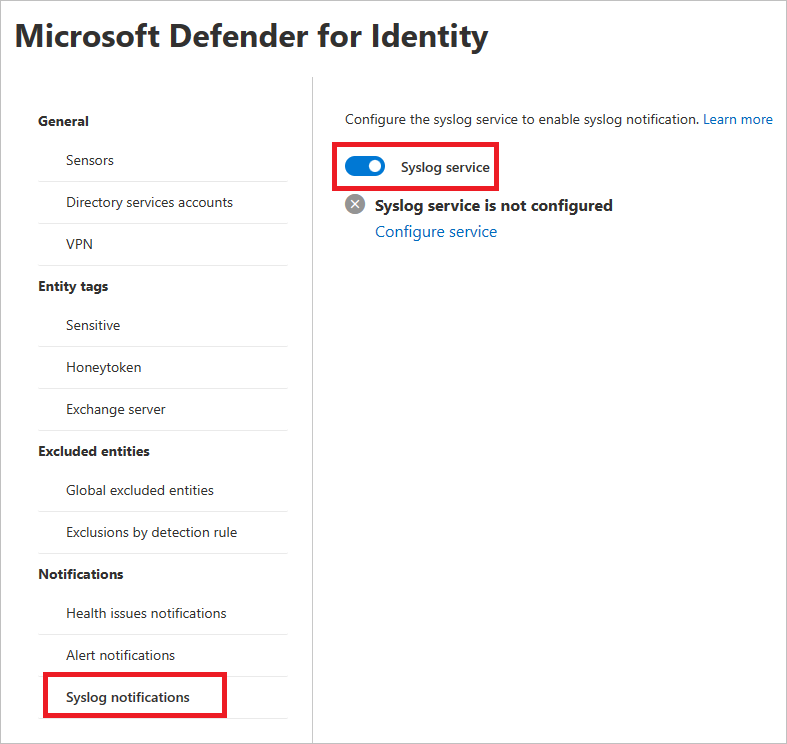
- Select Configure service. A pane will open where you can enter the details for the syslog service.
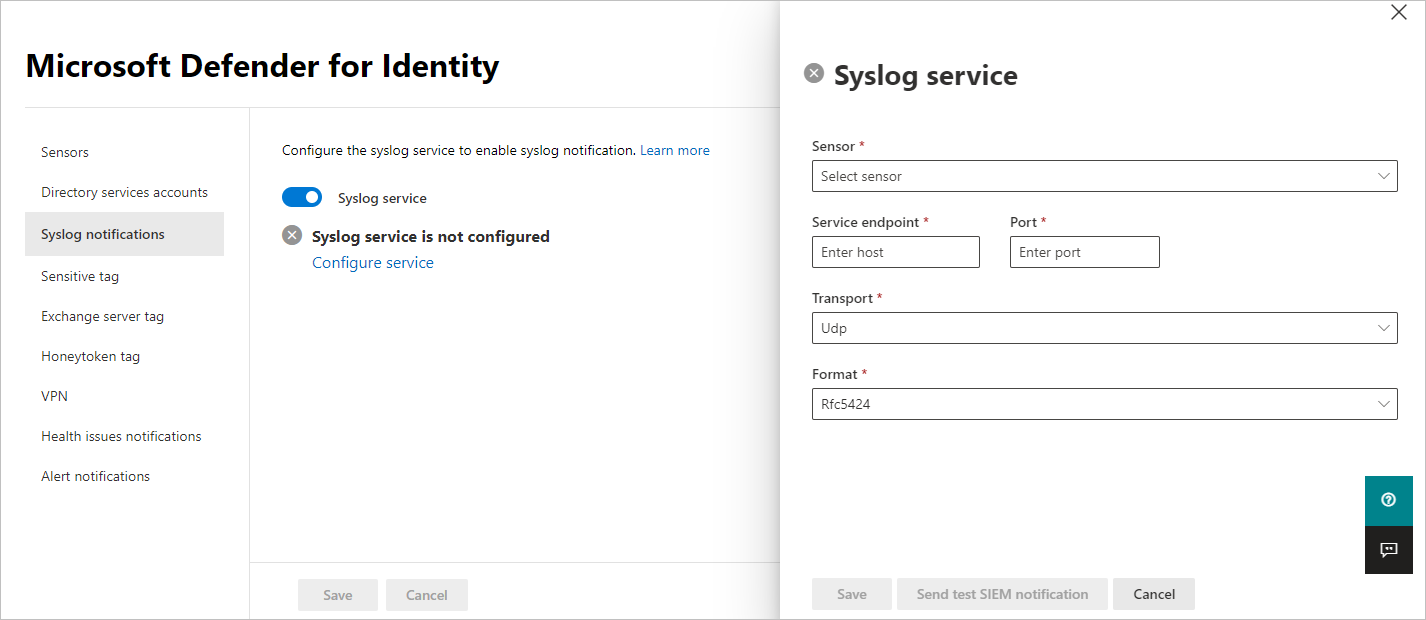
- Enter the following details:
- Sensor – From the drop-down list, choose the sensor that will send the alerts.
- Service endpoint and Port – Enter the IP address or fully qualified domain name (FQDN) for the syslog server and specify the port number. You can configure only one Syslog endpoint.
- Transport – Select the Transport protocol (TCP or UDP).
- Format – Select the format (RFC 3164 or RFC 5424).
- Select Send test SIEM notification and then verify the message is received in your Syslog infrastructure solution.
- Select Save.
- Once you’ve configured the Syslog service, you can choose which types of notifications (alerts or health issues) to send to your Syslog server.