
This article is part of the Deployment guide and acts as an example onboarding method.
In the Planning topic, there were several methods provided to onboard devices to the service. This topic covers the co-management architecture.
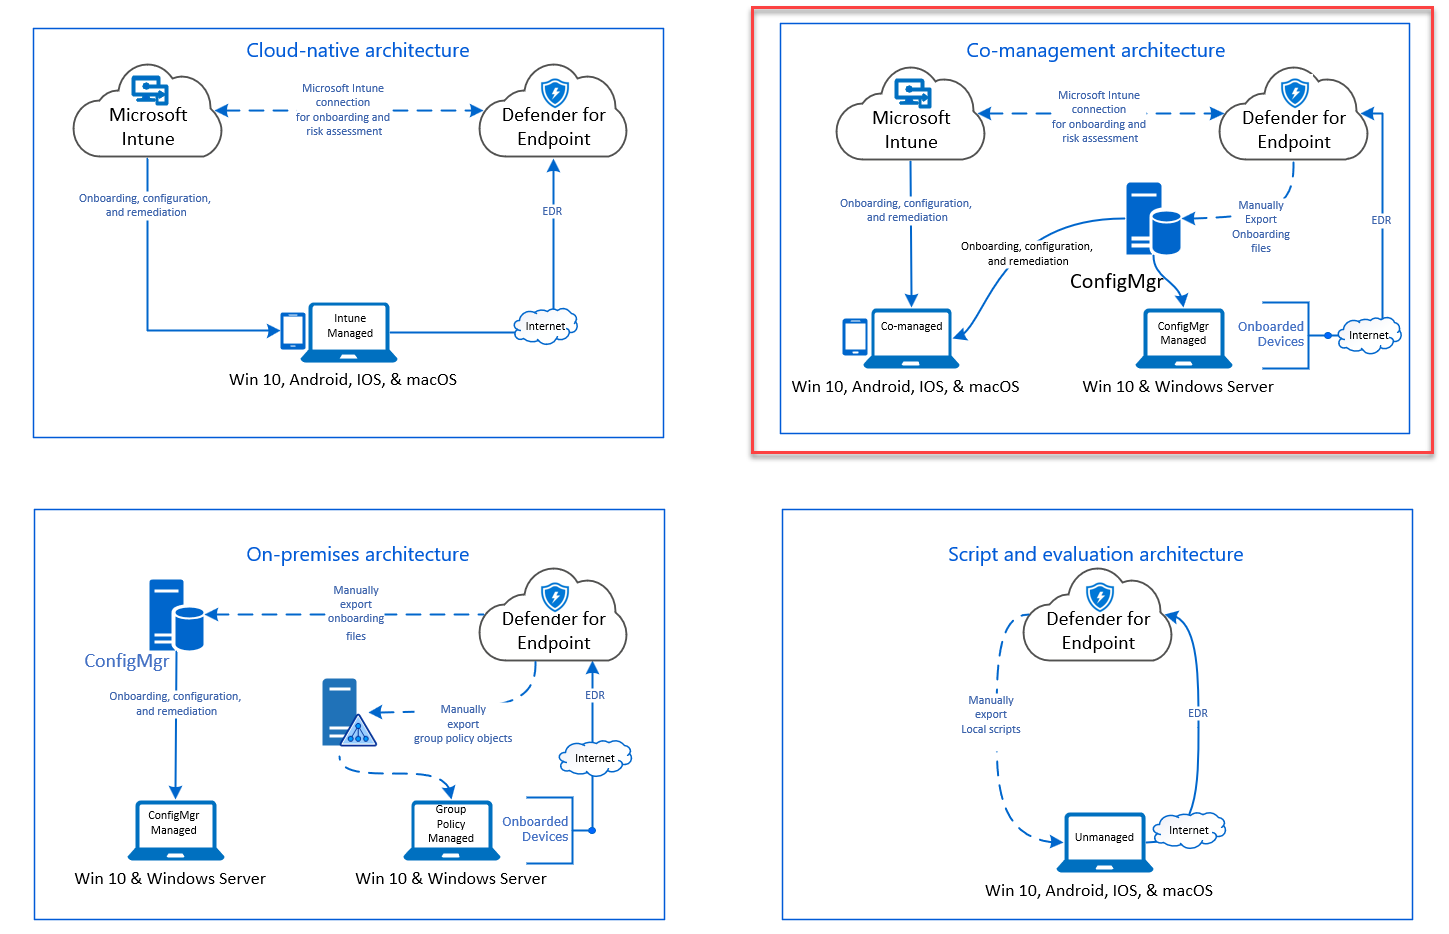 Diagram of environment architectures
While Defender for Endpoint supports onboarding of various endpoints and tools, this article does not cover them. For information on general onboarding using other supported deployment tools and methods, see Onboarding overview.
This topic guides users in:
- Step 1: Onboarding Windows devices to the service
- Step 2: Configuring Defender for Endpoint capabilities
This onboarding guidance will walk you through the following basic steps that you need to take when using Microsoft Endpoint Configuration Manager:
- Creating a collection in Microsoft Endpoint Configuration Manager
- Configuring Microsoft Defender for Endpoint capabilities using Microsoft Endpoint Configuration Manager
Note
Only Windows devices are covered in this example deployment.
Step 1: Onboard Windows devices using Microsoft Endpoint Configuration Manager
Collection creation
To onboard Windows devices with Microsoft Endpoint Configuration Manager, the deployment can target an existing collection or a new collection can be created for testing.
Onboarding using tools such as Group policy or manual method does not install any agent on the system.
Within the Microsoft Endpoint Configuration Manager console the onboarding process will be configured as part of the compliance settings within the console.
Any system that receives this required configuration will maintain that configuration for as long as the Configuration Manager client continues to receive this policy from the management point.
Follow the steps below to onboard endpoints using Microsoft Endpoint Configuration Manager.
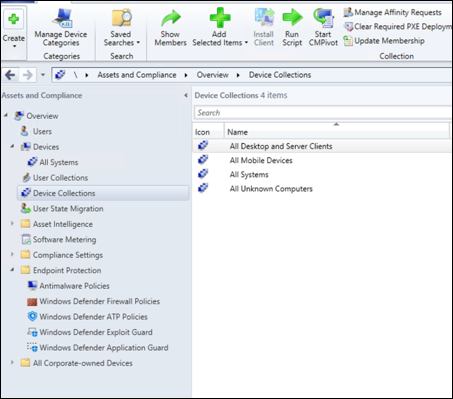
- In Microsoft Endpoint Configuration Manager console, navigate to Assets and Compliance > Overview > Device Collections.
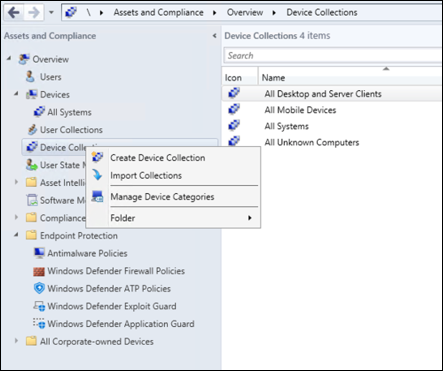
- Right Click Device Collection and select Create Device Collection.
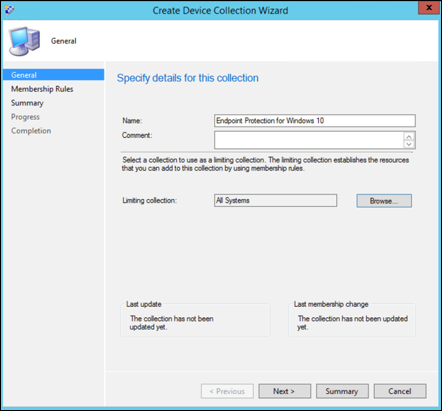
- Provide a Name and Limiting Collection, then select Next.
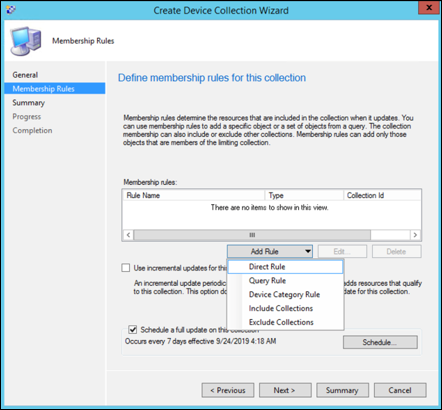
- Select Add Rule and choose Query Rule.
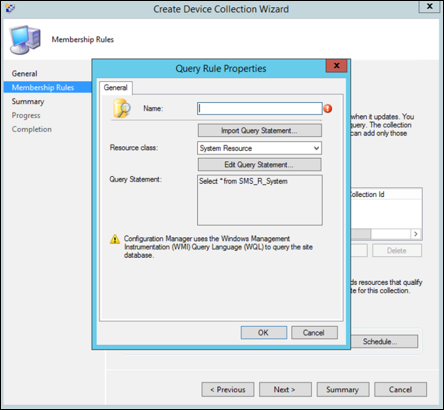
- Click Next on the Direct Membership Wizard and click on Edit Query Statement.
- Select Criteria and then choose the star icon.
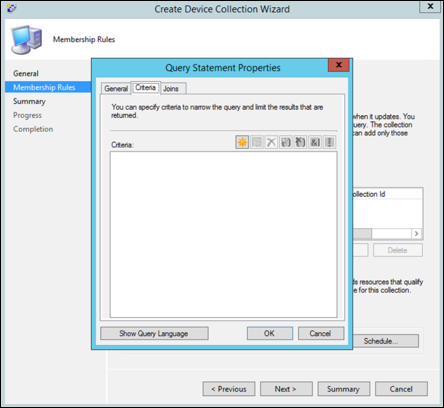
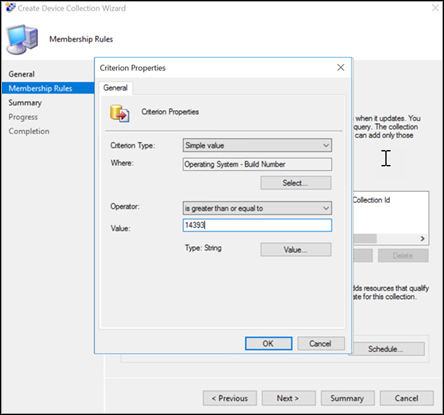
- Keep criterion type as simple value, choose where as Operating System – build number, operator as is greater than or equal to and value 14393 and click on OK.
- Select Next and Close.
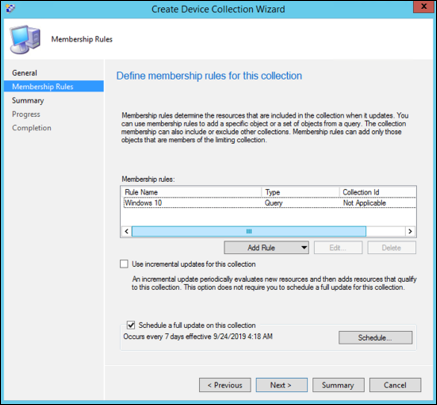
- Select Next.
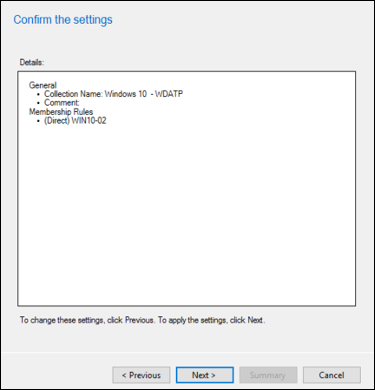
After completing this task, you now have a device collection with all the Windows endpoints in the environment.
Step 2: Configure Microsoft Defender for Endpoint capabilities
This section guides you in configuring the following capabilities using Microsoft Endpoint Configuration Manager on Windows devices:
Endpoint detection and response
Windows 10 and Windows 11
From within the Microsoft 365 Defender portal it is possible to download the .onboarding policy that can be used to create the policy in System Center Configuration Manager and deploy that policy to Windows 10 and Windows 11 devices.
- From a Microsoft 365 Defender portal, select Settings and then Onboarding.
- Under Deployment method select the supported version of Microsoft Endpoint Configuration Manager.
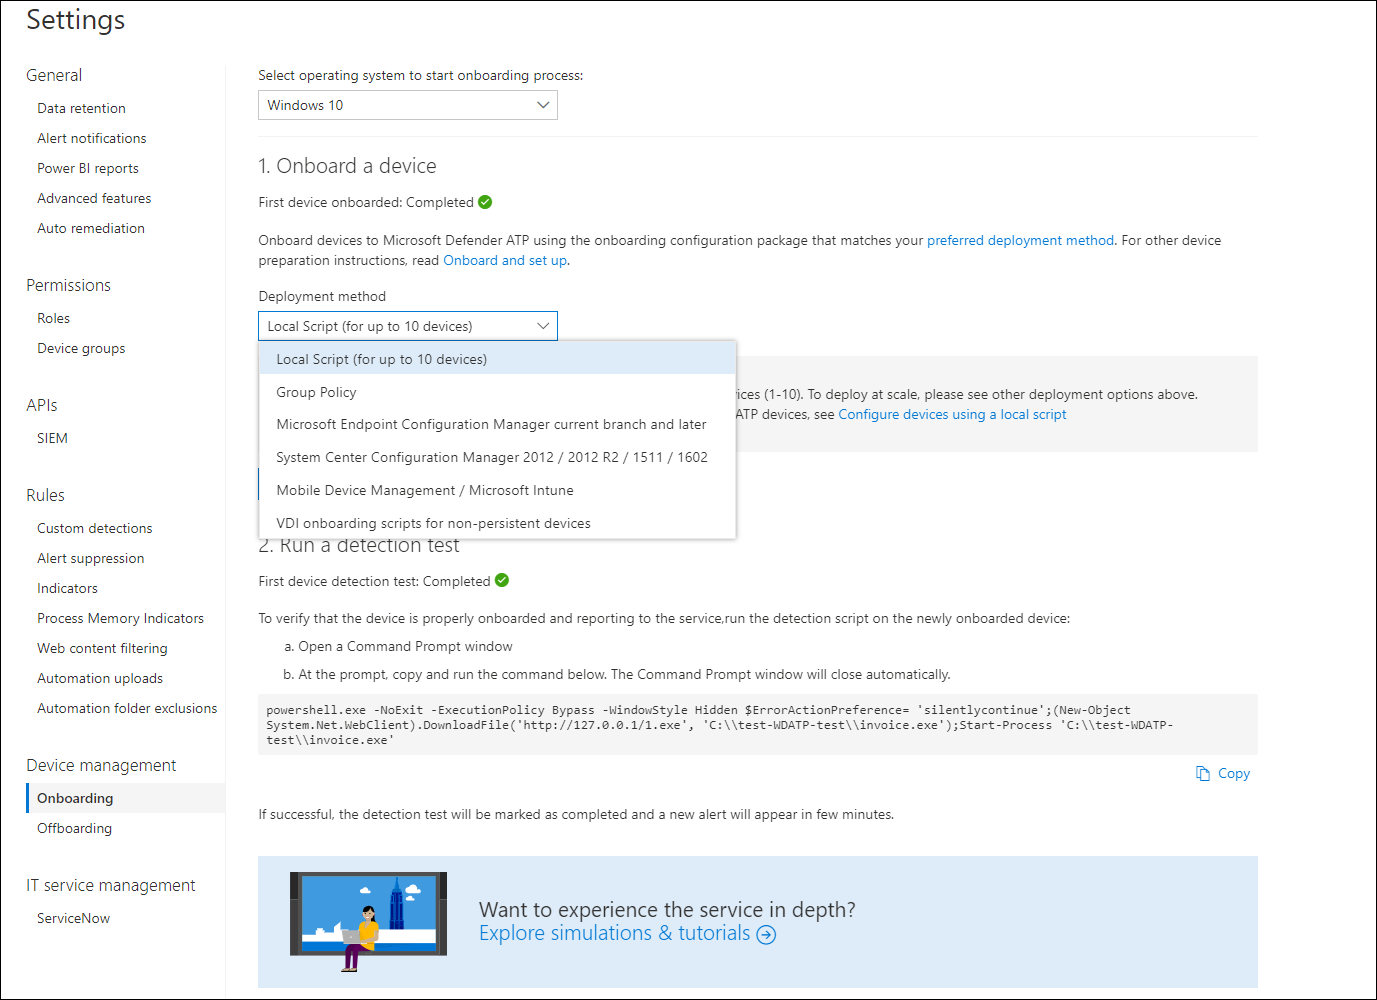
- Select Download package.
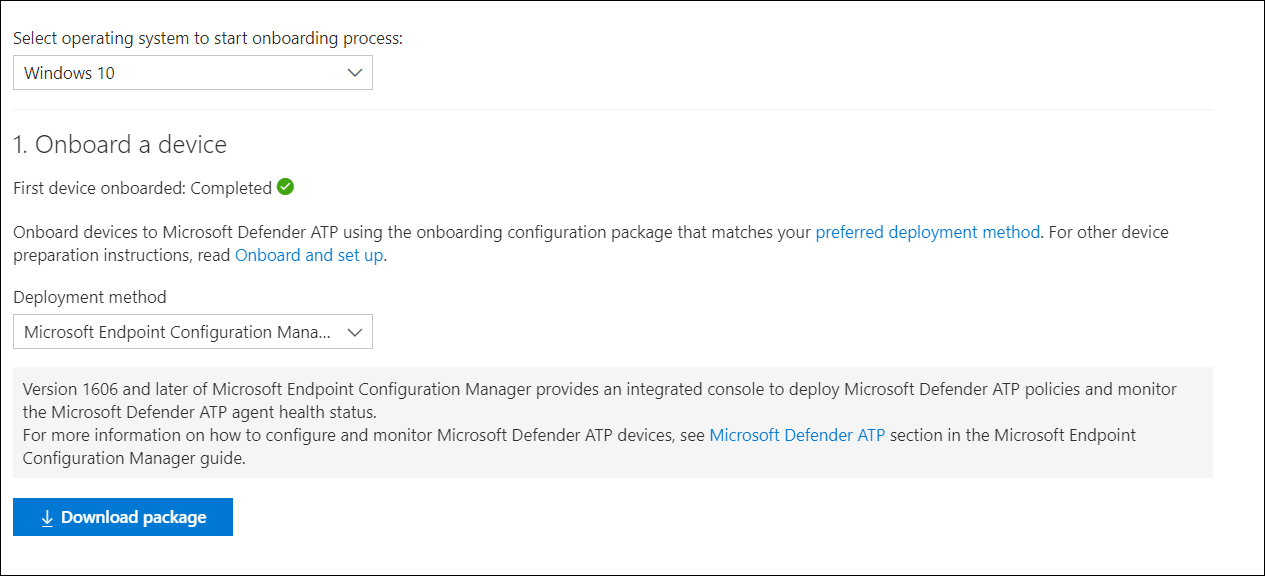
- Save the package to an accessible location.
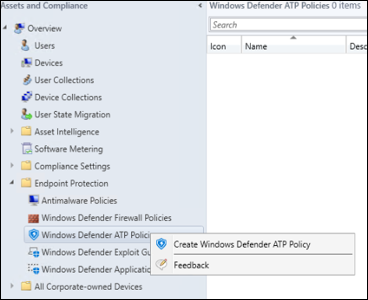
- In Microsoft Endpoint Configuration Manager, navigate to: Assets and Compliance > Overview > Endpoint Protection > Microsoft Defender ATP Policies.
- Right-click Microsoft Defender ATP Policies and select Create Microsoft Defender ATP Policy.
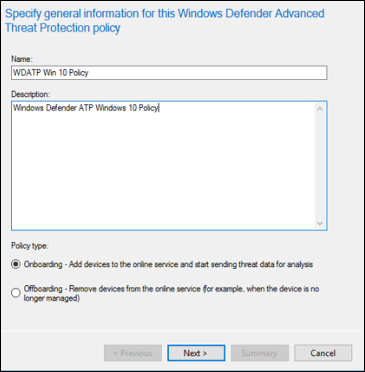
- Enter the name and description, verify Onboarding is selected, then select Next.
- Click Browse.
- Navigate to the location of the downloaded file from step 4 above.
- Click Next.
- Configure the Agent with the appropriate samples (None or All file types).
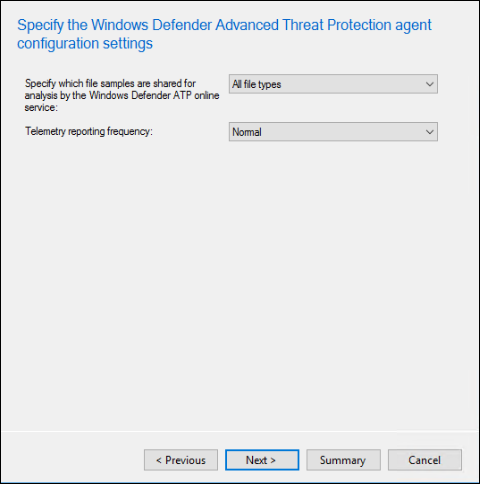
- Select the appropriate telemetry (Normal or Expedited) then click Next.
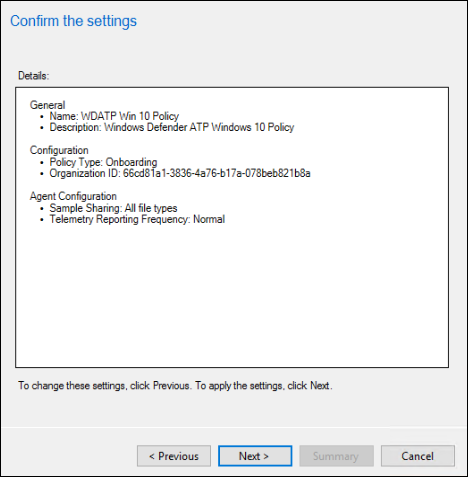
- Verify the configuration, then click Next.
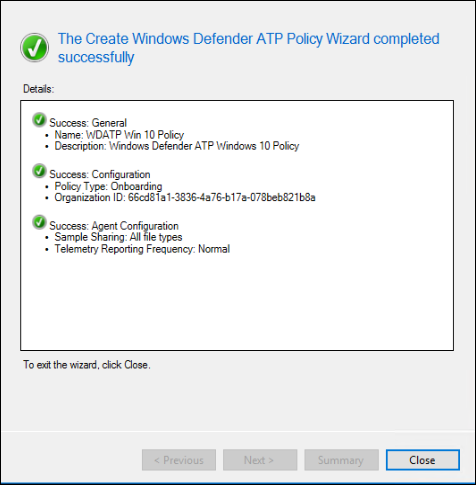
- Click Close when the Wizard completes.
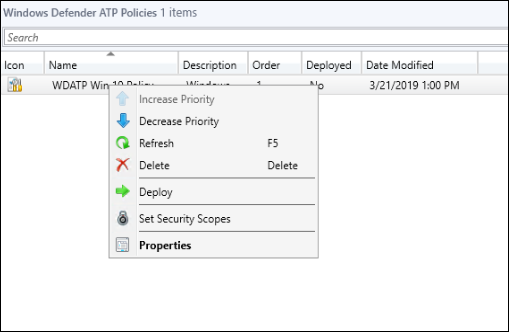
- In the Microsoft Endpoint Configuration Manager console, right-click the Defender for Endpoint policy you just created and select Deploy.
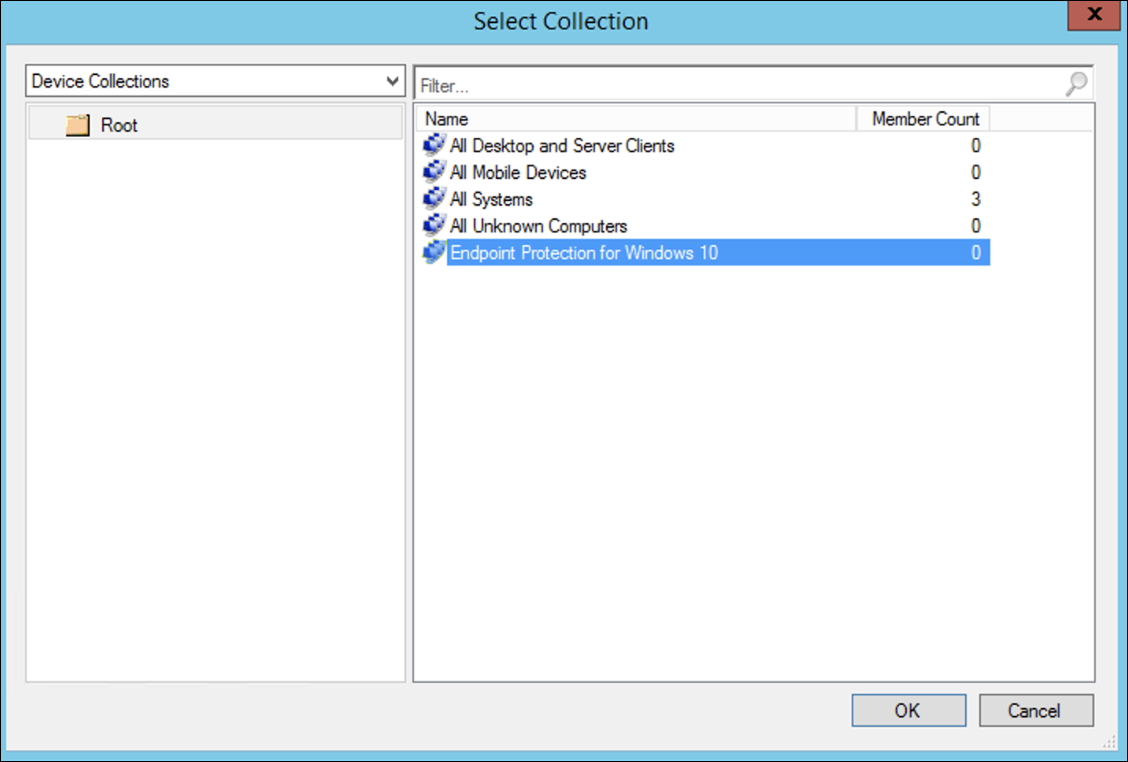
- On the right panel, select the previously created collection and click OK.
Previous versions of Windows Client (Windows 7 and Windows 8.1)
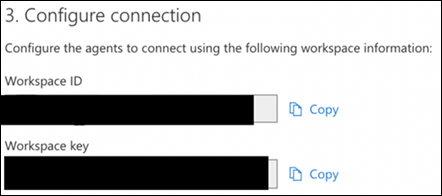
Follow the steps below to identify the Defender for Endpoint Workspace ID and Workspace Key, that will be required for the onboarding of previous versions of Windows.
- From a Microsoft 365 Defender portal, select Settings > Endpoints > Onboarding (under Device Management).
- Under operating system choose Windows 7 SP1 and 8.1.
- Copy the Workspace ID and Workspace Key and save them. They will be used later in the process.
- Install the Microsoft Monitoring Agent (MMA).
MMA is currently (as of January 2019) supported on the following Windows Operating Systems:
- Server SKUs: Windows Server 2008 SP1 or Newer
- Client SKUs: Windows 7 SP1 and later
The MMA agent will need to be installed on Windows devices. To install the agent, some systems will need to download the Update for customer experience and diagnostic telemetry in order to collect the data with MMA. These system versions include but may not be limited to:
- Windows 8.1
- Windows 7
- Windows Server 2016
- Windows Server 2012 R2
- Windows Server 2008 R2
Specifically, for Windows 7 SP1, the following patches must be installed:
- Install KB4074598
- Install either .NET Framework 4.5 (or later) or KB3154518. Do not install both on the same system.
- If you’re using a proxy to connect to the Internet see the Configure proxy settings section.
Once completed, you should see onboarded endpoints in the portal within an hour.
Next generation protection
Microsoft Defender Antivirus is a built-in antimalware solution that provides next generation protection for desktops, portable computers, and servers.
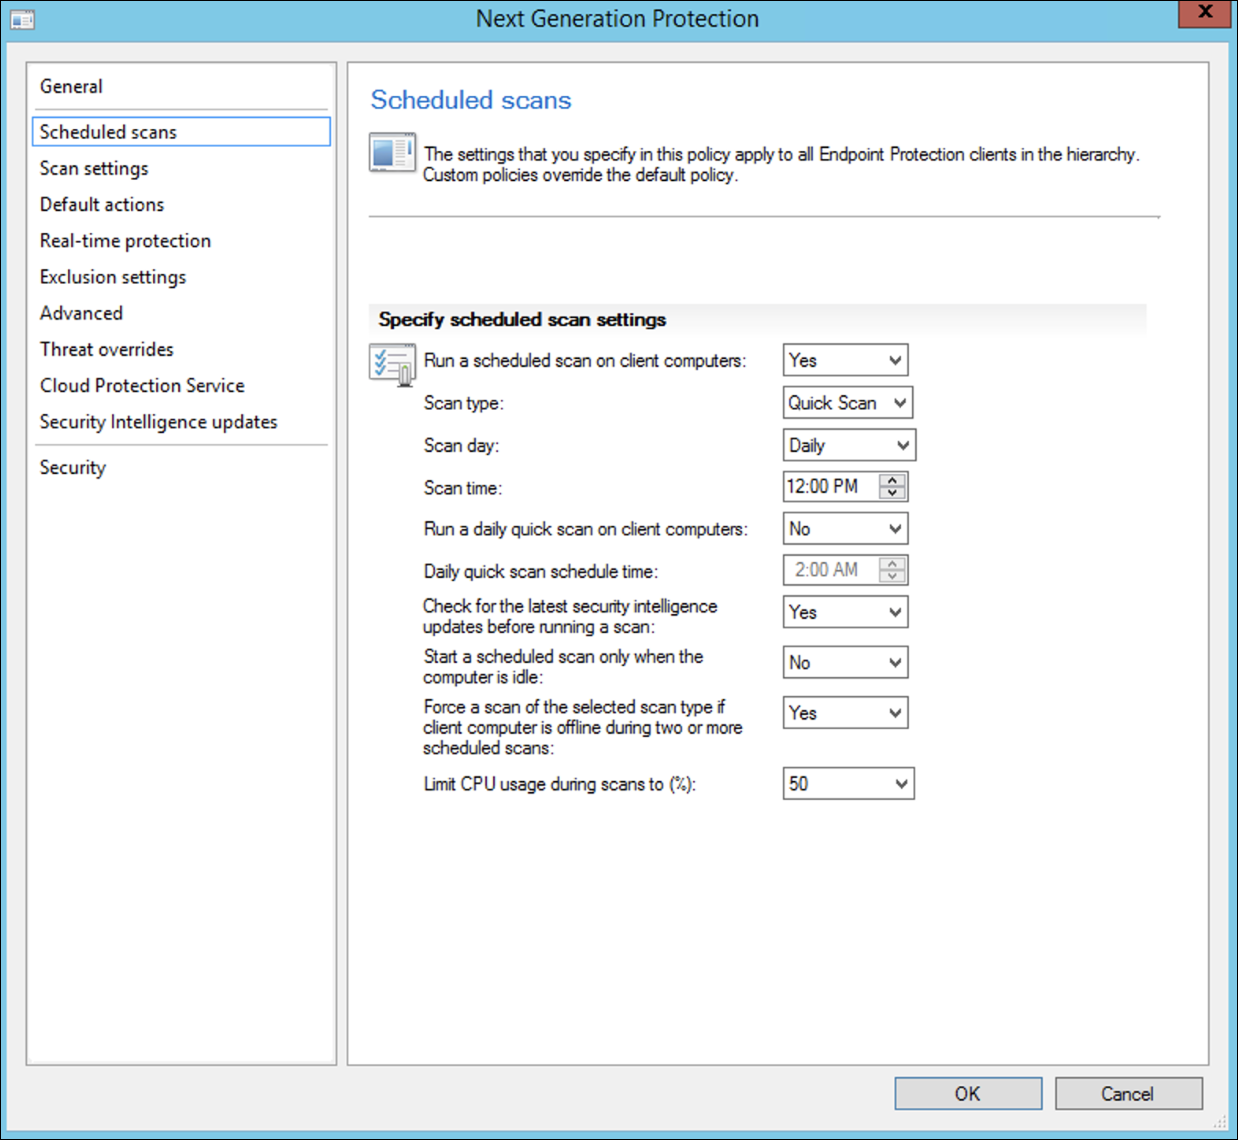
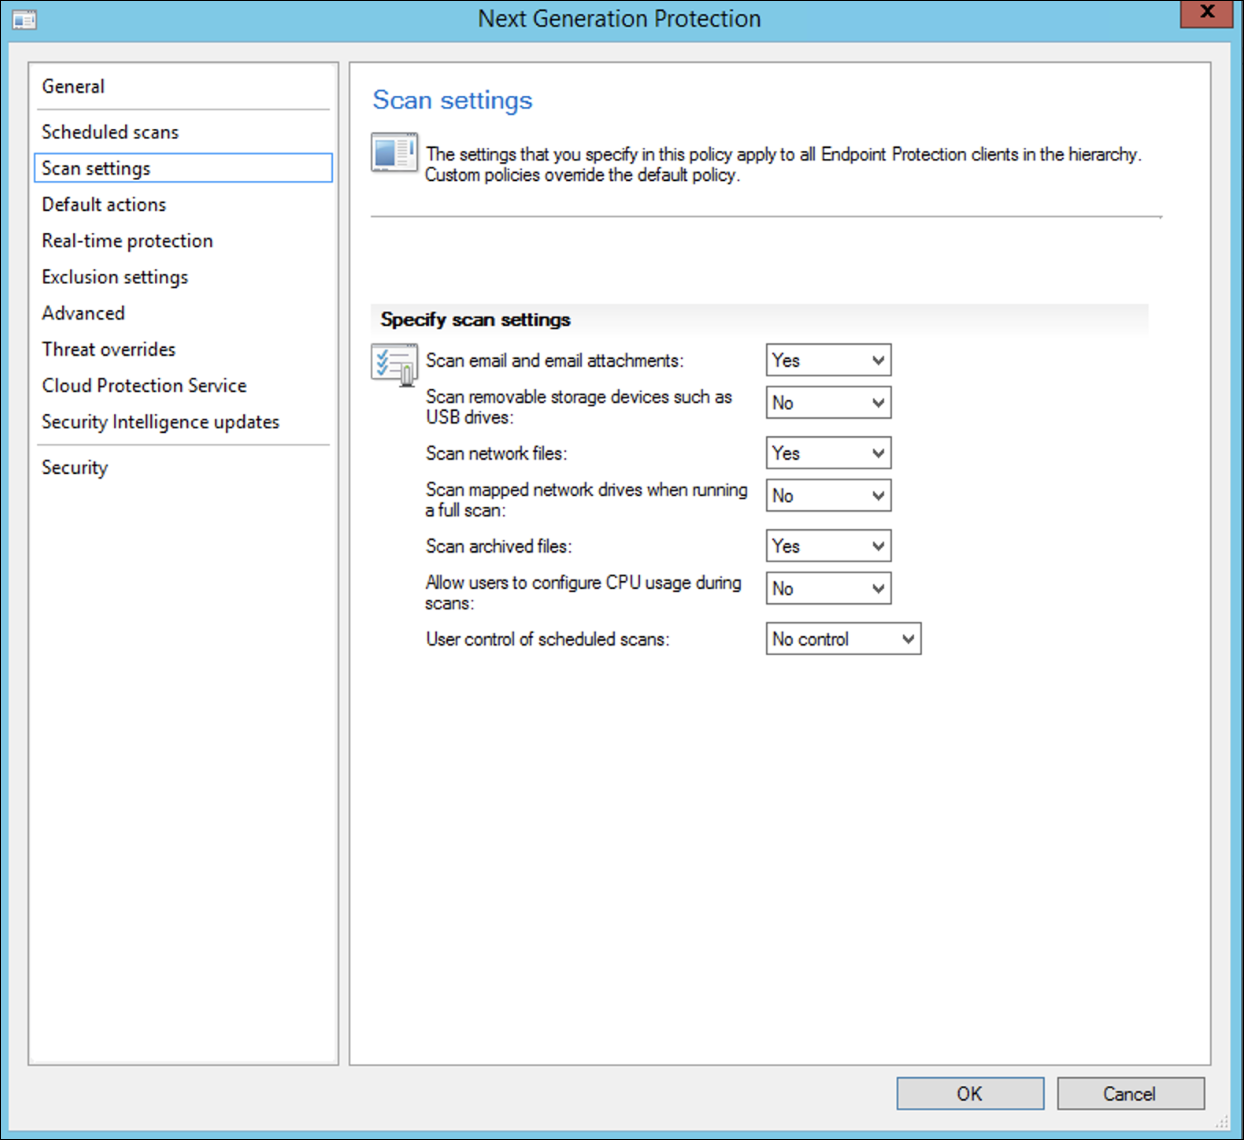
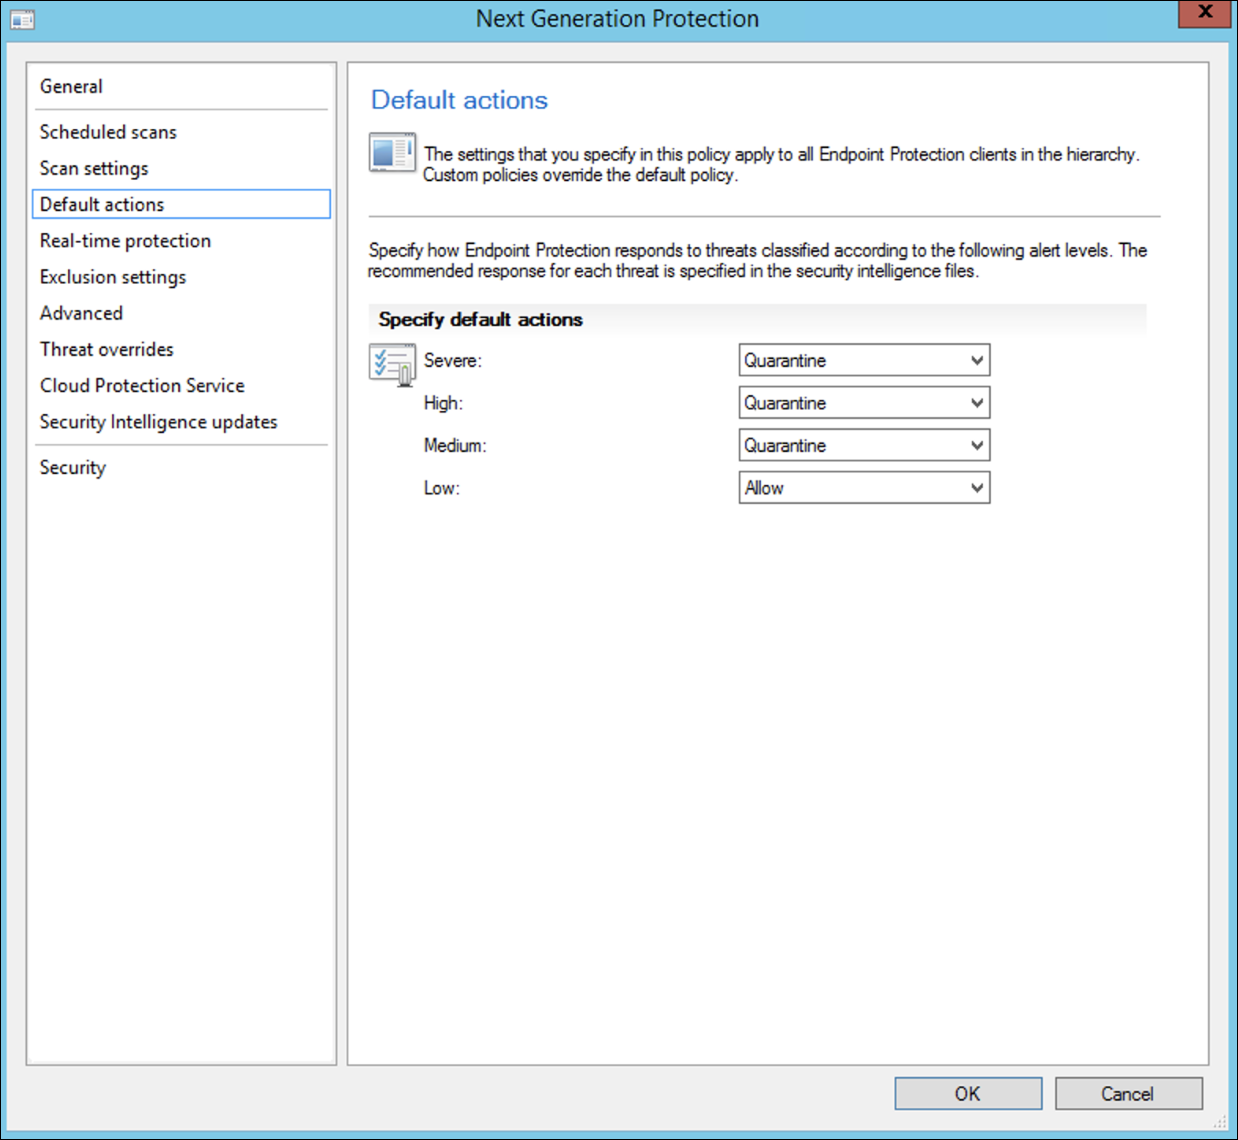
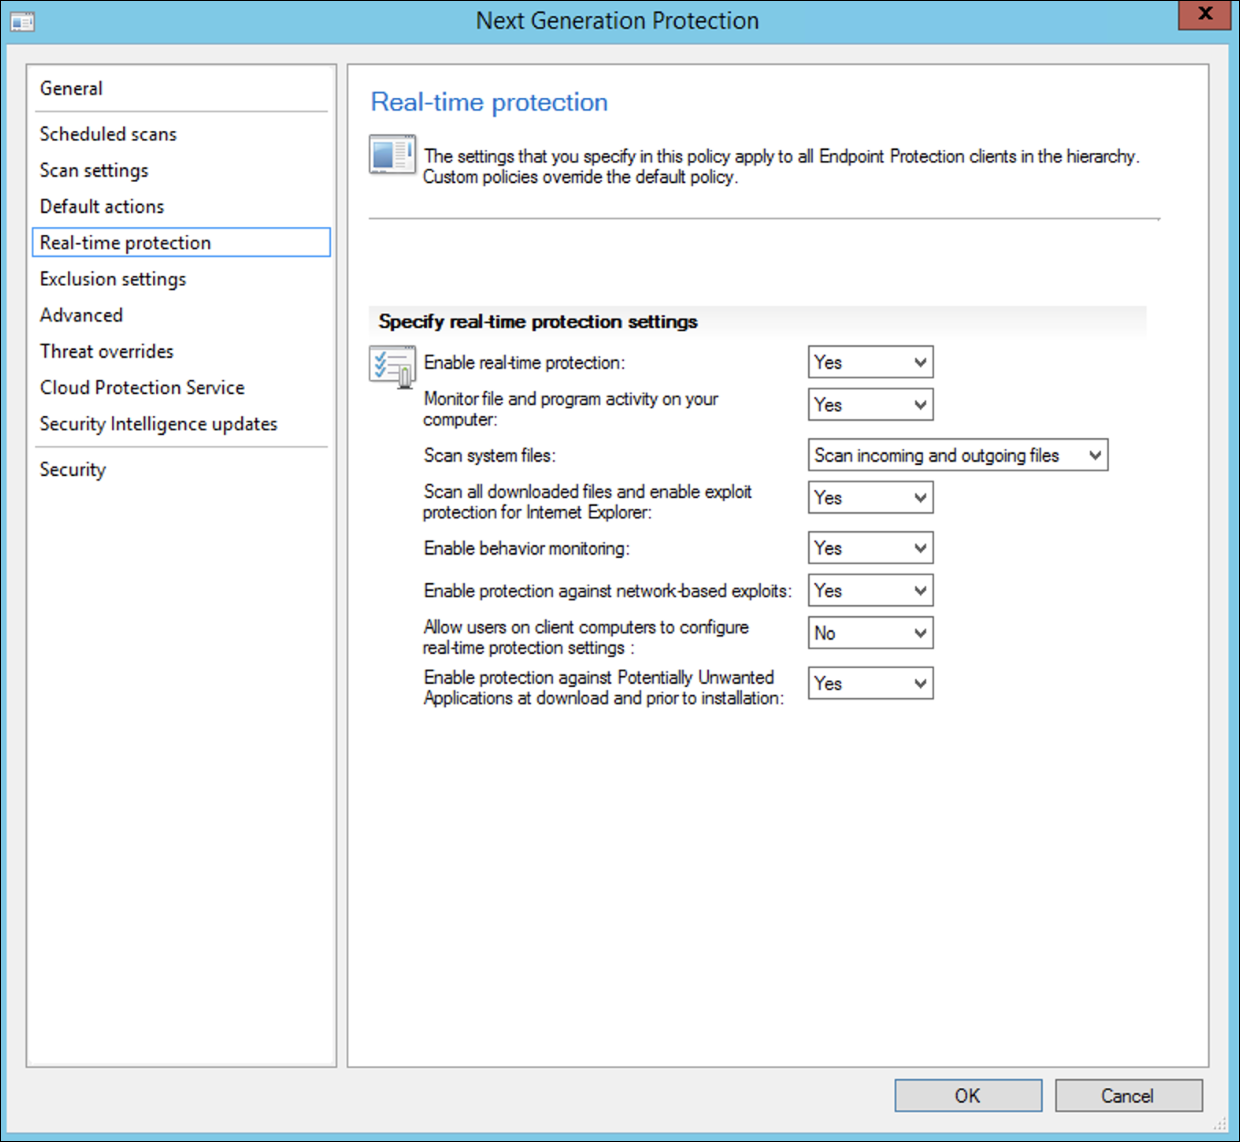
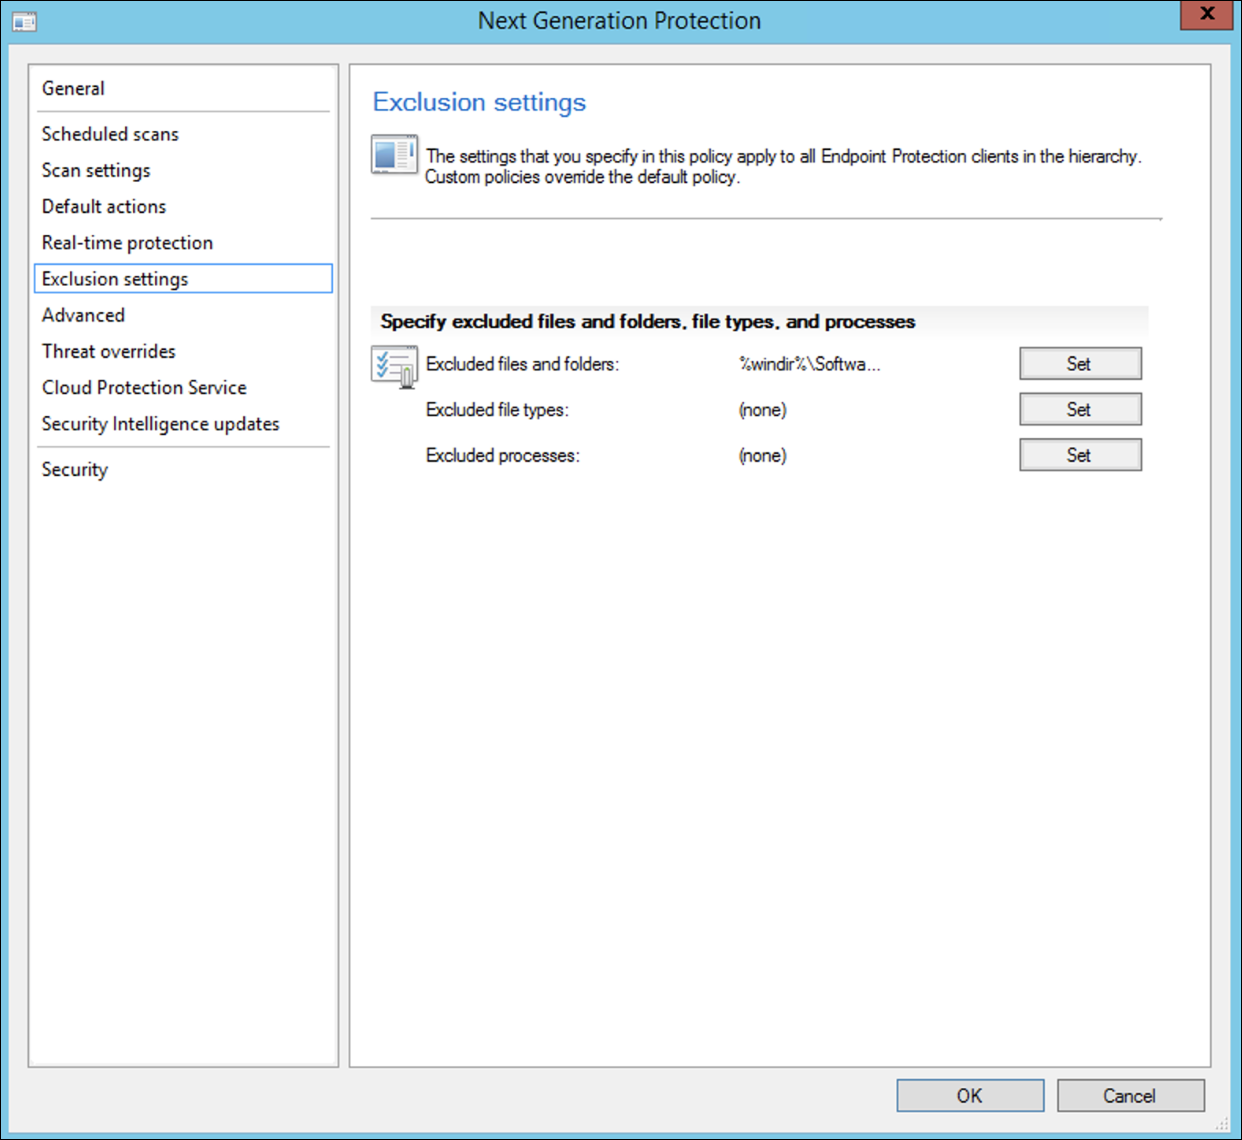
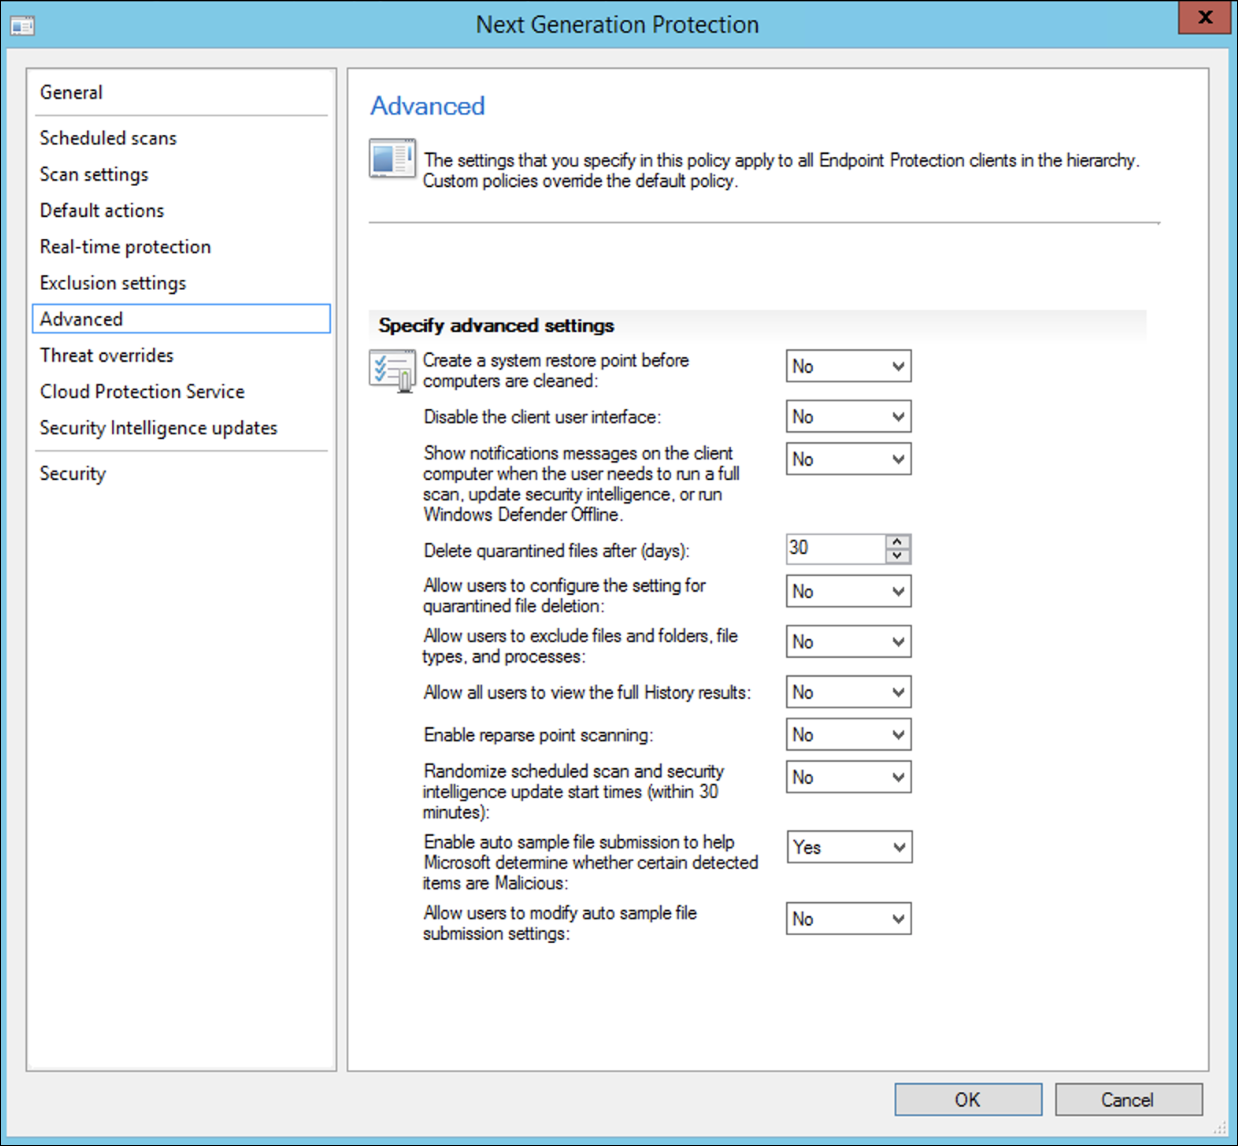
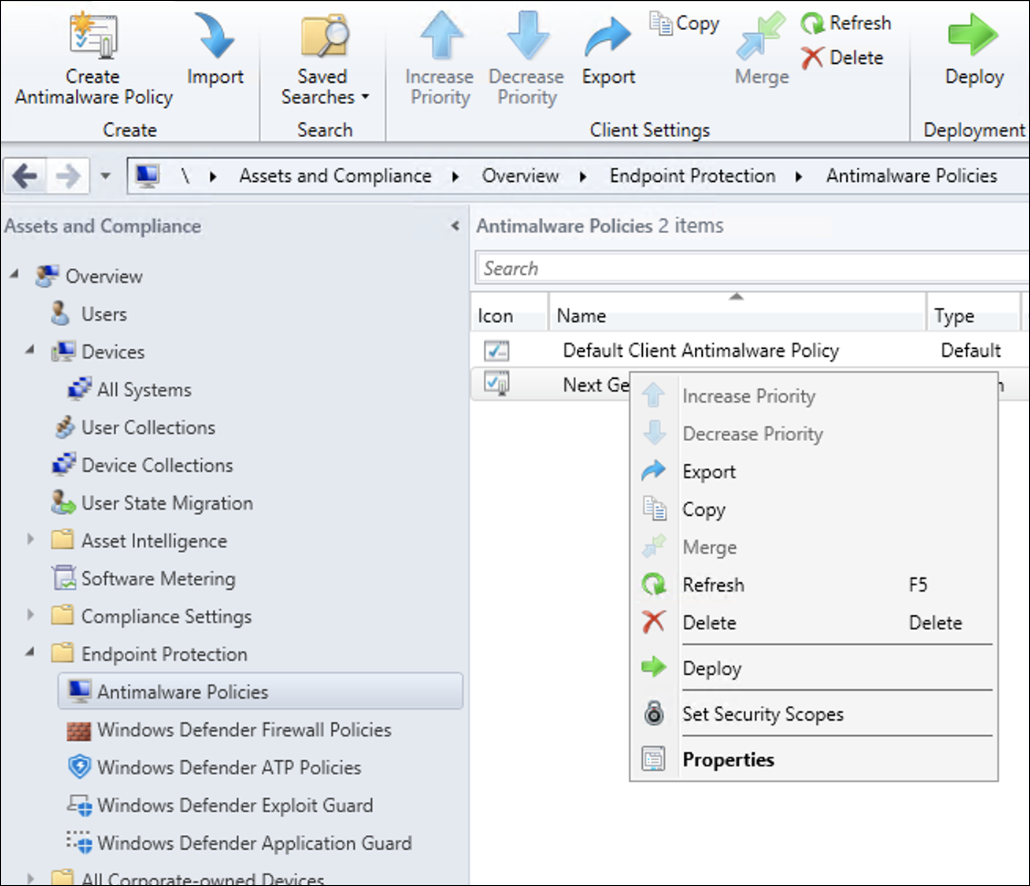
- In the Microsoft Endpoint Configuration Manager console, navigate to Assets and Compliance > Overview > Endpoint Protection > Antimalware Polices and choose Create Antimalware Policy.
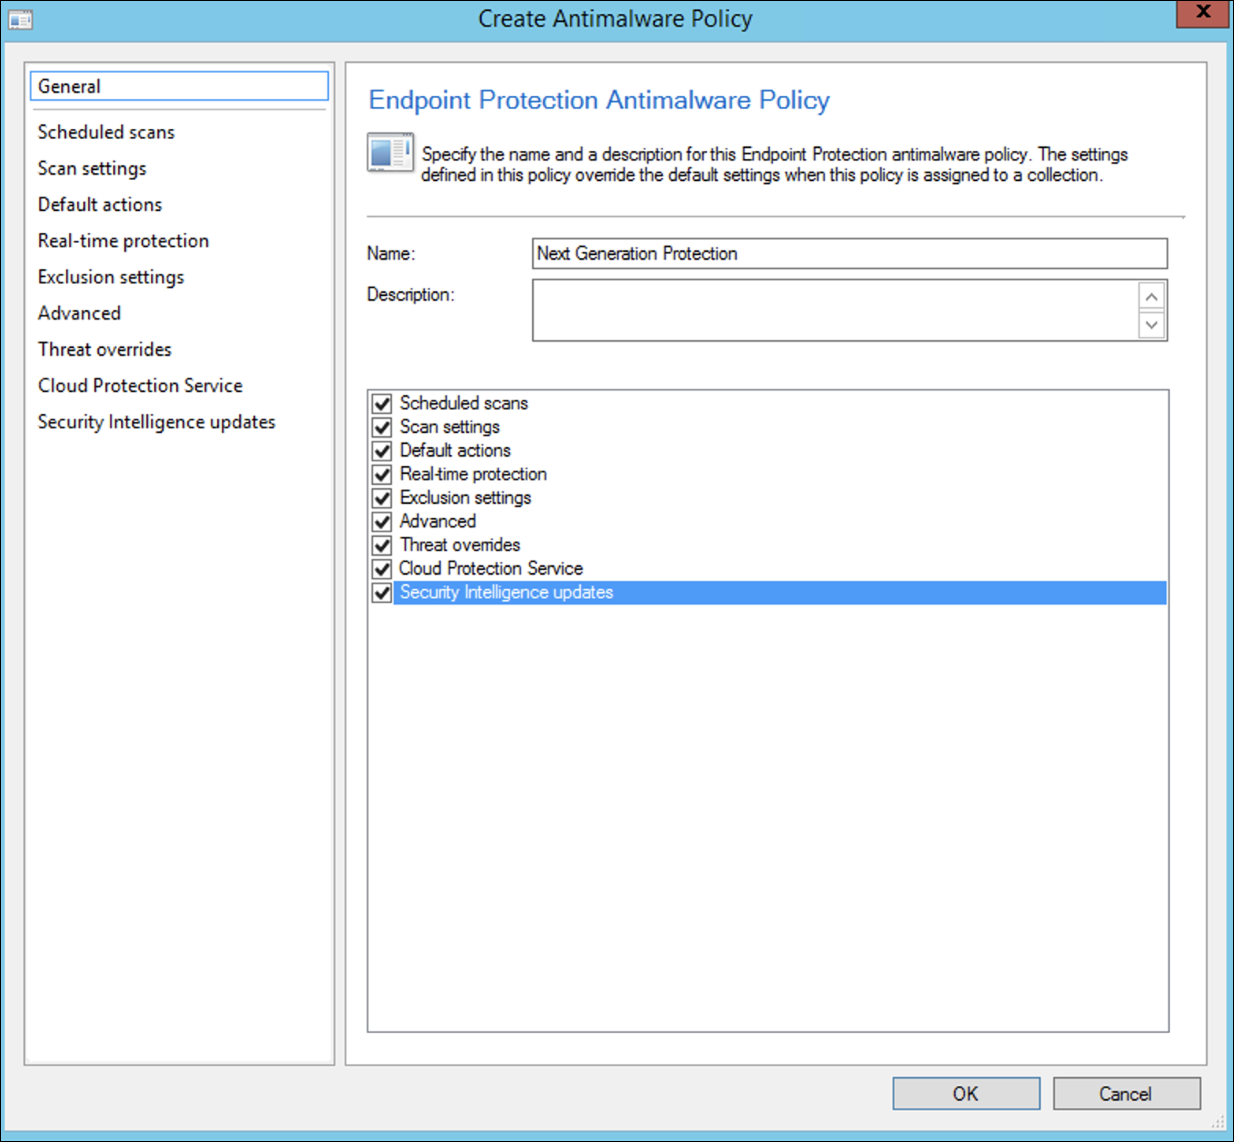
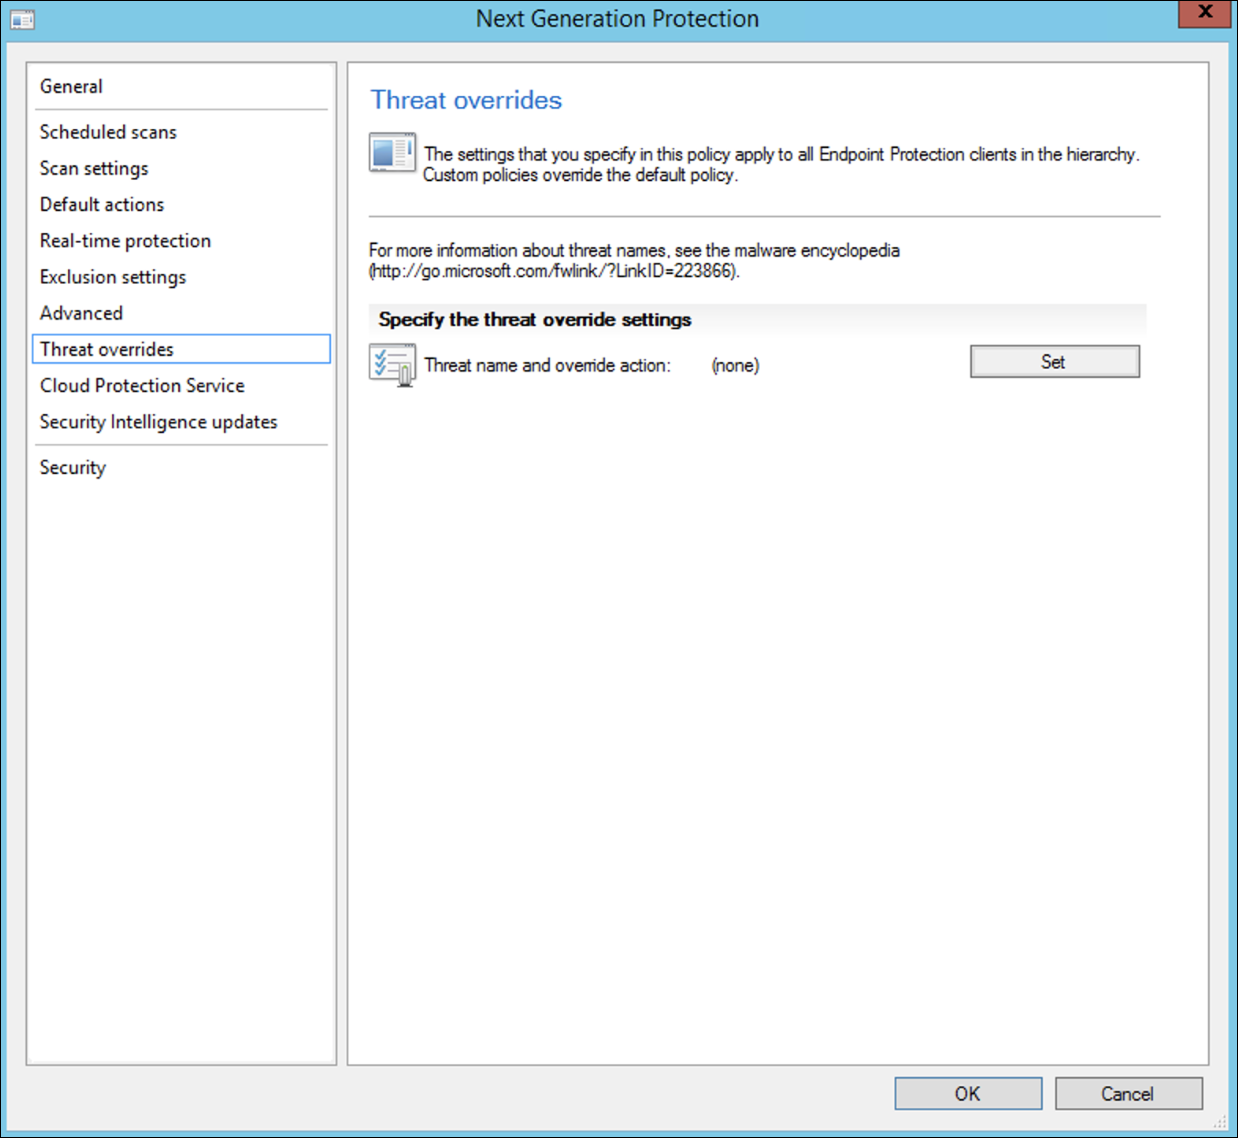
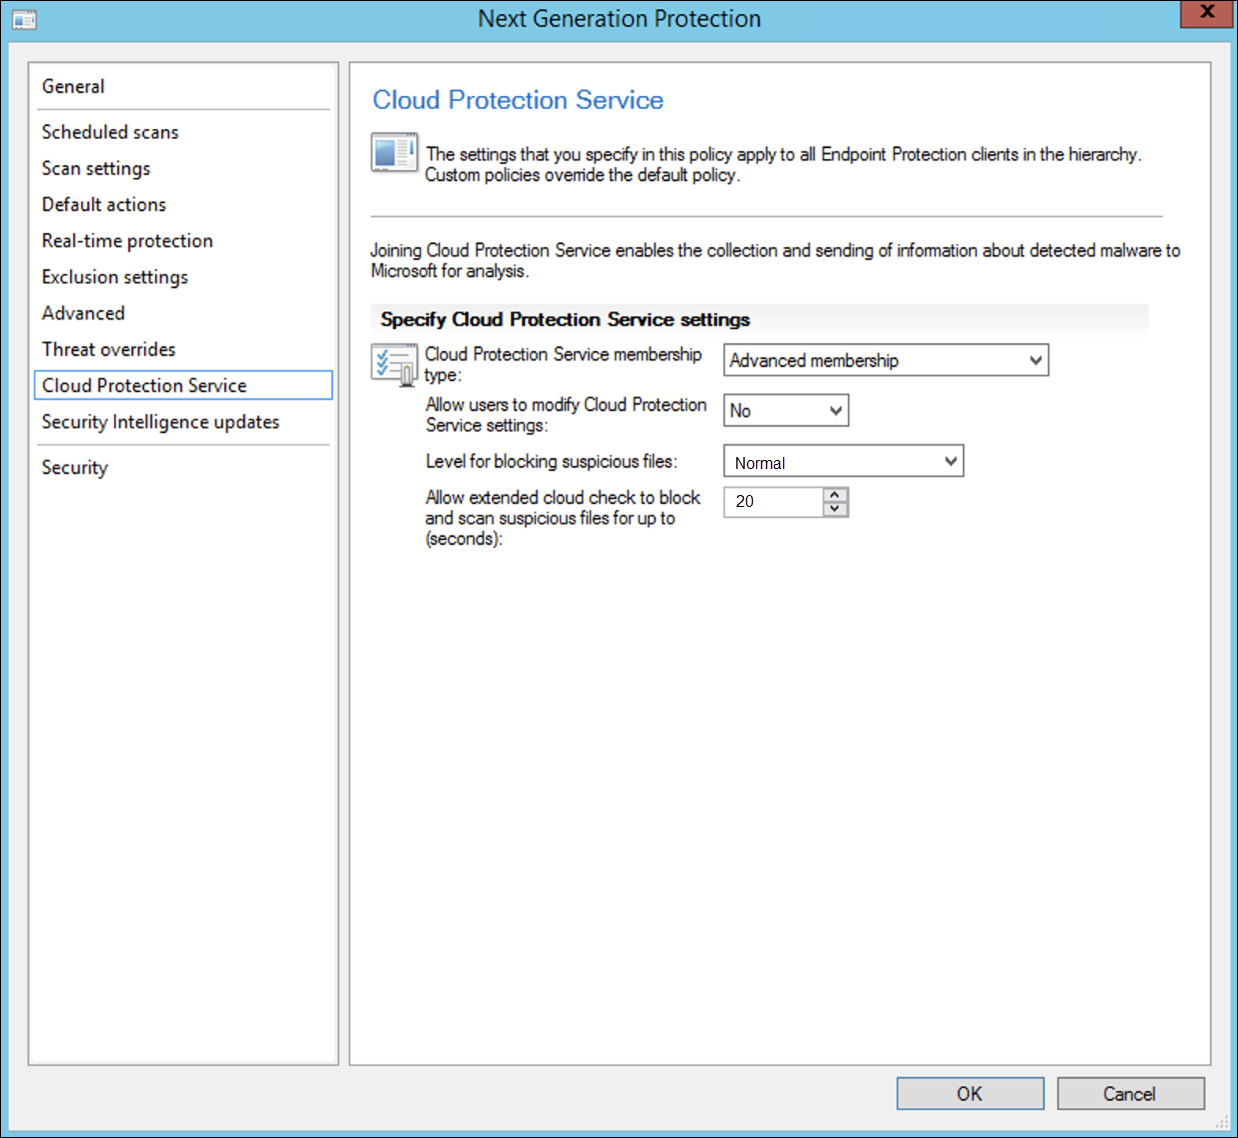
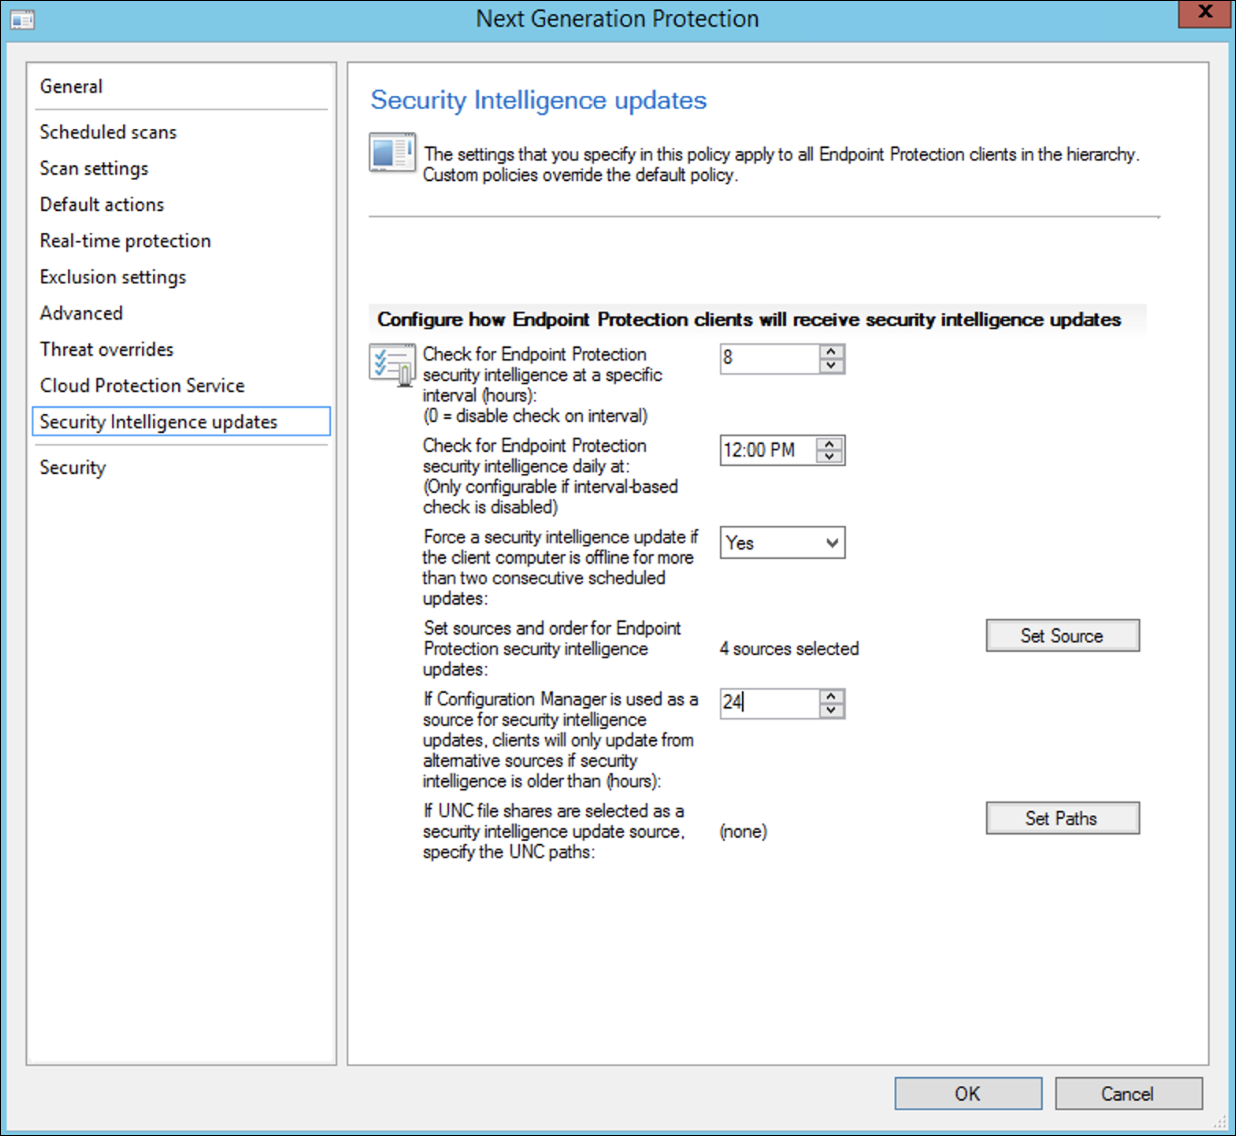
- Select Scheduled scans, Scan settings, Default actions, Real-time protection, Exclusion settings, Advanced, Threat overrides, Cloud Protection Service and Security intelligence updates and choose OK.
In certain industries or some select enterprise customers might have specific needs on how Antivirus is configured.
Quick scan versus full scan and custom scan
For more details, see Windows Security configuration framework.
- Right-click on the newly created antimalware policy and select Deploy.
- Target the new antimalware policy to your Windows collection and click OK.
After completing this task, you now have successfully configured Windows Defender Antivirus.
Attack surface reduction
The attack surface reduction pillar of Defender for Endpoint includes the feature set that is available under Exploit Guard. Attack surface reduction (ASR) rules, Controlled Folder Access, Network Protection, and Exploit Protection.
All these features provide an audit mode and a block mode. In audit mode there is no end-user impact. All it does is collect additional telemetry and make it available in the Microsoft 365 Defender portal. The goal with a deployment is to step-by-step move security controls into block mode.
To set ASR rules in Audit mode:
- In the Microsoft Endpoint Configuration Manager console, navigate to Assets and Compliance > Overview > Endpoint Protection > Windows Defender Exploit Guard and choose Create Exploit Guard Policy.
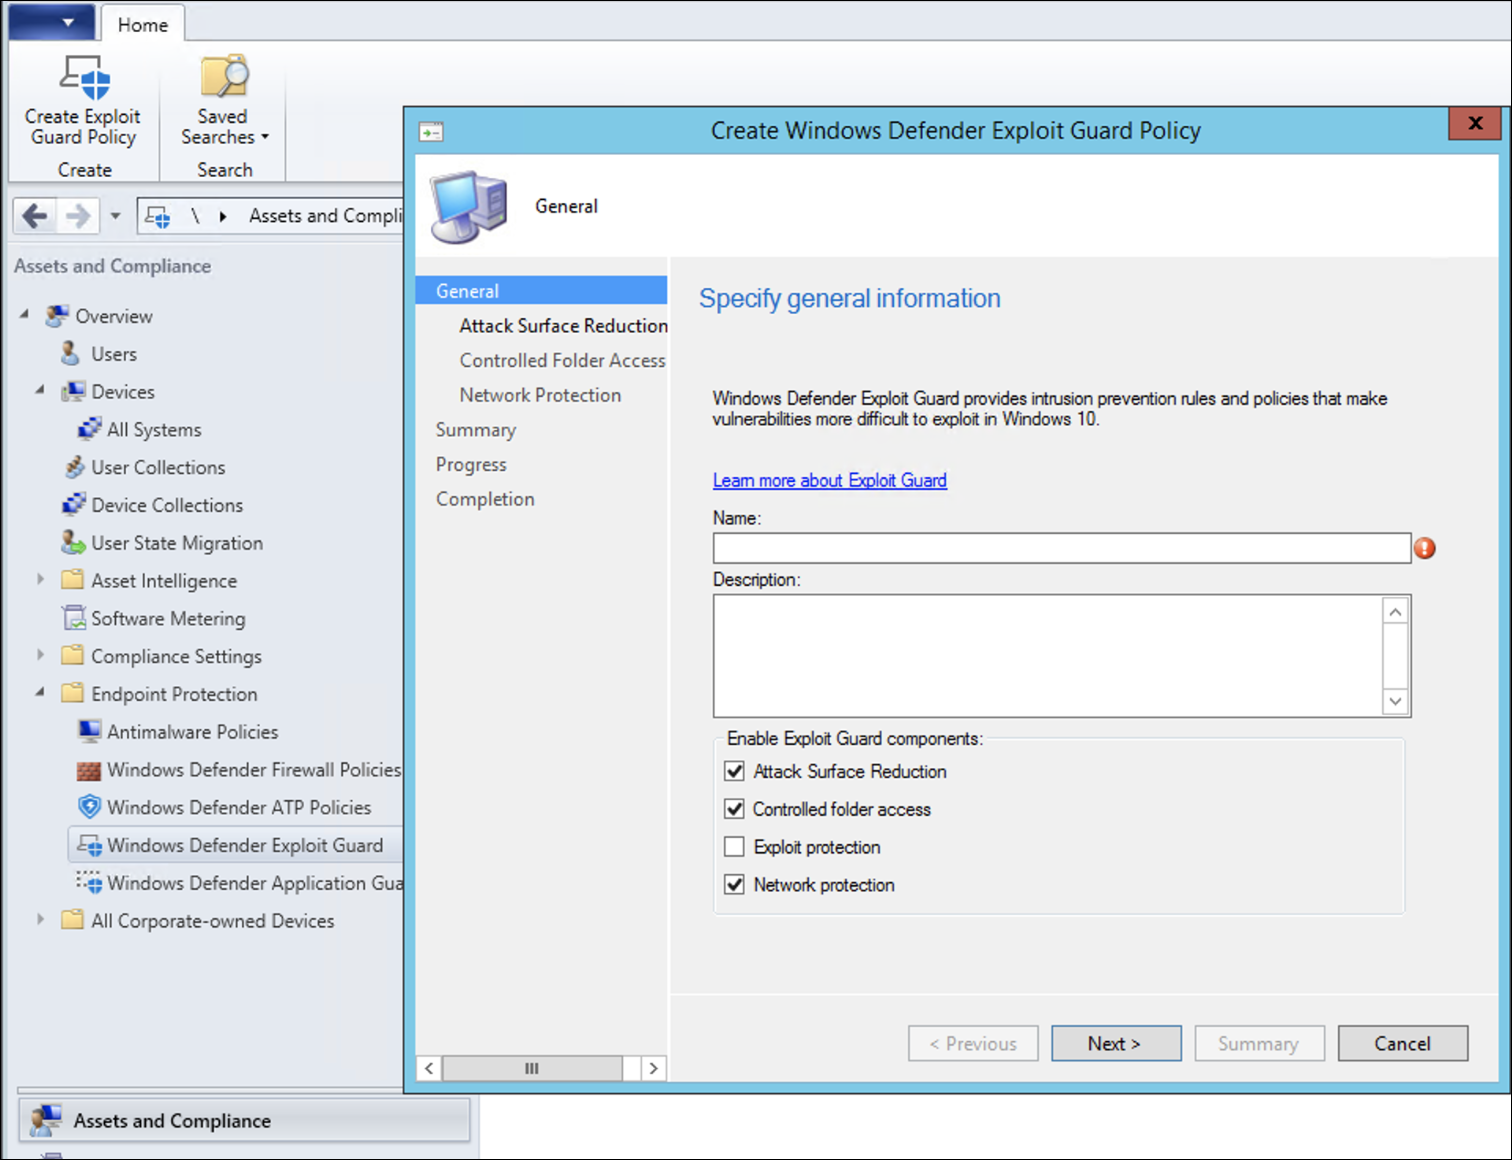
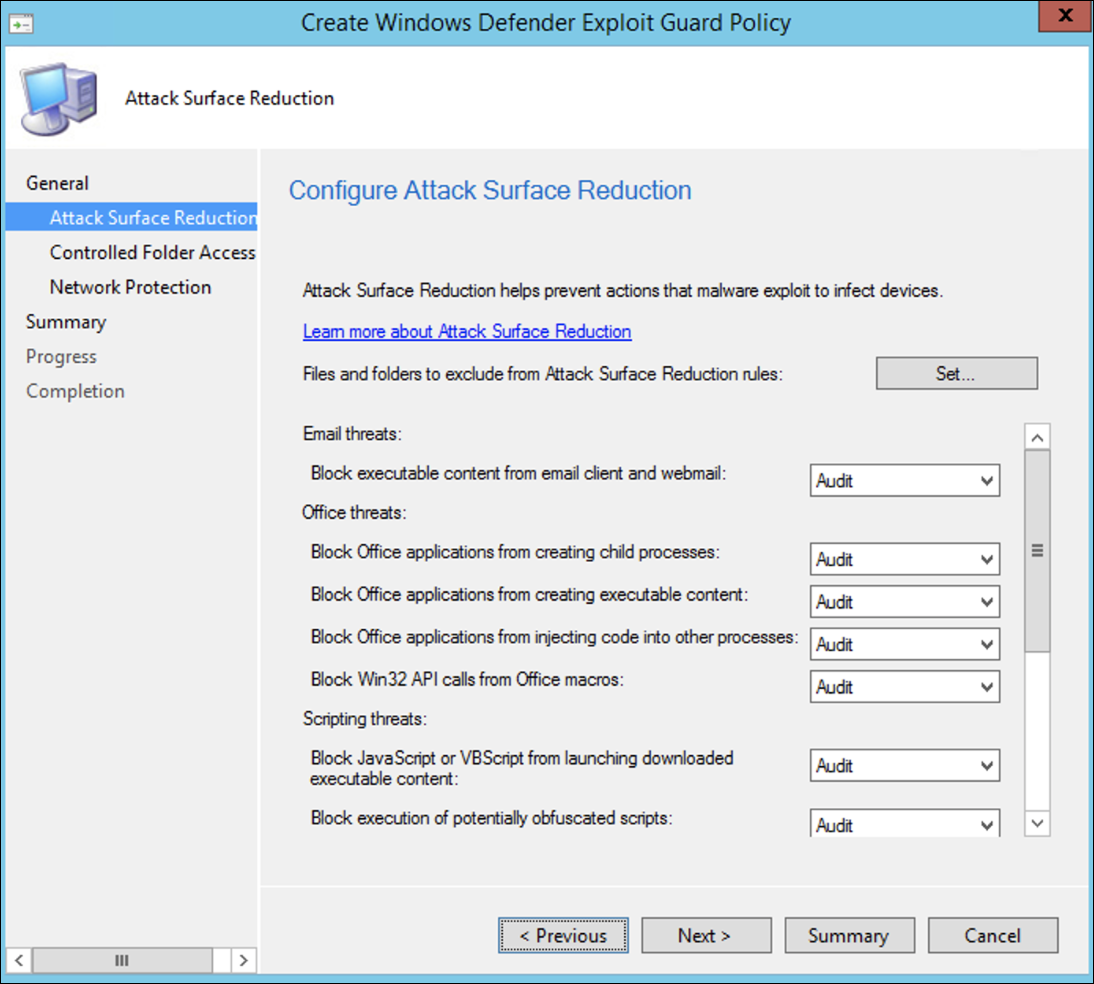
- Select Attack Surface Reduction.
- Set rules to Audit and click Next.
- Confirm the new Exploit Guard policy by clicking on Next.

- Once the policy is created click Close.

- Right-click on the newly created policy and choose Deploy.
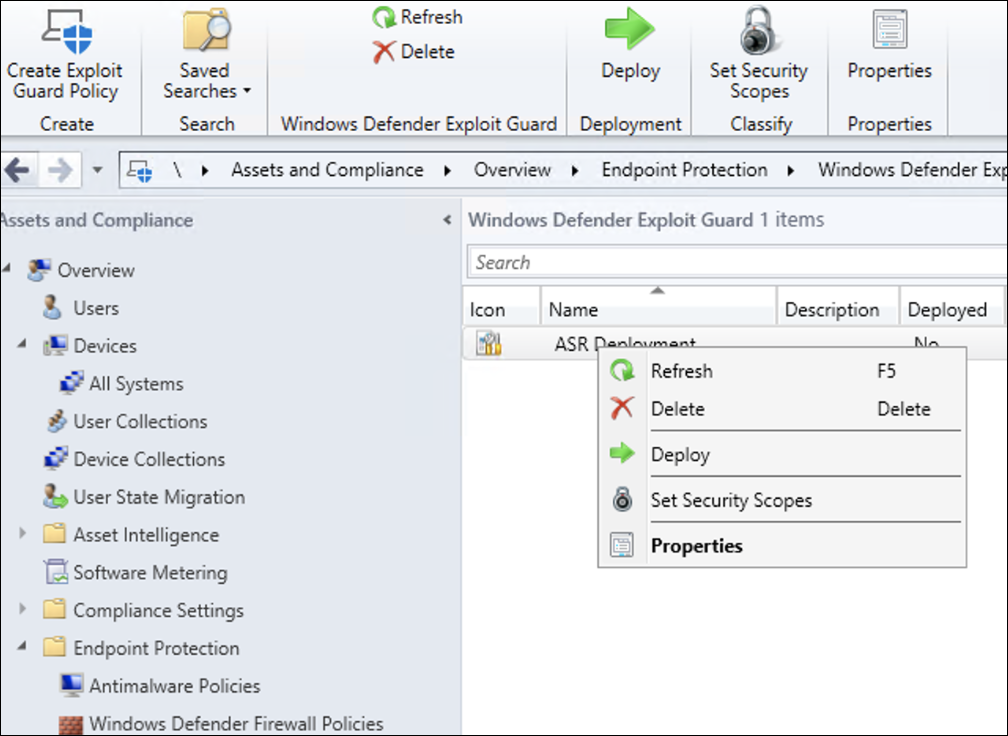
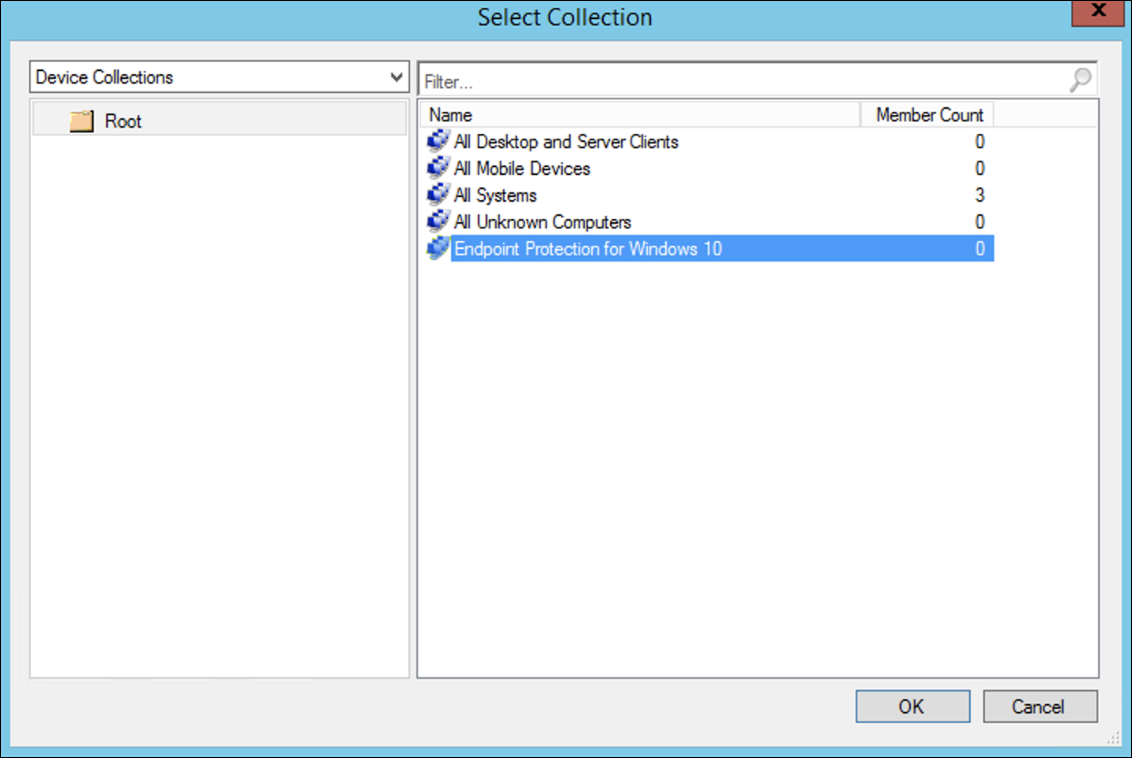
- Target the policy to the newly created Windows collection and click OK.
After completing this task, you now have successfully configured ASR rules in audit mode.
Below are additional steps to verify whether ASR rules are correctly applied to endpoints. (This may take few minutes)
- From a web browser, go to Microsoft 365 Defender.
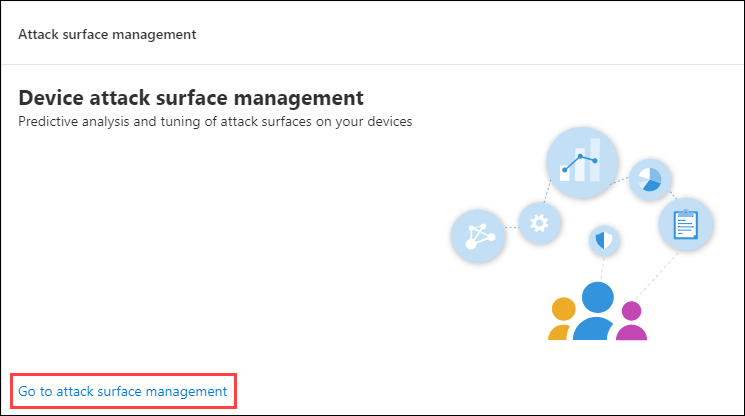
- Select Configuration management from left side menu.
- Click Go to attack surface management in the Attack surface management panel.
- Click Configuration tab in Attack surface reduction rules reports. It shows ASR rules configuration overview and ASR rules status on each devices.
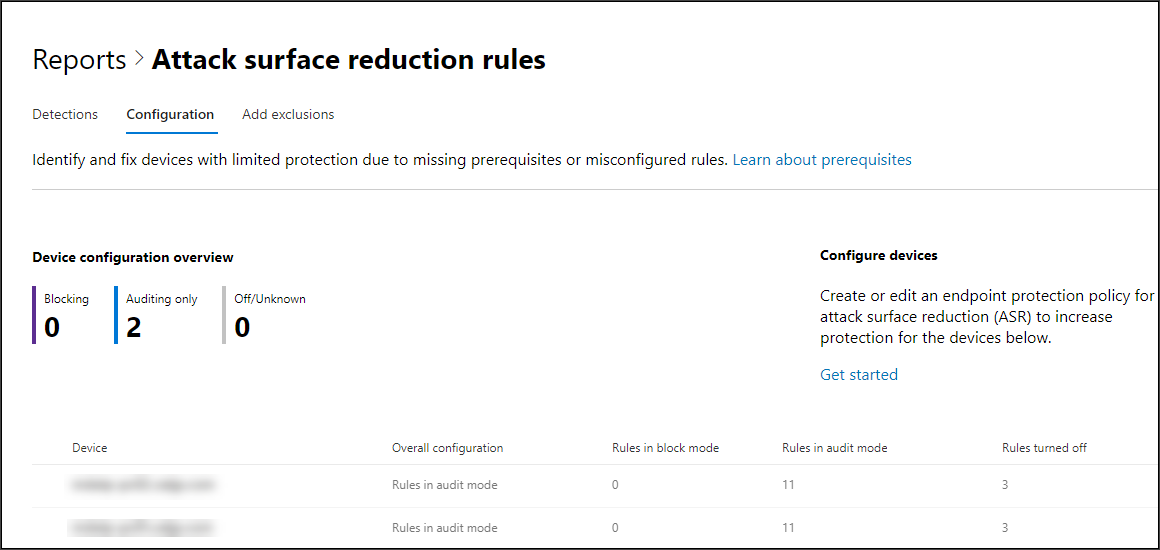
- Click each device shows configuration details of ASR rules.

See Optimize ASR rule deployment and detections for more details.
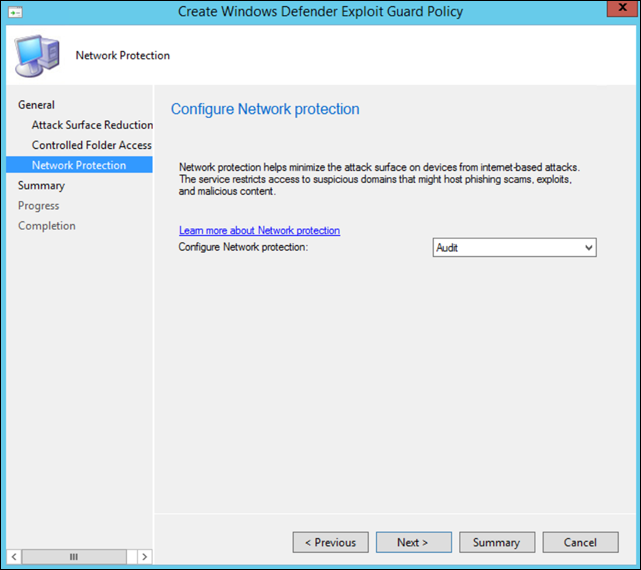
Set Network Protection rules in Audit mode
- In the Microsoft Endpoint Configuration Manager console, navigate to Assets and Compliance > Overview > Endpoint Protection > Windows Defender Exploit Guard and choose Create Exploit Guard Policy.
- Select Network protection.
- Set the setting to Audit and click Next.
- Confirm the new Exploit Guard Policy by clicking Next.
- Once the policy is created click on Close.
- Right-click on the newly created policy and choose Deploy.
- Select the policy to the newly created Windows collection and choose OK.
After completing this task, you now have successfully configured Network Protection in audit mode.
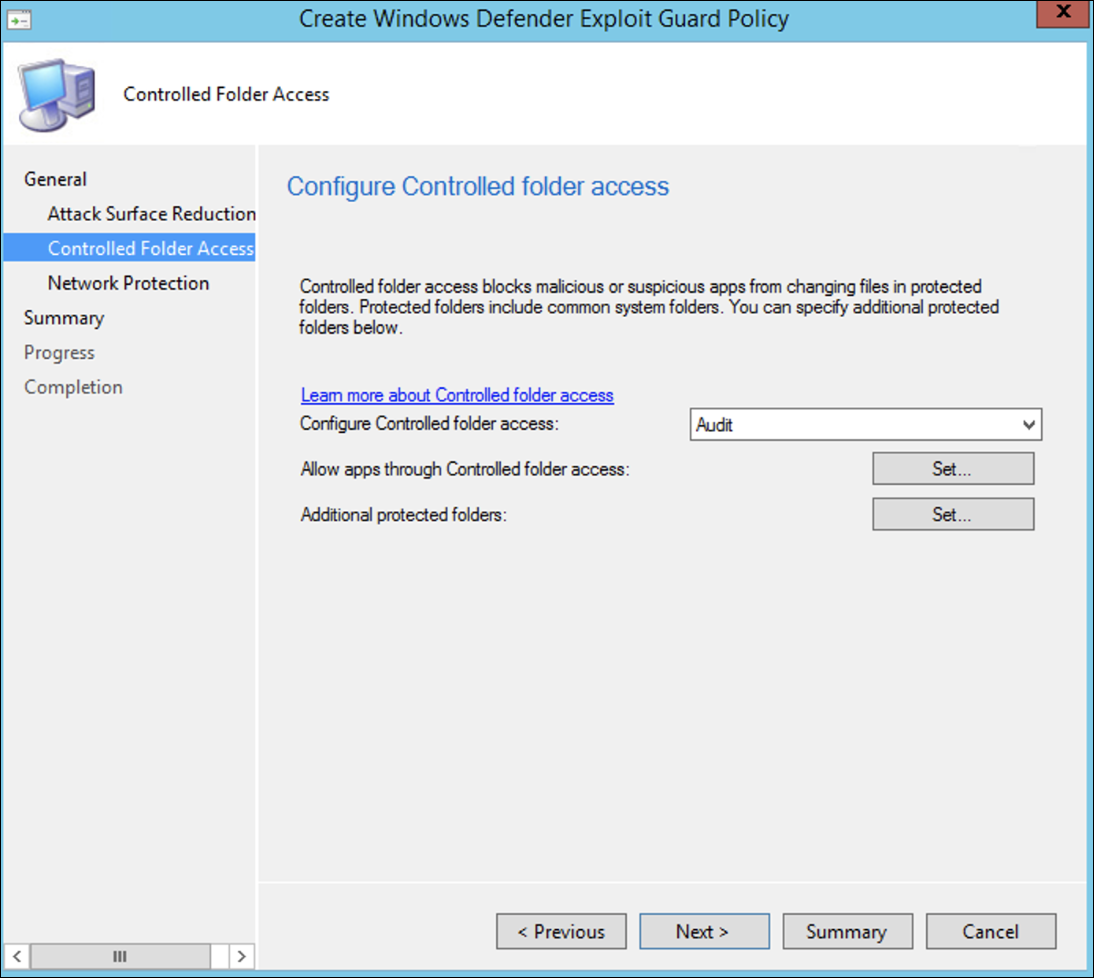
To set Controlled Folder Access rules in Audit mode
- In the Microsoft Endpoint Configuration Manager console, navigate to Assets and Compliance > Overview > Endpoint Protection > Windows Defender Exploit Guard and then choose Create Exploit Guard Policy.
- Select Controlled folder access.
- Set the configuration to Audit and click Next.
- Confirm the new Exploit Guard Policy by clicking on Next.
- Once the policy is created click on Close.
- Right-click on the newly created policy and choose Deploy.
- Target the policy to the newly created Windows collection and click OK.
You have now successfully configured Controlled folder access in audit mode.