

Issue
- Upgrade ESET Endpoint Security or ESET Endpoint Antivirus to the latest version
- Deploy ESET solutions to clients remotely using the software install task or Live Installer method
Solution
Getting Started with ERA: Step 5 of 6
← Deploy ERA Agent | Post installation tasks →
- Open ESET Remote Administrator Web Console (ERA Web Console) in your web browser and log in.
- Click Admin
 → Client Tasks → Operating system → Software install → New.

Figure 1-1
Click the image to view larger in new window
- In the Basic settings section, give your installation task a Name and optionally a Description. The Task drop-down menu will automatically be set to Software Install.
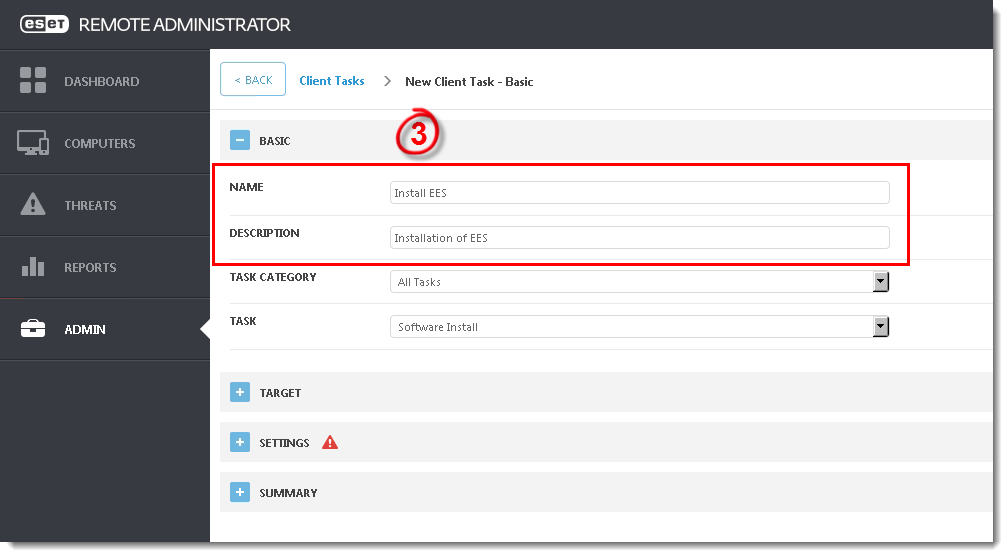
Figure 1-2
Click the image to view larger in new window
- Expand the Settings section and select the check box next to I agree with application End User Agreement.
- Installing new product: If you are installing a new product, click >, select the license that you want to use to activate ESET products that will be sent to client computers, and then click OK.
Upgrading activated product:
If you are running an upgrade installation on a previously activated product, do not select the license. If you have not yet added product licenses, add product licenses in ERA.

Figure 1-3
- Under Package to install there are two options to select the package that will be installed on target clients:
- To install a package from the repository, click <CHOOSE PACKAGE>, select the ESET product that you want to install on client computers and then click OK. Do I have the latest version of ESET business products?
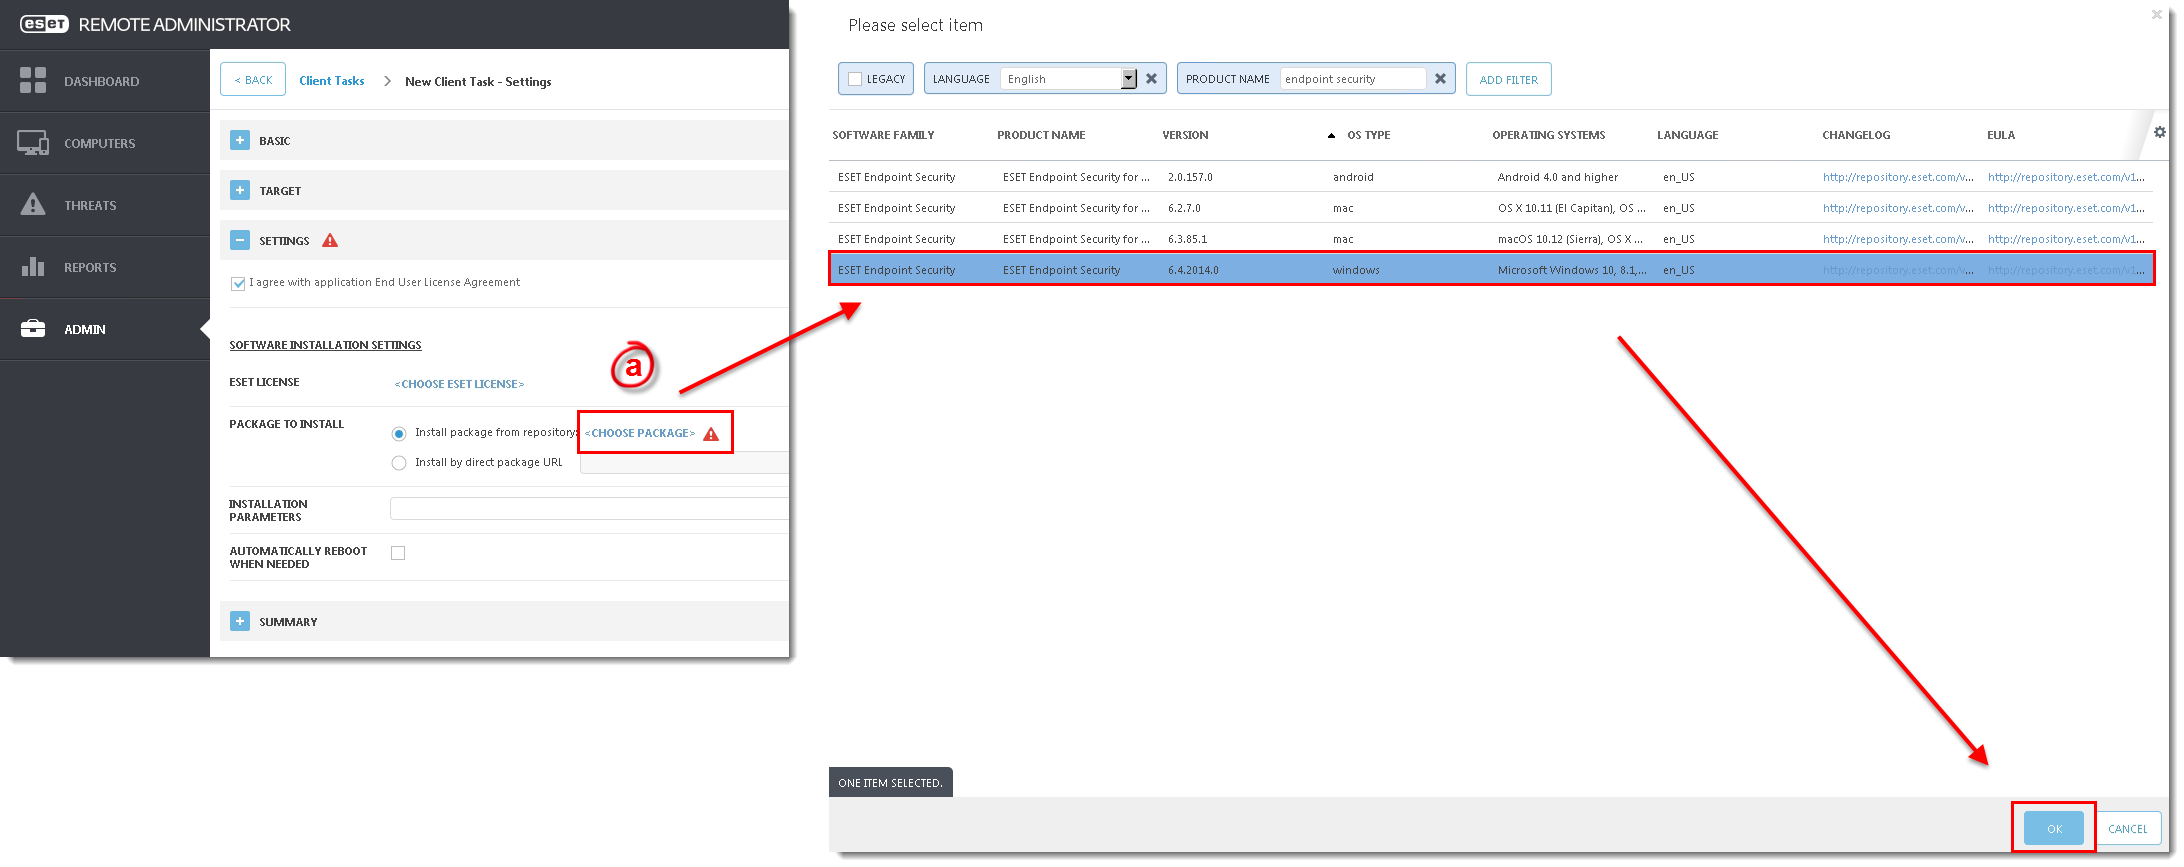
Figure 1-4
Click the image to view larger in new window
- To install a package by entering the target URL, select Install by direct package URL and type the package URL into the corresponding field. Do I have the latest version of ESET business products?
- Select the check box next to Automatically Reboot When Needed.
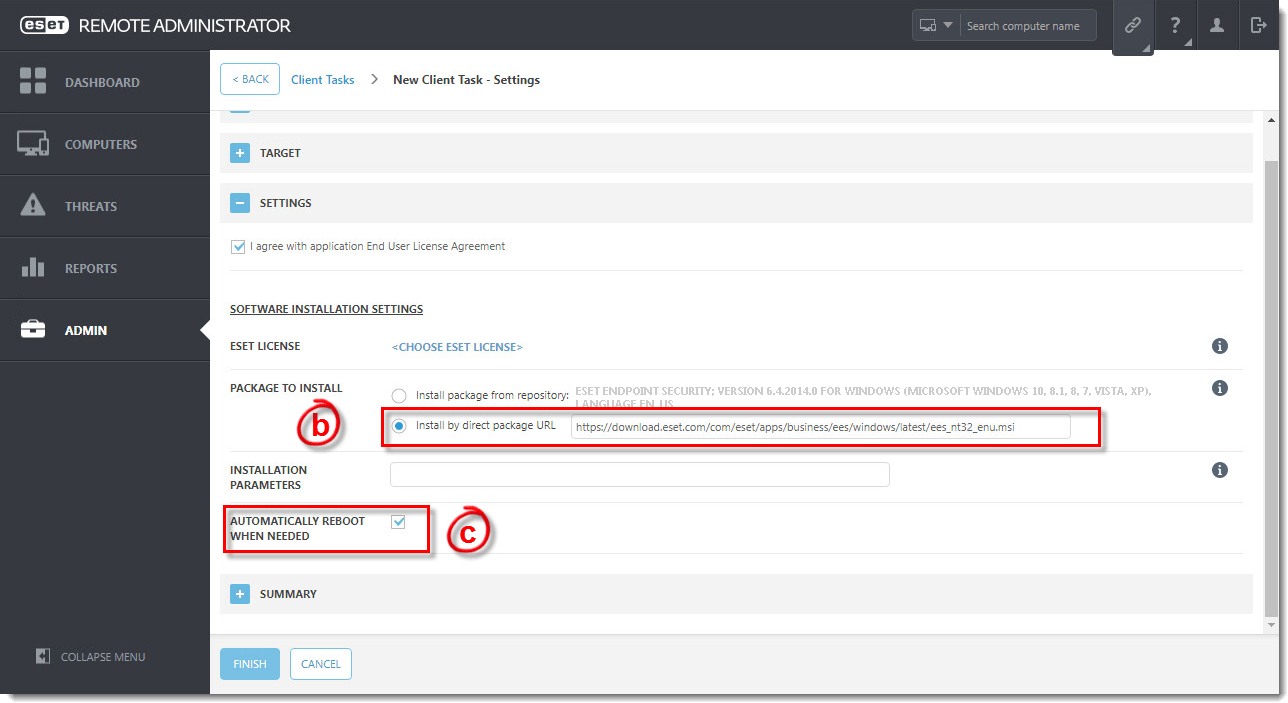
Figure 1-5
Click the image to view larger in new window
- Expand the Summary section to view details about your software install task. Click Finish to complete creation of the task.
Version 6.2 and earlier: The new task will be displayed in the Client tasks pane. Select the task and click Details → Executions to verify that the task is running. The status column will display Finished when remote installation is complete on a given client computer.
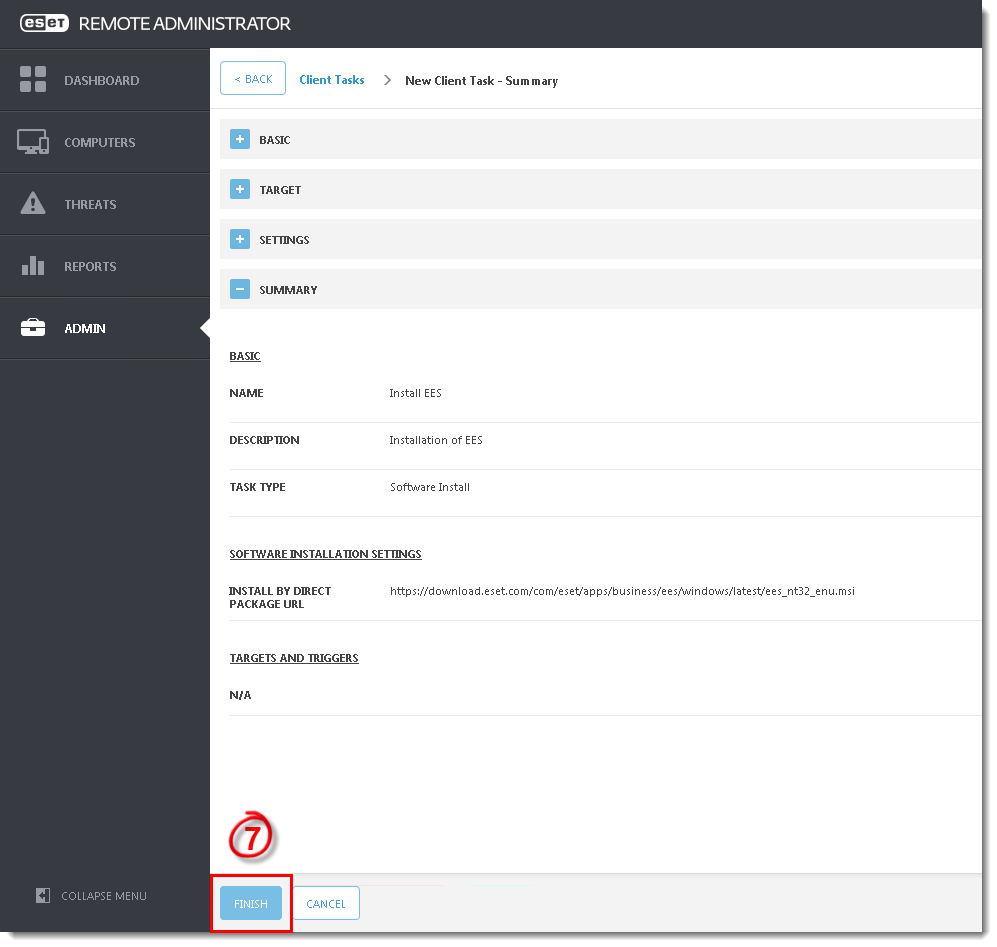
Figure 1-6
Click the image to view larger in new window
- When prompted, click Create Trigger to add targets for this task, and to automate this task when certain triggers are met (optional).
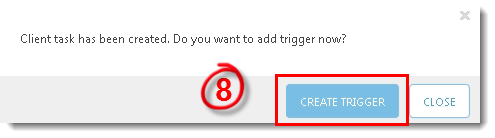
Figure 1-7
- Type a name for the trigger into the Trigger description field.
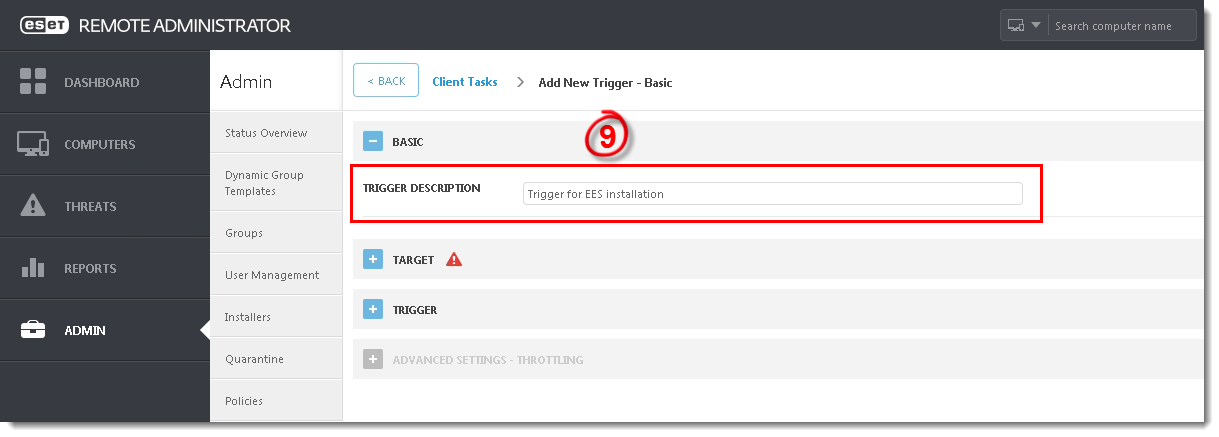
Figure 1-8
Click the image to view larger in new window
- Expand Target and click Add computers or Add groups, depending on your preference.
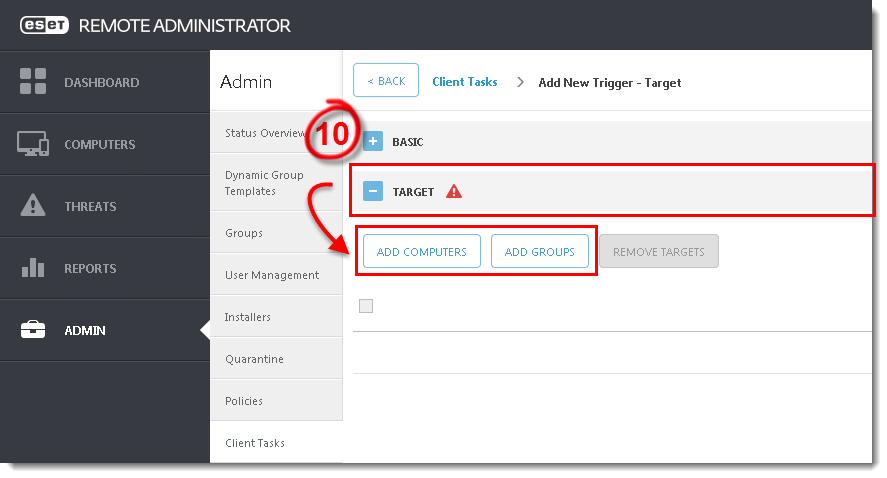
Figure 1-9
Click the image to view larger in new window
- Select the check boxes next to the computer(s) or group(s) you want to send this task to and click OK.
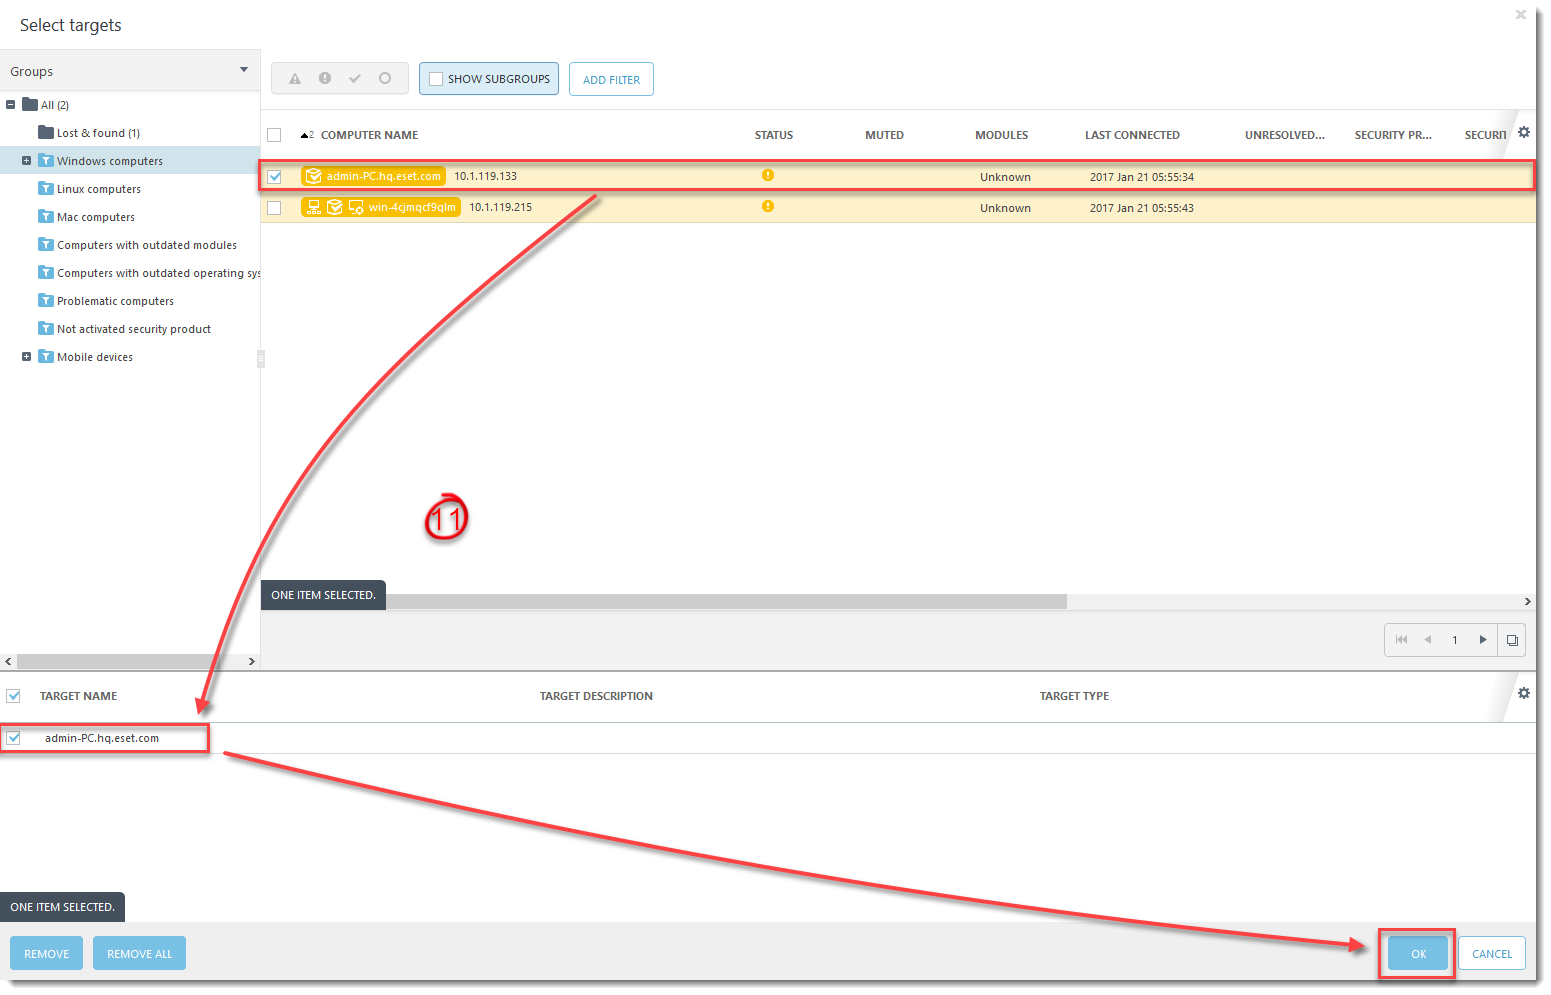
Figure 1-10
Click the image to view larger in new window
- Expand Trigger and select your desired option from the Trigger Type drop-down menu and click Finish.
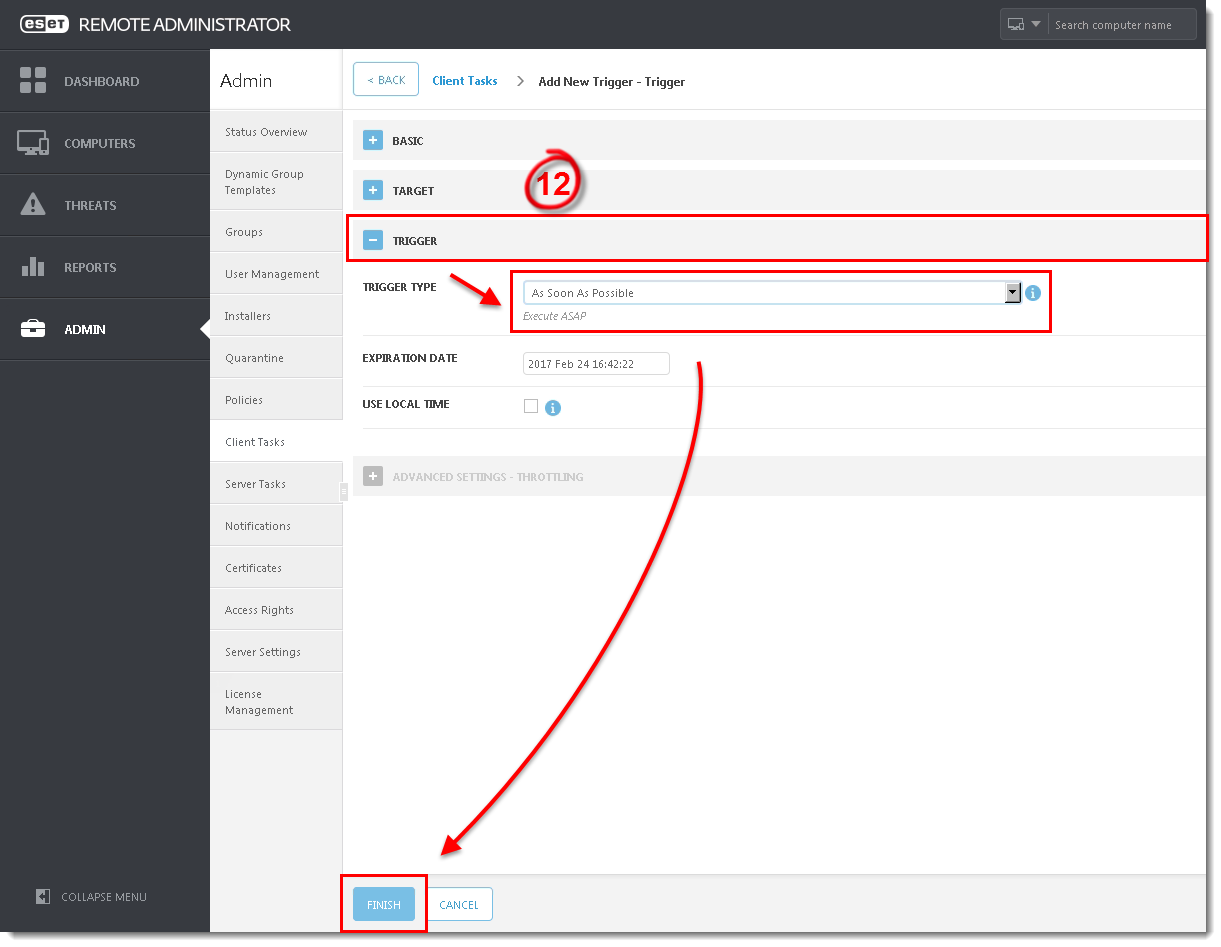
Figure 1-11
Click the image to view larger in new window
- Send an activation task to the computers on which you installed ESET endpoint products so that they can begin receiving regular updates.
- If you are performing a new installation of ERA, proceed to Step 6, post installation tasks.
Source : Official ESET Brand
Editor by : BEST Antivirus KBS Team