
IMPORTANT! Before proceeding with the installation, please make sure that no other anti-viruses are installed on your PC because the resident modules contained within them may cause software conflicts.
- To install Dr.Web Anti-virus Agent for Linux, download the installation file in .run format from the Subscription Control Center or from your personal account area on your service provider’s website. The installer name contains information about the version and release date of the product, as well about the intended platform (x86 for 32-bit systems and amd64 for 64-bit systems).
- Allow the file to be executed. You can use the default file manager of your desktop environment or the following command to do this: # chmod +x <file_name>.run
- Run the file in the file manager or using the command # ./<file_name>.run
- This launches the installer. If you did not launch the installation with root privileges, the installer will try to elevate its permissions.
- Depending on the environment in which the distribution is launched, either the Installation Wizard for graphical mode or the Installer for command-line mode will start up.
When carrying out the installation in the graphical mode, do the following.
- If, at the beginning of the installation, setup detects issues that may in the future interfere with the operation of Dr.Web for Linux, a corresponding window containing an issues list will appear. You can abort the installation by clicking Exit, and resolve the issues identified prior to commencing with the installation. In this case, once the identified problems are resolved (additional required libraries are installed, SELinux is temporarily disabled, etc.), you will need to run setup again.
You can continue with the Dr.Web for Linux installation by clicking Continue. In this case, the installer will display the Wizard window. However, you will need to fix the problems identified earlier, either after the installation is complete or if Dr.Web for Linux is not working properly.
Once installation begins in the graphical mode, the Installation Wizard will appear.
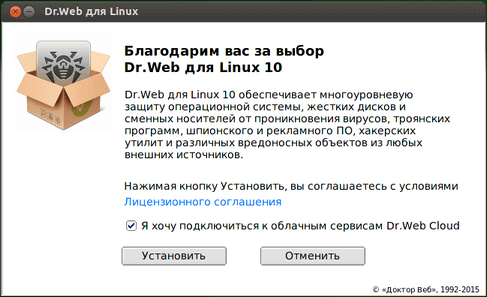
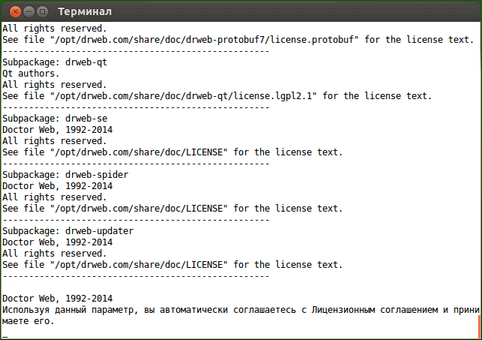
- Read the License agreement by clicking the appropriate link. The Installation Wizard will display the License agreement and copyright information about the components that will be installed on your computer.
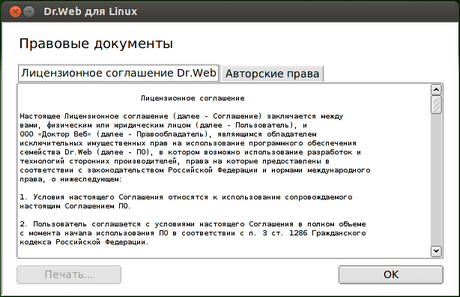
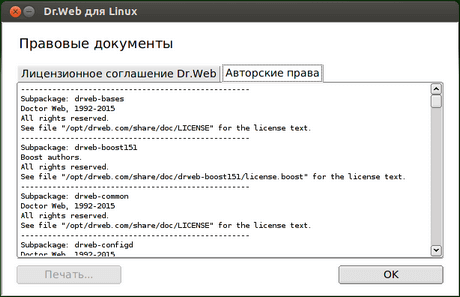
To close the page containing the License agreement and copyright information, click ОК. - You will also be asked to permit the anti-virus to automatically connect to the Dr.Web Cloud service. To do this, check the corresponding box (by default, this option is enabled). If you don’t want to permit Dr.Web for Linux to use the Dr.Web Cloud service, clear the checkbox.
If necessary, at any time, you can enable or disable Dr.Web Cloud in the program settings. - To begin the installation, click Install. When you do this you are also confirming that you accept the terms of the License agreement. If you decide not to install Dr.Web for Linux on your computer, click Cancel.
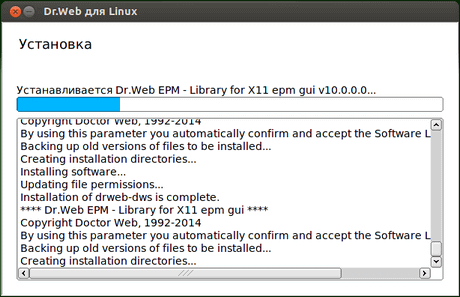
- Once the installation starts, the Installation Wizard will open and you will see a progress bar showing the progress of the installation.

Click Show Details to view the installation log.
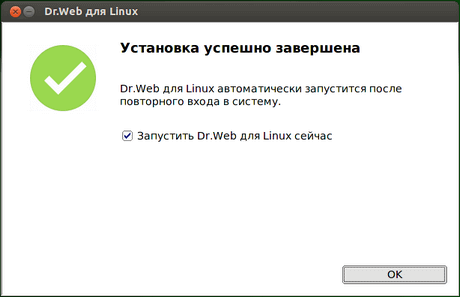
- Once the installation is complete, the final Wizard window will open.
- click OK to close it.

If the desktop environment supports this operation, a page will appear in the final step to prompt you to launch Dr.Web Anti-virus for Linux in the graphical mode. To launch Dr.Web for Linux, check the corresponding box and click OK.
If the installation was aborted due to an error, the final Wizard dialogue will display a message to that effect. In this case, you should also close the Wizard by clicking OK. Fix the problems that caused the installation error, and then start the installation again.
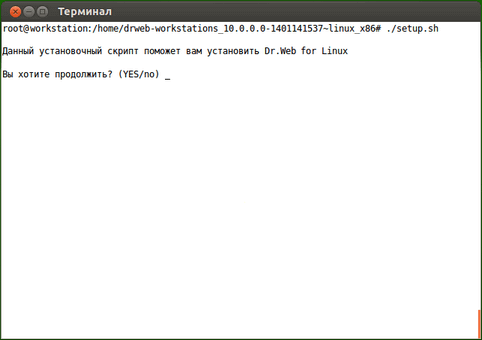
When carrying out the installation in the command-line mode, do the following.
- Once you start the installer in the text mode, the installation prompt will be displayed. Enter Yes or Y to start the installation.
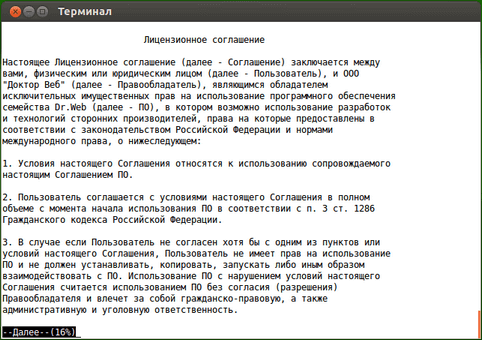
- Read the License agreement. To scroll down line by line, click ENTER. To scroll down one page at a time, click SPACE.
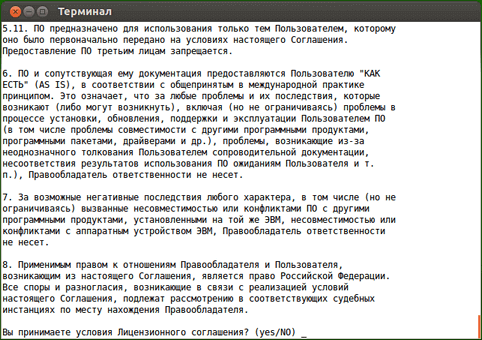
- Enter Yes or Y to accept the License agreement, or No or N to abort the Agent’s installation.
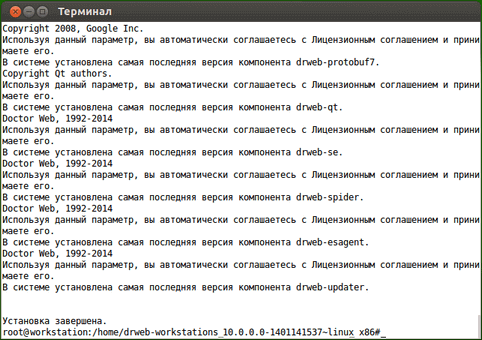
- Once you have accepted the terms, the installation will begin. Information about the installation’s progress, including the list of components being installed, will be displayed on the screen.
- Once the installation is complete, the installer will display the installation status and quit. If an error occurs, an error message will be displayed and the installation process will be aborted. Fix the problems that caused the installation error, and then start the installation again.
Congratulations! You have successfully installed Dr.Web Anti-virus for Linux!
For more information, refer to the Dr.Web Anti-virus for Linux User Guide.
Source : Official Dr.Web Brand
Editor by : BEST Antivirus KBS Team
(Visited 42 times, 1 visits today)